
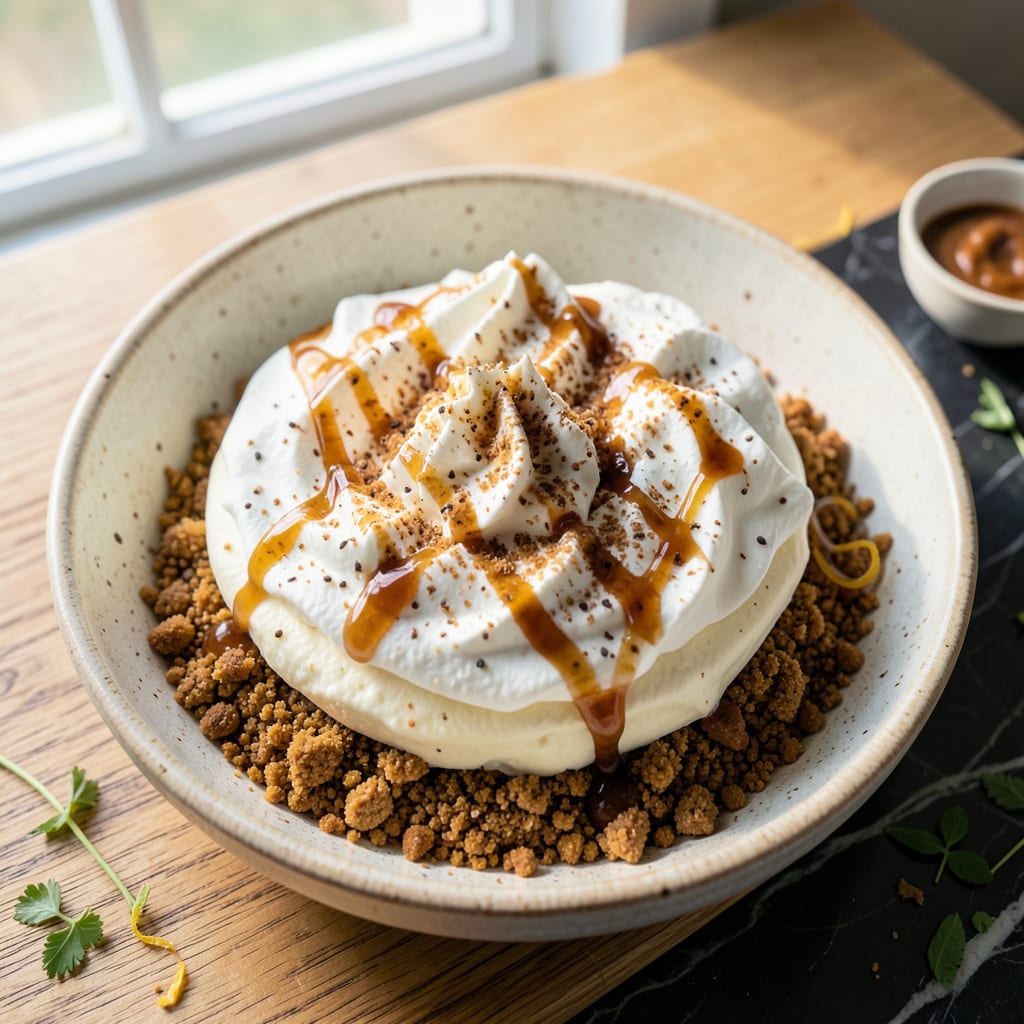
These classic vanilla cookies form the foundation for countless dessert creations that go far beyond the box. I’ve developed ways to transform simple Nilla Wafers into showstopping treats with minimal effort.
From no-bake cheesecakes to cookie crusts and icebox cakes, this versatile ingredient delivers restaurant-quality results every time. The subtle vanilla flavor pairs perfectly with chocolate, fruit, or caramel.
Ingredients for Nilla Wafer Recipe Ideas
Classic cookies meet creative layers for desserts that impress without the fuss.
| Ingredient | Amount | Notes |
|---|---|---|
| Nilla Wafers 🍪 | 2 cups | Crushed for crust base |
| Unsalted Butter 🧈 | ½ cup | Melted for binding crust |
| Granulated Sugar 🍚 | ¼ cup | Optional for extra sweetness |
| Cream Cheese 🧀 | 16 oz | Full-fat, softened for filling |
| Heavy Whipping Cream 🥛 | 1 cup | Cold for whipping |
| Vanilla Extract 🌿 | 2 tsp | Pure extract for best flavor |
| Powdered Sugar 🍚 | ½ cup | For dusting or sweetening |
| Fresh Strawberries 🍓 | 1 lb | Sliced for topping |
| Semi-Sweet Chocolate Chips 🍫 | 1 cup | Melted for drizzling |
| Caramel Sauce 🍯 | ½ cup | Store-bought or homemade |
| Lemon Juice 🍋 | 1 tbsp | Freshly squeezed for balance |
| Pinch of Salt 🧂 | 1 pinch | Enhances all flavors |
The Nilla Wafers are the star here. Grab the classic vanilla—generic brands work, but Nabisco’s original has that nostalgic flavor. Most grocery stores carry them in the cookie aisle. If you’re crushing them for a crust, a food processor makes quick work of it (or a rolling pin and a bag works too). Look for crisp, unbroken wafers—no soggy boxes.
No Nilla Wafers? Vanilla wafers or shortbread cookies swap in easily. For a gluten-free version, try crushed graham crackers (check the label). The cream cheese needs to be full-fat for stability—low-fat versions can get runny. Out of heavy cream? Cooled coconut cream works in a pinch (just use the thick part from the can).
Store-bought caramel sauce keeps for 2 weeks in the fridge once opened. The crust can be prepped a day ahead—just cover tightly. Leftovers? Most of these desserts hold up 3-4 days refrigerated, though they’re best fresh.
Why You’ll Love This Recipe
- No-Bake Bliss: Honestly, you just crush, mix, and chill—no oven, no fuss, and the cream cheese makes it feel indulgent without the effort.
- Crunch Meets Cream: That buttery Nilla crunch with the smooth whipped cream and sugar? It’s like a cheesecake met a cookie and they became best friends.
- Potluck MVP: I’ve brought this to three gatherings now, and it disappears first—works for picnics, game nights, or just because it’s Tuesday.
- Stretches Further: One box of wafers makes a big batch, and leftovers (if there are any) keep for days. Between us, it’s cheaper than store-bought desserts.
Step-by-Step Instructions for Nilla Wafer Dessert
Here’s the method I use to create this showstopping layered dessert with a buttery crust.
Step 1: Create the Nilla Wafer Crust
Crush the 2 cups Nilla Wafers into fine crumbs using a food processor or rolling pin. I find pulsing in short bursts works best to avoid creating flour-like dust. Transfer the crumbs to a mixing bowl.
Melt the 0.5 cup unsalted butter and pour it over the wafer crumbs. Add the 0.25 cup granulated sugar and a pinch of salt, then mix until the crumbs resemble wet sand. Press this mixture firmly into the bottom of a springform pan using the back of a spoon to create an even layer.
Chill the crust in the refrigerator for 15-20 minutes while you prepare the filling. This step ensures the base holds together when sliced. The crust should feel firm to the touch when ready.
Step 2: Whip the Cream Cheese Filling
In a large bowl, beat the 16 oz cream cheese until smooth and creamy. I always use full-fat for the best texture. Gradually add the 0.5 cup powdered sugar and 2 tsp vanilla extract, mixing until fully incorporated.
In a separate bowl, whip the 1 cup heavy whipping cream until stiff peaks form. Gently fold this into the cream cheese mixture using a spatula, taking care not to deflate the whipped cream. The filling should be light, fluffy, and hold its shape when scooped.
Step 3: Assemble with Strawberry Layer
Slice the 1 lb fresh strawberries and toss them with the 1 tbsp lemon juice. This brightens their flavor and prevents browning. Arrange half the strawberries over the chilled crust, then spread the cream cheese filling evenly over the berries.
Top with the remaining strawberries, pressing them lightly into the filling. Drizzle the 0.5 cup caramel sauce over the strawberries in a zigzag pattern. The sauce should pool slightly in the crevices between the berries.
Step 4: Add Chocolate Finishing Touch
Melt the 1 cup semi-sweet chocolate chips in the microwave in 20-second bursts, stirring between each until smooth. Let it cool slightly to thicken, then drizzle it over the caramel layer using a spoon or squeeze bottle.
Return the dessert to the refrigerator and chill for at least 4 hours (overnight is ideal). This allows all the layers to set properly. When ready to serve, run a knife around the edge before releasing the springform pan for clean slices.
Pro Tips For Making Nilla Wafer Recipe Ideas
- Chill the Wafers: Pop the Nilla Wafers in the freezer for 15 minutes before crushing—they’ll break into perfect crumbs without turning to dust, and the crust sets faster when baked.
- Soften the Cream Cheese: Let the cream cheese sit out for at least an hour (or microwave in 5-second bursts) to avoid lumps; cold cream cheese leaves streaks no matter how hard you mix.
- Skip the Overmixing: Once the whipped cream starts holding peaks, stop the mixer—I learned this the hard way after turning too many batches into butter.
- Use Melted Butter: Swap cold butter for melted when mixing with wafer crumbs; it binds better and saves the arm workout of cutting in cold cubes.
Storing and Reheating This Dish
Refrigerator Storage
This dessert keeps beautifully in the fridge for up to 4 days when stored properly. I use an airtight container or wrap the springform pan tightly with plastic wrap to prevent the dessert from absorbing other odors. 💡
Freezing for Later
You can freeze the assembled dessert for up to 2 months without the chocolate drizzle. Wrap it tightly in plastic wrap, then in aluminum foil to prevent freezer burn. Thaw overnight in the fridge before adding the chocolate and serving.
Reheating Not Needed
This is a no-bake dessert, so it’s meant to be served cold. Simply remove it from the fridge 15-20 minutes before serving to let the layers soften slightly. The flavors actually deepen after a day in the fridge.
Storing Components Separately
If you’ve prepped components in advance, store the crust, filling, and toppings separately. The crust can sit at room temperature for 1 day, while the filling keeps in the fridge for 3 days. Assemble just before serving for the freshest texture.
Reviving Leftovers
If the dessert seems a bit dry after storage, drizzle a little extra caramel sauce or sprinkle with powdered sugar before serving. This brings back that fresh-made appearance and moisture. ❄️
Nutrition Facts
Frequently Asked Questions
Can I make a no-bake cheesecake with these?
Use crushed 2 cups Nilla Wafers mixed with melted 0.5 cup butter for the crust. Layer with sweetened cream cheese filling and chill for 4 hours or overnight.
What’s the best way to crush the wafers?
Pulse in a food processor for fine crumbs, or place in a sealed bag and crush with a rolling pin. Avoid over-processing to prevent a flour-like texture.
How long will a Nilla Wafer dessert stay fresh?
Most creations keep in the fridge for 3-4 days in an airtight container. For longer storage, freeze without toppings for up to 2 months.
Can I substitute other cookies?
Yes! Vanilla wafers or graham crackers work well. For gluten-free, use certified gluten-free cookies with a similar texture.

- BBQ Sausage Recipe Oven: Smoky Depth Without the Grill - September 28, 2026
- BBQ Chicken Bowl Recipe Rice: Smoky Sweetness Over Fluffy Grains - September 28, 2026
- Beef Cutlet Recipe Ideas: Crispy Breaded Patties With Bold Seasonings - September 28, 2026