
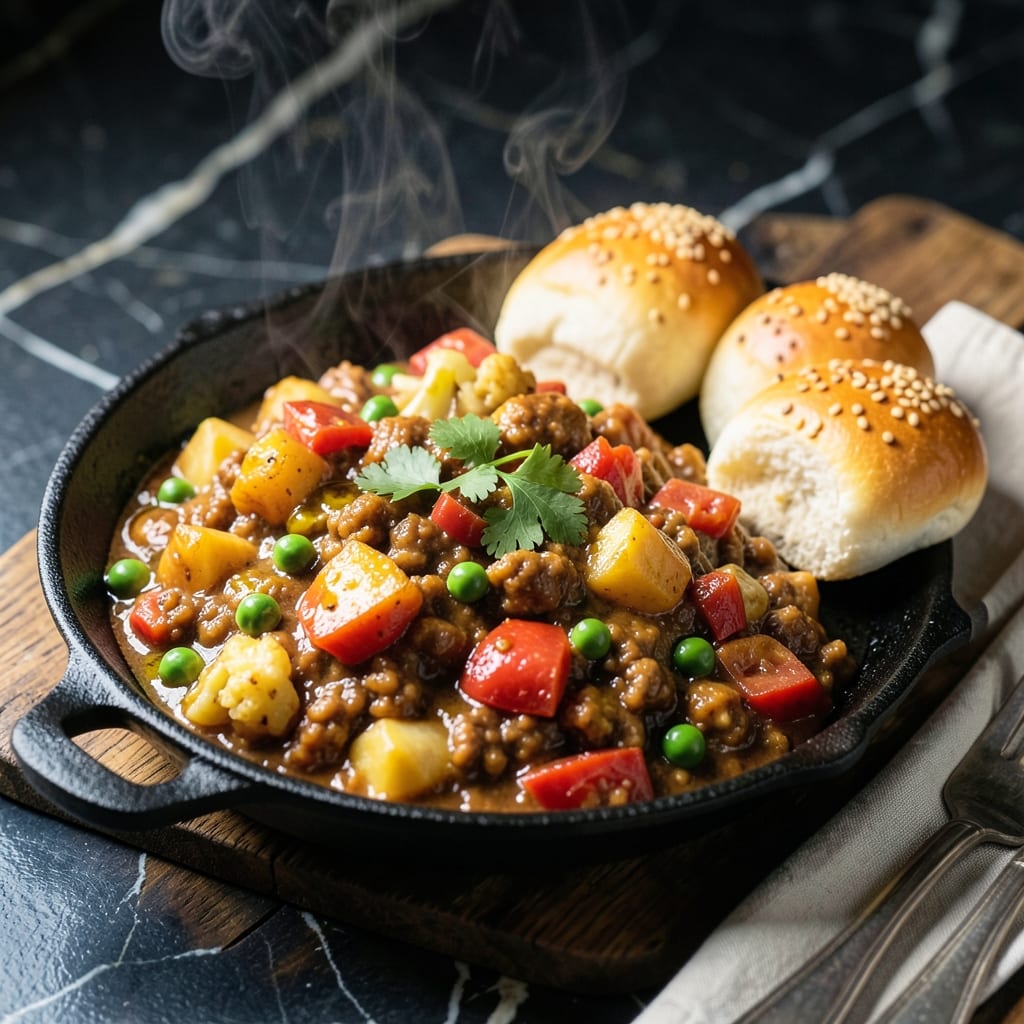
Bringing Mumbai’s beloved street food into your kitchen has never been easier with this pressure cooker method. The cooker transforms humble vegetables and spices into a rich, flavorful curry that pairs perfectly with buttered pav.
This approach simplifies the traditional process while maintaining authentic taste. The pressure cooker softens the vegetables quickly, allowing the spices to meld into a thick, aromatic gravy without constant stirring.
What emerges is a vibrant, smooth bhaji with the right balance of tangy, spicy, and slightly sweet notes. The pav, lightly toasted with butter, becomes the ideal vehicle for scooping up every last bit of the delicious mixture.
Serve this dish hot, straight from the cooker, for a comforting meal that captures the essence of Mumbai’s bustling streets. Here’s how to make it at home.
Ingredients for Pav Bhaji Recipe in Cooker Video
Whole spices, fresh veggies, and a few pantry staples bring this Mumbai classic to life.
| Ingredient | Amount | Notes |
|---|---|---|
| Potatoes 🥔 | 4 whole | Medium, peeled and diced |
| Cauliflower 🥦 | 2 cups | Chopped into small florets |
| Green Peas 🌱 | 1 cup | Fresh or frozen, thawed |
| Carrots 🥕 | 2 whole | Medium, peeled and diced |
| Onion 🧅 | 1 whole | Large, finely chopped |
| Tomatoes 🍅 | 3 whole | Medium, finely chopped |
| Green Bell Pepper 🌶️ | 1 whole | Finely chopped |
| Garlic Cloves 🧄 | 4 cloves | Minced for depth of flavor |
| Ginger 🌿 | 1 tbsp | Fresh, grated |
| Pav Bhaji Masala 🌶️ | 2 tbsp | Store-bought or homemade blend |
| Red Chili Powder 🌶️ | 1 tsp | Adjust to taste for heat |
| Turmeric Powder 🌿 | ½ tsp | For color and earthiness |
| Cumin Seeds 🌿 | 1 tsp | For aromatic tempering |
| Butter 🧈 | 4 tbsp | Divided for cooking and serving |
| Lemon Juice 🍋 | 2 tbsp | Freshly squeezed for tang |
| Fresh Cilantro 🌿 | ¼ cup | Chopped for garnish |
| Pav Buns 🍞 | 8 whole | Soft dinner rolls, lightly toasted |
| Salt 🧂 | 1 ½ tsp | Adjust to taste |
The pav bhaji masala is non-negotiable here. MDH or Everest brands are my go-to—you’ll find them at any Indian grocery store or Amazon. Fresh ginger and garlic make a huge difference, so skip the pre-minced stuff if you can. The butter? Use Amul or any good quality unsalted (this dish is all about that rich, buttery flavor). For the pav, any soft dinner rolls work, but local Indian stores often carry the real deal.
No pav bhaji masala? Mix 1 tsp garam masala, 1 tsp coriander powder, 0.5 tsp amchur (dry mango powder), and a pinch of fenugreek for a quick DIY. Out of green bell pepper? Capsicum or even green beans work in a pinch. Can’t find fresh cilantro? Skip it or use parsley (not the same, but close enough). The cauliflower can be swapped with cabbage or bottlegourd if you prefer.
The bhaji thickens as it sits, so add a splash of water when reheating. Keeps well in the fridge for 3-4 days—just warm it up on the stove. The pav is best toasted fresh, but you can prep everything else ahead. Leftovers? Freeze the bhaji for up to 3 months (the pav doesn’t freeze well).
Why You’ll Love This Recipe
- One Pot Magic: I dump all the potatoes, cauliflower, and peas straight into the cooker—no extra pans, no fuss.
- Buttery Comfort: The pav soaks up that rich, spiced onion gravy with carrots and peas, and honestly, it’s the taste of home.
- Crowd Pleaser: From lunchboxes to lazy Sunday feasts, this dish works for both my picky nephew and my foodie friends.
- Budget Stretcher: A handful of veggies turns into a meal that feeds four with leftovers for my midnight cravings.
Step-by-Step Instructions for Pav Bhaji in a Pressure Cooker
Here’s how to nail this Mumbai street food classic with minimal effort.
Step 1: Pressure-Cook the Vegetables
Add the 4 whole Potatoes, 2 cups Cauliflower, 1 cup Green Peas, and 2 whole Carrots to your pressure cooker. Pour in just enough water to cover the vegetables—about 2 cups should do it. Seal the lid and cook on high heat until the first whistle.
Once the whistle sounds, reduce the heat to medium and let it cook for 3-4 whistles or 10-12 minutes. Turn off the heat and allow the pressure to release naturally for 5 minutes before opening the lid. The vegetables should be fork-tender but not mushy.
Step 2: Prepare the Bhaji Base
While the vegetables cook, heat 2 tbsp Butter in a large pan over medium heat. Add the 1 tsp Cumin Seeds and let them sizzle for 10-15 seconds until fragrant. Toss in the 1 whole Onion, 1 tbsp Ginger, and 4 cloves Garlic Cloves, sautéing until the onions turn translucent—about 3-4 minutes.
Next, add the 3 whole Tomatoes, 1 whole Green Bell Pepper, 0.5 tsp Turmeric Powder, 1 tsp Red Chili Powder, and 1.5 tsp Salt. Cook for 5-6 minutes, stirring occasionally, until the tomatoes soften and the mixture thickens slightly.
Step 3: Mash and Season the Bhaji
Transfer the cooked vegetables to the pan with the onion-tomato mixture. Use a potato masher or the back of a spoon to mash everything into a chunky yet smooth consistency. Add the 2 tbsp Pav Bhaji Masala and mix well to combine all the flavors.
Cook the bhaji on medium-low heat for 5-7 minutes, stirring frequently to prevent sticking. If the mixture feels too dry, add a splash of water. Taste and adjust the salt if needed. The bhaji should be thick, flavorful, and slightly glossy from the butter.
Step 4: Toast the Pav Buns and Finish
Heat the remaining 2 tbsp Butter in a separate pan over medium heat. Lightly toast the 8 whole Pav Buns by pressing them into the butter until they turn golden brown on both sides—about 1-2 minutes per side.
Stir the 2 tbsp Lemon Juice and half of the 0.25 cup Fresh Cilantro into the bhaji just before serving. Garnish the bhaji with the remaining cilantro and serve hot with the buttered pav buns on the side. The bhaji should be rich, slightly spicy, and perfectly balanced with the soft, buttery pav.
Pro Tips For Making Pav Bhaji Recipe In Cooker Video
- Mash While Hot: Press the boiled potatoes and cauliflower with a masher right after pressure cooking—waiting makes them gluey. I learned this the hard way after ending up with a doughy texture once.
- Chop Onions Fine: Finely dice the onions so they melt into the bhaji. Sounds tedious, but it actually changes the outcome—big chunks ruin the smooth texture.
- Skip Overcooking Peas: Add green peas only after the first whistle to keep them vibrant and firm. My grandmother swore by this, and she was right: mushy peas lose their sweetness.
- Use Butter Generously: Swirl in 2-3 tablespoons of butter at the end for that rich, restaurant-style flavor. I was skeptical until I tried it—now it’s non-negotiable.
Pro Cooking Tips for Perfect Results
Cooker Selection Matters
I always recommend using a stovetop pressure cooker over electric for this dish. The direct heat control lets you adjust temperature precisely during the 10-12 minute cooking window. My Presto 6-quart handles the vegetable volume perfectly without overfilling. 💡
Whistle Timing Tricks
Count whistles carefully – the first whistle is your signal to reduce heat. For perfectly tender veggies, I find 3 whistles on medium heat hits the sweet spot. The natural pressure release for 5 minutes prevents the potatoes from turning to mush while finishing the cooking process.
Mashing Technique
Don’t over-mash the vegetables. Use a potato masher for 5-6 firm presses to keep some texture. I like to leave a few cauliflower florets slightly visible for visual appeal. The chunky consistency absorbs the spices better than a completely smooth puree.
Butter Layering
Divide your 4 tbsp Butter strategically. Use 2 tbsp for the onion-tomato base, 1 tbsp while mashing the bhaji, and the final 1 tbsp for toasting pav. This layering builds depth – the early butter carries spices, while the final butter adds fresh richness. 🔥
Spice Bloom Secret
After adding Pav Bhaji Masala, cook for 2-3 minutes before tasting. The heat wakes up the spices’ essential oils. I notice the turmeric’s earthiness comes through more prominently when bloomed this way. Stir constantly to prevent burning.
Pav Toasting Pro
For restaurant-style pav, press the buns firmly into the melted butter with a spatula. The 1-2 minute toast on each side creates a golden crust. I use a cast iron skillet for even browning – the heavy base prevents hot spots that could burn the butter.
Nutrition Facts
Frequently Asked Questions
Can I use an Instant Pot instead of a stovetop cooker?
Use the high pressure setting for 5 minutes with a 10-minute natural release. The process is nearly identical, just with electric convenience.
What if my bhaji turns out too watery?
Simmer uncovered on medium heat for 5-7 minutes to evaporate excess liquid. Mashing the veggies more also helps thicken the mixture naturally.
Can I make this ahead for a party?
The bhaji stays fresh for 3-4 days refrigerated. Reheat with a splash of water, then toast the pav fresh. Freeze bhaji only for up to 3 months.

- Peach Syrup Recipe for Ice Cream: Sweet and Silky Drizzle for Scoops - October 6, 2026
- Pav Bhaji Recipe Food Lab: Mumbai Street Food Magic at Home - October 6, 2026
- Peach Jelly Recipe Without Pectin: Naturally Set Sweet Spread - October 6, 2026