
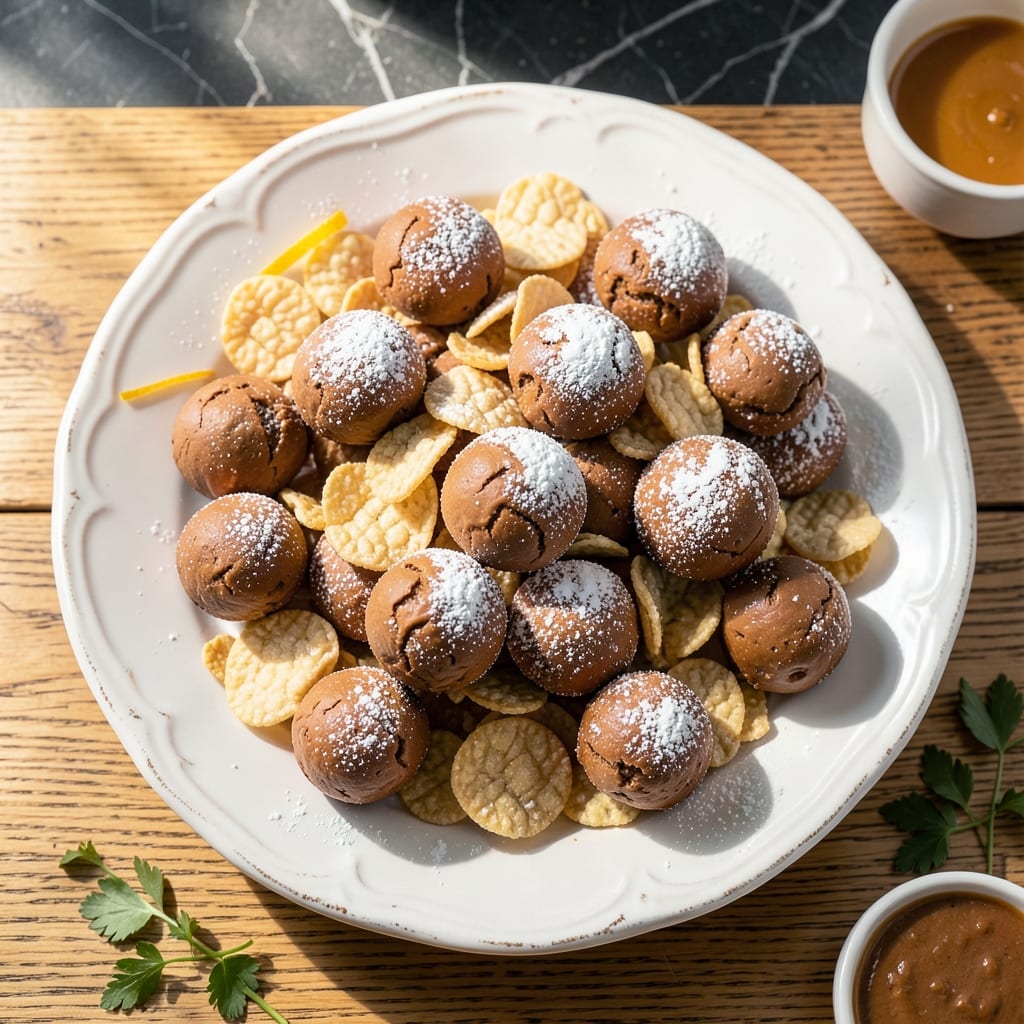
These no-bake treats combine creamy peanut butter with crispy Rice Krispies for a texture that’s impossible to resist. I’ve refined this recipe over years of holiday baking, and it never fails to disappear from the plate.
The magic happens in the balance—just enough powdered sugar to sweeten without overpowering, and Rice Krispies for that signature crunch. A quick chill sets them perfectly, making this a foolproof recipe for busy cooks.
Each bite delivers rich peanut butter flavor with a satisfying snap from the cereal. They’re ideal for gifting, snacking, or satisfying a sweet tooth in minutes.
No oven, no fuss, just delicious results every time.
Ingredients for Peanut Butter Balls No Bake Recipe with Rice Krispies
Creamy peanut butter, crispy cereal, and a touch of sweetness make these no-bake bites irresistible.
| Ingredient | Amount | Notes |
|---|---|---|
| Creamy Peanut Butter 🥜 | 1 cup | Smooth, unsweetened preferred |
| Powdered Sugar 🍚 | 1 ½ cups | Sifted for smooth texture |
| Rice Krispies Cereal 🥣 | 2 cups | Fresh, for maximum crunch |
| Unsalted Butter 🧈 | ¼ cup | Melted for binding |
| Vanilla Extract 🌿 | 1 tsp | Pure for best flavor |
| Salt 🧂 | ¼ tsp | Fine grain for even distribution |
| Honey 🍯 | 2 tbsp | Optional, for added sweetness |
| Old-Fashioned Oats 🌾 | ½ cup | Rolled, for texture |
| Mini Chocolate Chips 🍫 | ½ cup | Optional, for extra flavor |
| Shredded Coconut 🥥 | ¼ cup | Sweetened, for rolling |
The peanut butter is key here—Jif or Skippy for that perfect creamy texture. I grab mine at Walmart or any grocery store. The powdered sugar should be fresh (check for clumps) and sifted for a smooth finish. Kellogg’s Rice Krispies give the best crunch, but store-brand works in a pinch. Butter needs to be unsalted so you control the salt content.
No powdered sugar? Granulated sugar blended fine works, but the texture won’t be as smooth. Out of Rice Krispies? Crushed cornflakes at half the amount can substitute. For a richer taste, swap honey for maple syrup. If you’re adding chocolate chips, mini ones distribute better. The oats are optional but add a nice chew.
These keep well in an airtight container at room temperature for 1 week. For longer storage, refrigerate for up to 2 weeks or freeze for 3 months. Let them sit at room temperature for 10 minutes before serving if chilled.
Why You’ll Love This Recipe
- No Oven Needed: No preheating, no baking—just mix, roll, and chill. Honestly, it’s the laziest way to satisfy a sweet tooth.
- Crunch Meets Creamy: That crispy Rice Krispies snap against the smooth peanut butter? Ridiculously good.
- Party or Lunchbox: I pack these for school treats, potlucks, or midnight snacks. Between us, they disappear either way.
- Budget-Friendly Batch: Five ingredients, most of which I already have, and it makes enough to share—or not.
Step-by-Step Instructions for Peanut Butter Balls No Bake With Rice Krispies
This no-bake method delivers perfectly crunchy, sweet bites with minimal effort and time.
Step 1: Melt and Combine Wet Ingredients
In a microwave-safe bowl, melt the 0.25 cup Unsalted Butter in 30-second intervals until fully liquid. Immediately stir in the 1 cup Creamy Peanut Butter, 2 tbsp Honey, and 1 tsp Vanilla Extract until the mixture is smooth and fully combined.
The peanut butter should soften and blend seamlessly with the warm butter. If the mixture separates, stir vigorously for 1-2 minutes until it becomes uniform. This creates the sticky base that holds your treats together.
Step 2: Incorporate Dry Ingredients for Texture
Add the 1.5 cups Powdered Sugar, 0.5 cup Old-Fashioned Oats, and 0.25 tsp Salt to the peanut butter mixture. Stir with a wooden spoon or silicone spatula until no dry streaks remain—this usually takes 2-3 minutes of consistent mixing.
Next, fold in the 2 cups Rice Krispies Cereal and 0.5 cup Mini Chocolate Chips until evenly distributed. The cereal should maintain its crispness, and the chocolate chips will soften slightly but retain their shape. The mixture will be thick and slightly sticky to the touch.
Step 3: Shape into Balls and Chill
Using a cookie scoop or tablespoon, portion the mixture into 1-inch balls and roll them between your palms until smooth. If the mixture sticks to your hands, lightly dampen your palms with water or wear food-safe gloves.
Place the balls on a parchment-lined baking sheet. For extra flavor and presentation, roll each ball in the 0.25 cup Shredded Coconut to coat evenly. Refrigerate the tray for 30 minutes to firm up the treats and make them easier to handle.
Step 4: Serve or Store for Later
After chilling, the peanut butter balls should hold their shape without crumbling. Transfer them to an airtight container if not serving immediately. For best texture, let them sit at room temperature for 5-10 minutes before serving.
These treats will keep in the refrigerator for up to 1 week or in the freezer for 3 months. The cereal stays crisp, and the peanut butter remains creamy, making them perfect for make-ahead snacking.
Pro Tips For Making Peanut Butter Balls No Bake Recipe With Rice Krispies
- Chill the Mixture: After mixing, pop the bowl in the fridge for 15-20 minutes—it makes rolling the balls way easier and prevents sticky hands. I learned this the hard way after wrestling with a gooey mess.
- Use Fresh Cereal: Skip the stale Rice Krispies; fresh cereal gives that perfect snap and texture. Sounds obvious, but I’ve ruined a batch by grabbing the half-empty box in the back of the pantry.
- Measure Peanut Butter: Pack the measuring cup when scooping peanut butter to get the full amount. A loose scoop leaves the balls too dry, and they’ll crumble when you roll them.
- Melt Butter Slowly: Heat the butter over low to avoid browning it—burnt butter tastes bitter and can overpower the peanut butter flavor. I was skeptical until I tried it and noticed the difference.
Health Benefits of These Flavors
Protein Powerhouse
Peanut butter brings 7 grams of plant-based protein per 2-tbsp serving, making these bites a satisfying energy boost. The protein in peanuts contains all essential amino acids, which helps repair muscles and keeps you full longer. 💪
Healthy Fats Boost
Peanuts are rich in monounsaturated and polyunsaturated fats, including oleic acid, which supports heart health. These good fats help lower bad cholesterol levels while providing sustained energy for your day.
Fiber for Digestion
The old-fashioned oats add about 2 grams of fiber per ¼ cup serving, promoting digestive health. Combined with the natural fiber in peanut butter, these treats support regularity and help maintain stable blood sugar levels.
Vitamin E Source
Peanuts are packed with vitamin E, a powerful antioxidant that protects cells from damage. Just 1 cup of peanut butter provides about 20% of your daily vitamin E needs, contributing to healthy skin and immune function.
Magnesium Rich
Each serving delivers a good dose of magnesium, essential for muscle and nerve function. This mineral also helps regulate blood pressure and supports bone health, making these treats a tasty way to meet nutritional needs.
Quick Energy
The natural sugars from honey combined with peanut butter’s protein create a balanced energy source. Perfect for pre- or post-workout snacks, these provide quick fuel without the crash of processed sweets. ✨
Nutrition Facts
Frequently Asked Questions
Can I use crunchy peanut butter instead of creamy?
Yes, but the texture will be slightly different. Crunchy peanut butter adds extra peanut pieces, making the final treats less smooth. For best results, stick with creamy for a consistent texture.
How long do these need to chill in the fridge?
Chill for at least 30 minutes so they hold their shape. For firmer bites, extend to 1 hour. Avoid skipping this step, or they may crumble when handled.
Can I make these ahead for a party?
Store in an airtight container in the fridge for up to 1 week or freeze for 3 months. Thaw at room temperature for 10 minutes before serving.
What if my mixture is too dry to hold together?
Add 1-2 tablespoons of melted butter or honey, 1 at a time, until it sticks. Overmixing can make it oily, so combine gently just until it clumps.

- Banana Pudding Recipe From Scratch: Layers of Vanilla Wafer Bliss - October 7, 2026
- Peanut Butter Balls No Bake Recipe With Rice Krispies: Crunchy Bites in Minutes - October 7, 2026
- Peanut Brittle Recipe With Dry Roasted Peanuts: Crunchy Caramelized Sweetness - October 7, 2026