
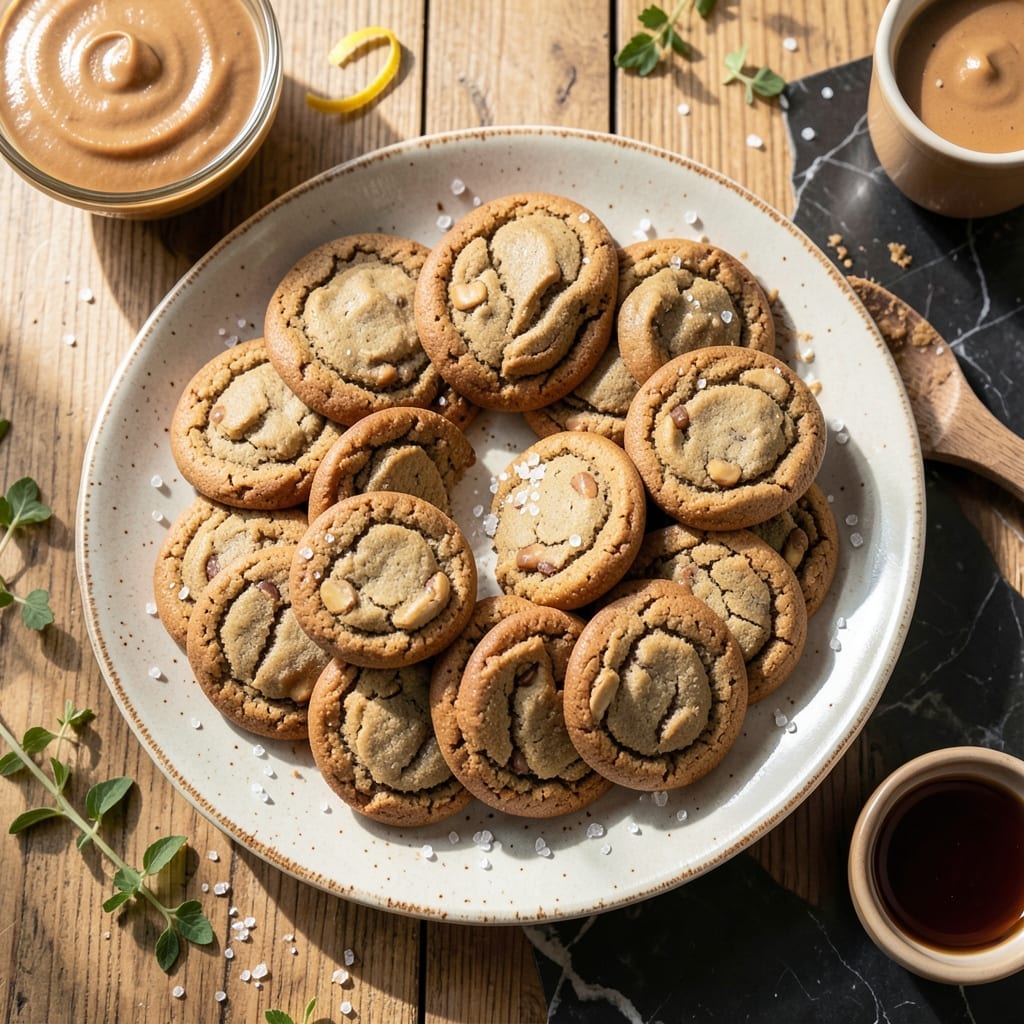
I developed this oil-based peanut butter cookie recipe after realizing butter isn’t always necessary for perfect texture. The oil creates a soft and chewy result that rivals traditional versions, with a subtle richness that enhances the peanut butter flavor.
What makes this recipe special is its simplicity. You don’t need to cream butter or wait for ingredients to soften—just mix, shape, and bake. The oil keeps the cookies tender for days, and the peanut butter provides all the moisture needed for ideal texture.
The result is a batch of golden cookies with crackly tops and melt-in-your-mouth centers. They’re rich, nutty, and satisfying without any dairy, making them a reliable option for baking on short notice or for those avoiding butter.
Ready in under 30 minutes, these cookies are a foolproof way to satisfy a sweet tooth with minimal effort.
Ingredients for Peanut Butter Cookie Recipe No Butter
A few pantry staples and you’re ready to bake these melt-in-your-mouth cookies with no butter required.
| Ingredient | Amount | Notes |
|---|---|---|
| Creamy Peanut Butter 🥜 | 1 cup | Natural or conventional, well-stirred |
| Granulated Sugar 🍚 | ¾ cup | Fine white sugar preferred |
| Brown Sugar 🟤 | ¾ cup | Light or dark, packed |
| Large Egg 🥚 | 1 whole | Room temperature for best mixing |
| Vanilla Extract 🌿 | 2 tsp | Pure extract for best flavor |
| All-Purpose Flour 🌾 | 1 ½ cups | Spoon and level method |
| Baking Soda 🧂 | 1 tsp | Fresh for optimal rise |
| Salt 🧂 | ½ tsp | Table salt or fine sea salt |
| Vegetable Oil 🫒 | ½ cup | Or melted coconut oil |
| Chopped Peanuts 🥜 | ½ cup | Optional for texture, unsalted |
The peanut butter is the foundation here. Jif or Skippy give consistent results, but natural peanut butter works too—just stir well to redistribute the oil. The oil replaces butter perfectly; vegetable or canola oil are neutral choices, while coconut oil adds subtle richness. For best texture, use room temperature eggs so everything mixes evenly without cooling the oil.
No brown sugar? All granulated sugar at 1:1 works, but you’ll miss depth of flavor. Swap vanilla extract for vanilla bean paste if you want those pretty flecks. For gluten-free, 1:1 baking flour blend replaces all-purpose with no other changes. The chopped peanuts add crunch (skip if you prefer smooth). Use honey roasted for a sweeter twist.
Dough keeps 3 days refrigerated or 3 months frozen. Baked cookies stay soft 5 days in an airtight container. Freeze baked cookies for 2 months—revive by warming briefly in the microwave (don’t overdo it, or they’ll get tough).
Why You’ll Love This Recipe
- Five Ingredients Only: I just dump peanut butter, sugars, egg, and vanilla in a bowl—no butter, no flour, no fuss.
- Rich PB Flavor: The creamy peanut butter shines without competing with butter, so every bite tastes like a warm peanut butter hug.
- Last-Minute Save: I’ve whipped these up for school bake sales and midnight cravings alike. They’re my reliable backup plan.
- Budget Cookie: Honestly, a jar of peanut butter and pantry staples make two dozen cookies for pennies.
Step-by-Step Instructions for Peanut Butter Cookies
This method delivers soft, chewy cookies with rich peanut flavor and perfect texture.
Step 1: Cream Peanut Butter and Sugars
In a large mixing bowl, combine the 1 cup Creamy Peanut Butter, 0.75 cup Granulated Sugar, and 0.75 cup Brown Sugar. Use an electric mixer to beat on medium speed for 2-3 minutes until the mixture becomes light and fluffy.
The sugars should fully incorporate into the peanut butter, creating a smooth, pale mixture. This creaming step introduces air, which contributes to the cookies’ tender crumb. Scrape down the sides of the bowl as needed to ensure even mixing.
Step 2: Incorporate Wet Ingredients
Add the 1 whole Large Egg and 2 tsp Vanilla Extract to the peanut butter mixture. Beat on medium speed for 30-45 seconds until completely combined and smooth.
The egg binds the ingredients while the vanilla enhances the peanut butter’s natural sweetness. The mixture should look uniform with no streaks of egg or vanilla visible. Avoid overmixing at this stage to maintain a tender texture.
Step 3: Combine Dry Ingredients
In a separate bowl, whisk together the 1.5 cups All-Purpose Flour, 1 tsp Baking Soda, and 0.5 tsp Salt. Gradually add this dry mixture to the wet ingredients, mixing on low speed just until combined.
The dough will be thick and slightly sticky. If using, fold in the 0.5 cup Chopped Peanuts with a spatula to distribute evenly. The chopped peanuts add texture, but you can omit them for a smoother cookie.
Step 4: Shape and Bake
Preheat oven to 350°F. Roll the dough into 1-inch balls and place them 2 inches apart on ungreased baking sheets. Flatten each ball slightly with a fork in a crisscross pattern—this creates the classic peanut butter cookie look.
Bake for 10-12 minutes until the edges are light golden brown. The centers may appear slightly underdone but will firm up as they cool. Remove from the oven and let the cookies cool on the baking sheet for 5 minutes before transferring to a wire rack.
Pro Tips For Making Peanut Butter Cookie Recipe No Butter
- Chill the Dough: After mixing, refrigerate the dough for 30 minutes—I learned this the hard way after my first batch spread into flat, greasy puddles on the baking sheet.
- Use Fresh Peanut Butter: Skip the bottom-of-the-jar, dried-out stuff; fresh, creamy peanut butter blends smoothly and actually changes the outcome.
- Underbake Slightly: Pull the cookies when the edges are just golden but centers still look soft; they’ll firm up as they cool, and overbaking dries them out.
- Press with a Fork: The classic crosshatch isn’t just for looks—it flattens the dough so they bake evenly and guarantees that perfect crisscross texture.
Storing and Reheating This Dish
Room Temperature Storage
These cookies stay soft for 5 days in an airtight container at room temperature. I line my container with parchment paper to prevent sticking. Separate layers with additional parchment if stacking. 💪
Refrigerator Storage
For longer freshness, store in the fridge for up to 10 days. Place cookies in a sealed container with a slice of bread—they’ll absorb moisture from the bread and stay tender. Let them sit at room temperature for 15 minutes before serving.
Freezing Unbaked Dough
Roll dough into balls and freeze on a tray for 1 hour, then transfer to a freezer bag. They’ll keep for 3 months. Bake directly from frozen, adding 2-3 minutes to the baking time. No need to thaw first.
Freezing Baked Cookies
Cool completely, then freeze in a single layer before transferring to a bag. They’ll stay fresh for 2 months. Revive by warming in a 300°F oven for 5 minutes to restore that just-baked texture. ❄️
Reheating Tips
For a quick warm-up, microwave a cookie for 10-15 seconds. For crispier edges, use a toaster oven at 350°F for 3-4 minutes. Avoid over-reheating, or they’ll lose their softness.
Nutrition Facts
Frequently Asked Questions
Can I use natural peanut butter?
Yes, but stir it well first to redistribute the oil. Natural peanut butter works perfectly, though the texture may be slightly oilier. Stick with creamy for best results.
Why are my cookies crumbly?
Overmixing the dough or using too much flour can cause this. Measure flour with the spoon-and-level method, and mix just until combined. Let them cool fully before handling.
Can I substitute the oil?
Melted coconut oil works well and adds a subtle richness. Avoid olive oil—its strong flavor can overpower the peanut butter. Stick with neutral oils for best taste.
How do I make them crispier?
Bake 1-2 minutes longer until edges are golden. Flatten the dough balls more before baking, and use less brown sugar for a crisper texture.

- Pina Colada Dip Recipe Red Lobster: Tropical Creaminess With Toasted Coconut - October 12, 2026
- Pickled Sweet Cherry Peppers Recipe Canning: Tangy Heat for Pantry Staples - October 12, 2026
- Peppercorn Sauce Recipe Vegan: Rich Umami Depth Without Cream - October 12, 2026