
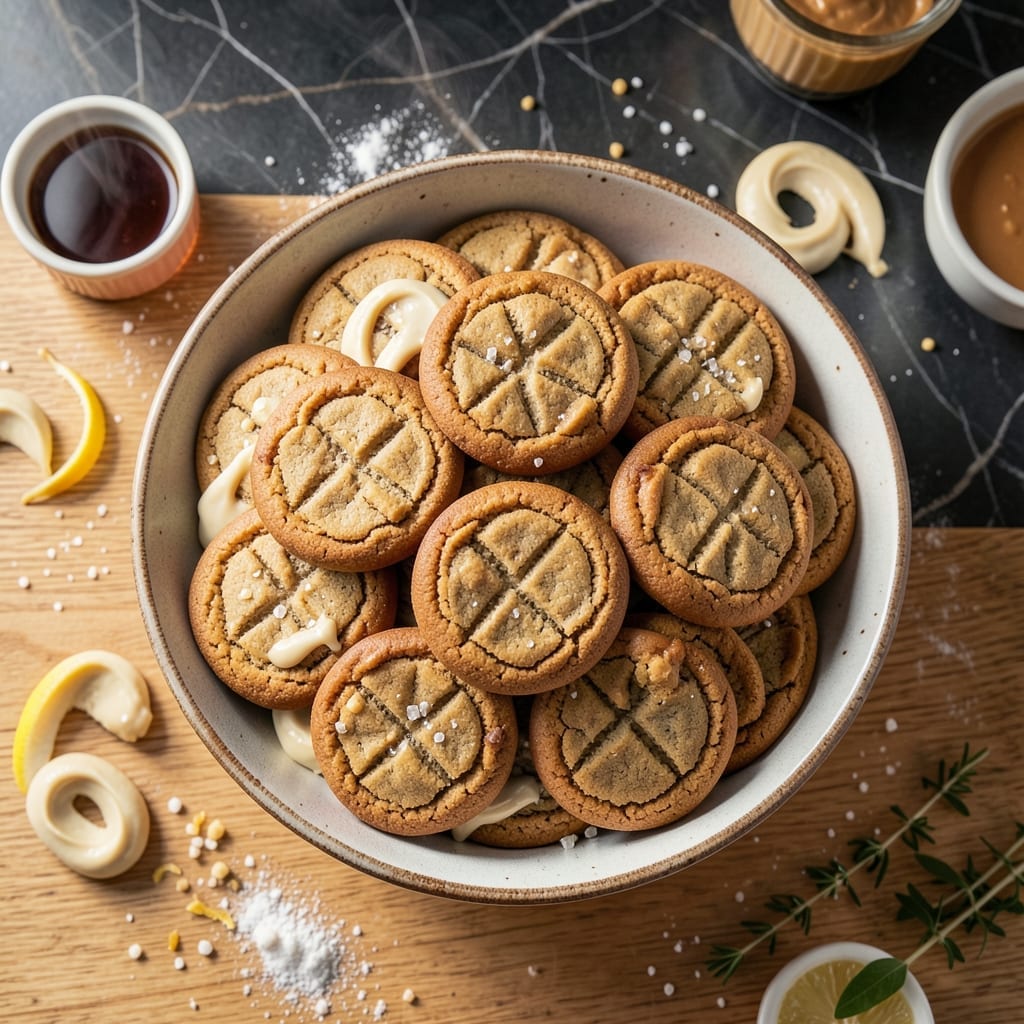
These vegan peanut butter cookies prove you don’t need eggs or dairy to create rich, satisfying treats. The recipe relies on simple pantry staples and a clever binding technique that delivers perfect texture every time.
The secret lies in using creamy peanut butter as both the flavor base and the binder, while a touch of baking powder ensures the right lift. The crinkle-top finish comes from rolling the dough in sugar before baking.
You’ll get cookies that are crisp at the edges, tender in the center, and packed with deep peanut flavor. They spread just enough to create that classic cookie shape without falling apart.
Ideal for anyone avoiding animal products or simply looking for a reliable, no-fuss dessert. Ready in under 30 minutes.
Ingredients for Peanut Butter Cookie Recipe No Eggs No Milk
Simple pantry staples create rich, satisfying vegan treats with perfect texture every time.
| Ingredient | Amount | Notes |
|---|---|---|
| Creamy Peanut Butter 🥜 | 1 cup | Natural or regular, well-stirred |
| Granulated Sugar 🍚 | 1 cup | Plus extra for rolling dough |
| Brown Sugar 🟤 | ½ cup | Packed, for moisture and depth |
| All-Purpose Flour 🌾 | 1 ¼ cups | Spoon and level for accuracy |
| Baking Powder ⚗️ | 1 tsp | Ensures proper lift and spread |
| Vanilla Extract 🌿 | 1 tsp | Pure vanilla for best flavor |
| Salt 🧂 | ½ tsp | Fine sea salt or table salt |
| Non-Dairy Milk 🥛 | 2 tbsp | Any unsweetened variety works |
| Vegetable Oil 🫒 | 2 tbsp | Neutral flavor like canola or sunflower |
The peanut butter is doing double duty here—flavor and binding—so quality matters. I recommend Jif or Skippy for consistency (natural can separate more), but any creamy variety works. Check the label for added sugars if that’s a concern. The brown sugar adds moisture and that signature chew, so don’t skip it. Most brands like Domino or C&H work fine for both sugars.
No creamy peanut butter? Crunchy works too (just expect a nuttier texture). Swap brown sugar for all granulated in a pinch, but add 1 extra tbsp of non-dairy milk for moisture. Gluten-free? Substitute 1:1 gluten-free flour blend. The oil can be any neutral type—canola, sunflower, even melted coconut oil (though that adds a hint of flavor).
Dough keeps 3 days wrapped tight in the fridge, or freeze for 1 month. Baked cookies stay fresh 5 days in an airtight container. For longer storage, freeze baked cookies between layers of parchment—they thaw beautifully at room temperature.
Why You’ll Love This Recipe
- One Bowl Wonder: I mix everything directly in the bowl—no separate steps for wet and dry ingredients, just peanut butter, sugars, flour, and baking powder.
- Crave-Worthy Chew: The combo of creamy peanut butter with both granulated and brown sugar gives that perfect crispy edge with a soft, rich center.
- Kid-Approved Snack: Honestly, my picky nephew devours these, and they’re safe for his dairy-free diet.
- Budget Friendly: Five pantry staples I always have on hand, and they stretch to make two dozen cookies.
Step-by-Step Instructions for Peanut Butter Cookies No Eggs No Milk
Here is the method. Tested, reliable, delivers perfect crinkle-topped results every time.
Step 1: Cream the Peanut Butter and Sugars
In a large mixing bowl, combine 1 cup Creamy Peanut Butter, 1 cup Granulated Sugar, and 0.5 cup Brown Sugar. Beat with a hand mixer on medium speed for 2-3 minutes until the mixture lightens in color and becomes fluffy.
This creaming step incorporates air, which is crucial for achieving that signature crinkle on top. Make sure your peanut butter is well-stirred and at room temperature so it blends smoothly with the sugars.
Step 2: Incorporate Wet and Dry Ingredients
Add 1 tsp Vanilla Extract, 2 tbsp Vegetable Oil, and 2 tbsp Non-Dairy Milk to the peanut butter mixture. Beat for another 30 seconds until fully combined and smooth.
In a separate bowl, whisk together 1.25 cups All-Purpose Flour, 1 tsp Baking Powder, and 0.5 tsp Salt. Gradually add the dry ingredients to the wet mixture, beating on low speed just until combined. The dough will be thick but manageable.
Step 3: Form and Coat the Dough Balls
Scoop the dough into 12 equal portions (about 1.5 tbsp each) and roll them into smooth balls between your palms. Place Granulated Sugar in a small bowl and roll each dough ball in it until fully coated.
As you roll them, press slightly to flatten the tops—this encourages the crinkle effect during baking. Place the coated dough balls on a parchment-lined baking sheet, spacing them 2 inches apart to allow for spreading.
Step 4: Bake to Golden Perfection
Preheat your oven to 350°F. Bake the cookies for 10-12 minutes until the edges are light golden brown and the tops are set but still slightly soft to the touch.
The centers may look underdone, but they’ll firm up as they cool. Avoid overbaking—these cookies continue to cook slightly after being removed from the oven. The crinkle tops will become more pronounced as they cool.
Step 5: Cool Completely Before Serving
Let the cookies cool on the baking sheet for 5 minutes before transferring them to a wire rack. This brief rest allows them to set and develop their structure. Cool completely for 15-20 minutes before serving.
Once cooled, they’ll have the perfect texture: crisp edges with a tender, slightly chewy center. The sugar coating creates a delightful crunch and visual appeal. Store in an airtight container at room temperature for up to 5 days.
Pro Tips For Making Peanut Butter Cookie Recipe No Eggs No Milk
- Chill the Dough: Pop the dough in the fridge for 20-30 minutes before baking—this keeps the peanut butter from spreading too thin and gives you that perfect chewy texture.
- Use Fresh Peanut Butter: I learned this the hard way—old, separated peanut butter makes dry, crumbly cookies. Stir it well and make sure it’s creamy, not dried out.
- Don’t Overbake: Pull them out when the edges are just golden; they’ll firm up as they cool. Overbaking turns them hard and brittle.
- Press Fork Twice: Dip a fork in sugar and press it into each dough ball twice for the classic crisscross—this flattens them evenly and adds a little extra sweetness.
Dietary Considerations for This peanut butter cookie recipe no eggs no milk
Vegan-Friendly Assurance
This recipe contains absolutely no animal products, making it perfect for vegan diets. The binding comes from peanut butter and non-dairy milk instead of eggs and butter. Always check your peanut butter label, as some brands add honey.
Gluten-Free Adaptation
Swap the all-purpose flour for a 1:1 gluten-free blend like King Arthur‘s. The texture remains nearly identical, though the cookies may spread slightly more. Let the dough rest for 10 minutes before baking to improve structure.
Nut Allergy Warning
These contain peanut butter, so they’re unsafe for anyone with nut allergies. For nut-free versions, try sunflower seed butter—but be aware the flavor and texture will differ significantly. Always clean surfaces thoroughly to avoid cross-contamination.
Sugar Considerations
Both granulated and brown sugar are used here. For refined sugar-free versions, coconut sugar works but may darken the cookies. Liquid sweeteners like maple syrup require recipe adjustments I don’t recommend for beginners. 💪
Storage for Dietary Needs
Store in an airtight container at room temperature for up to 5 days. For longer storage, freeze baked cookies between parchment layers. They thaw beautifully at room temperature in 2 hours.
Cross-Contamination Tips
If baking for someone with severe allergies, use dedicated equipment. Wash mixing bowls and utensils with hot, soapy water. Consider parchment paper liners to prevent direct contact with baking sheets.
Nutrition Facts
Frequently Asked Questions
Why do these cookies crack on top?
The cracks are intentional! Rolling dough balls in sugar before baking creates that classic crinkle-top look. The sugar caramelizes during baking, forming those beautiful patterns.
Can I use crunchy peanut butter?
Yes, but texture will differ slightly. Crunchy adds extra nuttiness and a bit more chew. For smooth cookies, stick with creamy. The recipe works perfectly either way.
What if my cookies spread too much?
Chill dough for 20 minutes before baking. Also ensure your oven is fully preheated to 350°F. If using natural peanut butter, stir well to prevent separation.
How do I know when they’re done?
Edges should be light golden brown and tops set but still soft. They’ll firm up as they cool. Overbaking makes them dry—pull them out when centers look slightly underdone.

- Pina Colada Dip Recipe Red Lobster: Tropical Creaminess With Toasted Coconut - October 12, 2026
- Pickled Sweet Cherry Peppers Recipe Canning: Tangy Heat for Pantry Staples - October 12, 2026
- Peppercorn Sauce Recipe Vegan: Rich Umami Depth Without Cream - October 12, 2026