
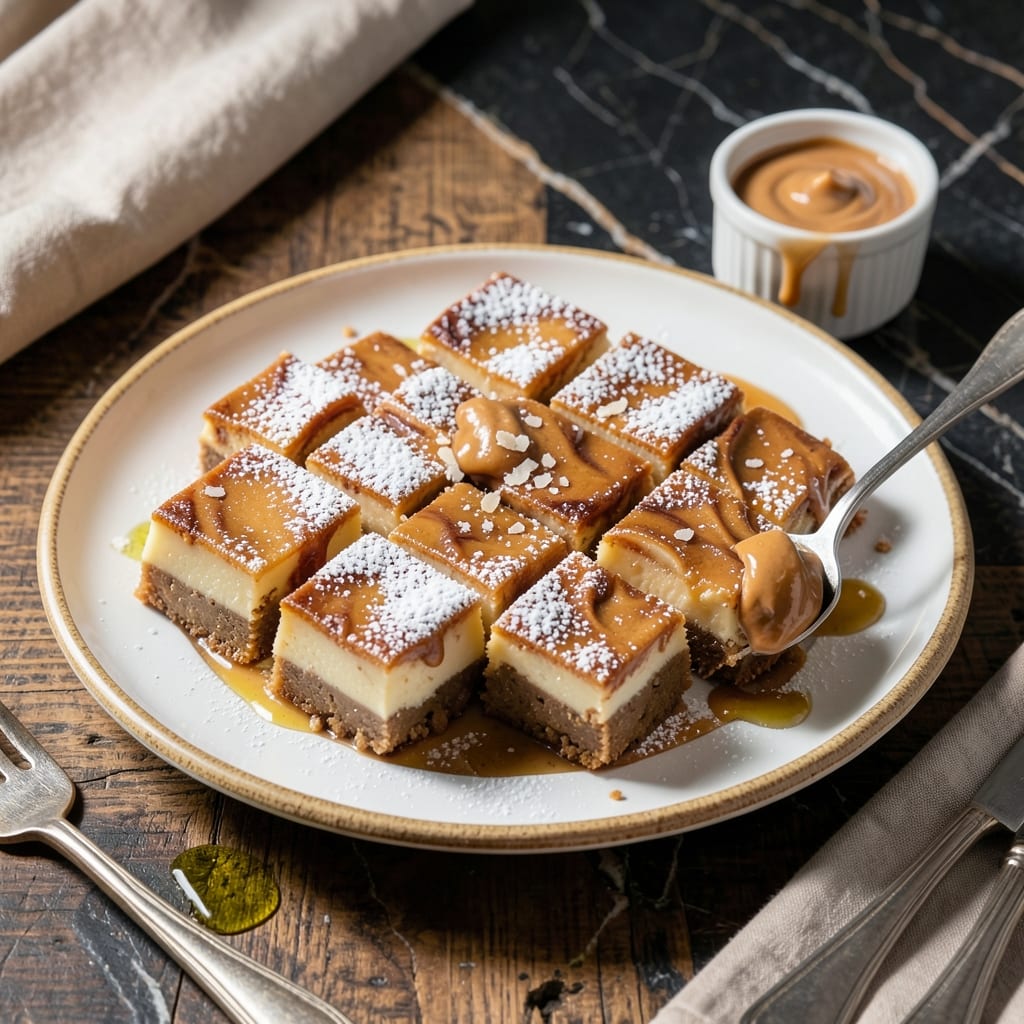
This no-bake fudge delivers creamy richness with minimal effort. I’ve refined this method to ensure perfect texture every time, using just a few pantry staples.
The magic lies in combining sweetened condensed milk with peanut butter for a smooth, velvety base. No thermometer or candy-making skills required—just stir, set, and enjoy.
You’ll love the melt-in-your-mouth consistency and the way it slices cleanly into squares. It’s the ideal treat for satisfying sweet cravings without turning on the oven.
Ready in under an hour, this fudge keeps well for days, making it a reliable option for gifting or indulging at home.
Ingredients for Peanut Butter Fudge Recipe Using Condensed Milk
A few pantry staples transform into this rich, creamy no-bake delight.
| Ingredient | Amount | Notes |
|---|---|---|
| Sweetened Condensed Milk 🥛 | 14 oz | One standard can |
| Creamy Peanut Butter 🥜 | 1 ½ cups | Natural or commercial |
| Unsalted Butter 🧈 | ½ cup | Cut into small cubes |
| Vanilla Extract 🌿 | 1 tsp | Pure extract preferred |
| Sea Salt 🧂 | ½ tsp | Fine grain for even distribution |
| Powdered Sugar 🍚 | 2 cups | Sifted for smoothness |
| Chopped Roasted Peanuts 🥜 | ½ cup | Optional, for texture |
| Mini Marshmallows 🍬 | 1 cup | Adds extra fluffiness |
The peanut butter is the star here. Jif or Skippy work perfectly—natural peanut butter can separate and make the texture grainy. Sweetened condensed milk is non-negotiable; the thick, syrupy consistency is what gives the fudge its signature melt-in-your-mouth quality. Grab a can from the baking aisle at any grocery store—no specialty shopping required.
No condensed milk? Evaporated milk plus sugar won’t work—the ratio is all wrong. Out of peanut butter? Almond or cashew butter can substitute in a pinch, but the flavor will shift. The butter must be unsalted to control the sweetness. If you’re skipping the marshmallows (they add fluff), increase the powdered sugar by 1/4 cup for structure.
This fudge sets up fast—cover and let it cool completely before slicing. Stores beautifully at room temperature for 1 week, or freeze for 3 months in an airtight container (separate layers with parchment). The peanuts stay crunchy if you add them last, right before pressing into the pan.
Why You’ll Love This Recipe
- No Fuss Mixing: I just melt everything in one pot—condensed milk, peanut butter, butter—and it’s done. No fancy equipment, no stress.
- Rich & Salty: That creamy peanut butter paired with the sweetness of condensed milk and a pinch of sea salt? Ridiculously good.
- Gift in Minutes: I wrap these little squares for teacher gifts or potlucks. Everyone thinks I spent hours.
- Keeps for Days: Honestly, it stays fresh in the fridge for a week—if it lasts that long.
Step-by-Step Instructions for Peanut Butter Fudge Using Condensed Milk
This no-bake method delivers smooth, creamy fudge with minimal effort and maximum flavor.
Step 1: Melt and Combine the Base Ingredients
In a medium saucepan, melt the 0.5 cup Unsalted Butter over low heat. I cut mine into small cubes first so it melts evenly without scorching. Once fully liquid, stir in the 14 oz Sweetened Condensed Milk and 1.5 cups Creamy Peanut Butter.
Whisk constantly until the mixture becomes completely smooth and glossy—this usually takes 3-4 minutes. You’ll notice the peanut butter losing its stiffness as it incorporates into the warm liquids. The key here is patience; rushing with high heat can cause the mixture to separate or scorch.
Step 2: Incorporate Flavor Enhancers
Remove the saucepan from heat and immediately stir in the 1 tsp Vanilla Extract and 0.5 tsp Sea Salt. The vanilla deepens the peanut butter flavor, while the sea salt balances the sweetness perfectly—don’t skip this step.
At this stage, the mixture should be thick but pourable. If it seems too stiff, return it briefly to low heat for 30 seconds while stirring. The aroma will be intensely nutty and sweet—a good sign you’re on the right track.
Step 3: Fold in Powdered Sugar and Add-Ins
Gradually add all 2 cups Powdered Sugar, about ½ cup at a time, stirring vigorously after each addition until fully incorporated. The mixture will transform from glossy to thick and dough-like as the sugar absorbs the moisture.
Once smooth, fold in the 1 cup Mini Marshmallows and 0.5 cup Chopped Roasted Peanuts. The marshmallows add a delightful fluffiness, while the peanuts provide a subtle crunch. Distribute them evenly for consistent texture in every bite.
Step 4: Set and Chill to Perfection
Press the fudge mixture evenly into a parchment-lined 8×8-inch baking dish. I use the back of a spoon dipped in warm water to smooth the top without sticking. The mixture should be level and compact, with no air pockets.
Refrigerate uncovered for at least 2 hours, or until firm to the touch. For best results, let it chill overnight—this allows the flavors to meld completely. You’ll know it’s ready when a knife inserted comes out clean with no sticky residue.
Step 5: Cut and Serve
Remove the fudge from the refrigerator and let it sit at room temperature for 10 minutes before cutting. This brief rest makes it easier to slice cleanly. Use a sharp knife dipped in hot water for smooth, professional-looking squares.
Cut into 1-inch squares—this recipe yields 16 servings. Store the fudge in an airtight container at room temperature for up to 5 days, or refrigerate for 2 weeks. The texture should be rich and creamy, with the marshmallows and peanuts adding delightful contrast in every piece.
Pro Tips For Making Peanut Butter Fudge Recipe Using Condensed Milk
- Use Room-Temp Peanut Butter: Cold peanut butter seizes up when mixed with warm condensed milk—I learned this the hard way after my first batch turned grainy. Pull it out of the fridge 30 minutes before starting.
- Low and Slow Heat: Cranking the heat to rush the process will scorch the condensed milk. Keep it at medium-low and stir constantly for 5-7 minutes until thickened.
- Skip the Cheap Butter: I was skeptical until I tried it, but unsalted butter with higher fat content (like European-style) actually changes the outcome—smoother texture, richer taste.
- Press and Chill 2 Hours: Resist the urge to slice it early. Press the fudge firmly into the pan, then give it a full 2 hours in the fridge—any less and it’ll crumble when you cut it.
Pro Cooking Tips for This Recipe
Low and Slow Heat
Always melt your butter and combine with condensed milk over low heat to prevent scorching. I use a heavy-bottomed saucepan for even heat distribution. High heat can cause the mixture to separate or burn, ruining the texture. 🌡️
Smooth Incorporation
When adding peanut butter, whisk constantly until the mixture is completely smooth and glossy—this takes 3-4 minutes. Patience is key here; rushing can lead to a grainy texture. The peanut butter should fully lose its stiffness as it blends.
Powdered Sugar Technique
Add the powdered sugar gradually, about ½ cup at a time, stirring vigorously after each addition. This prevents clumping and ensures a silky-smooth fudge. The mixture will thicken significantly as the sugar absorbs moisture.
Proper Chilling Time
Don’t rush the chilling step. Refrigerate the fudge uncovered for at least 2 hours, or ideally overnight. This allows the flavors to meld completely and ensures clean slices. You’ll know it’s ready when firm to the touch.
Clean Slicing Trick
For perfect squares, let the fudge sit at room temperature for 10 minutes before cutting. Use a sharp knife dipped in hot water between each slice. This simple trick gives you professional-looking pieces every time. ✨
Add-Ins Timing
Fold in the mini marshmallows and chopped peanuts only after the sugar is fully incorporated. This ensures even distribution and prevents sinking to the bottom. The marshmallows add fluffiness, while peanuts provide a satisfying crunch.
Nutrition Facts
Frequently Asked Questions
Can I use natural peanut butter instead of commercial?
It’s best to stick with commercial brands like Jif or Skippy for this recipe. Natural peanut butter can separate and create a grainy texture. The oils in commercial varieties blend smoothly with the condensed milk for that perfect creamy consistency.
How long does this fudge keep at room temperature?
Stored in an airtight container, your fudge will stay fresh at room temperature for up to 5 days. For longer storage, refrigerate for up to 2 weeks or freeze for 3 months.
Why is my fudge too soft to slice?
It likely needs more chilling time. Ensure it refrigerates uncovered for at least 2 hours, or overnight for best results. If it’s still soft, the mixture may have been too warm when pressed into the pan.

- Potato Candy Recipe 1933: Vintage Peanut Butter Roll Delight - October 30, 2026
- Potato Chip Cookie Recipe With Pecans: Buttery Crunch Meets Nutty Richness - October 30, 2026
- Potato Patty Recipe No Egg: Crispy Edges Without the Binder - October 30, 2026