
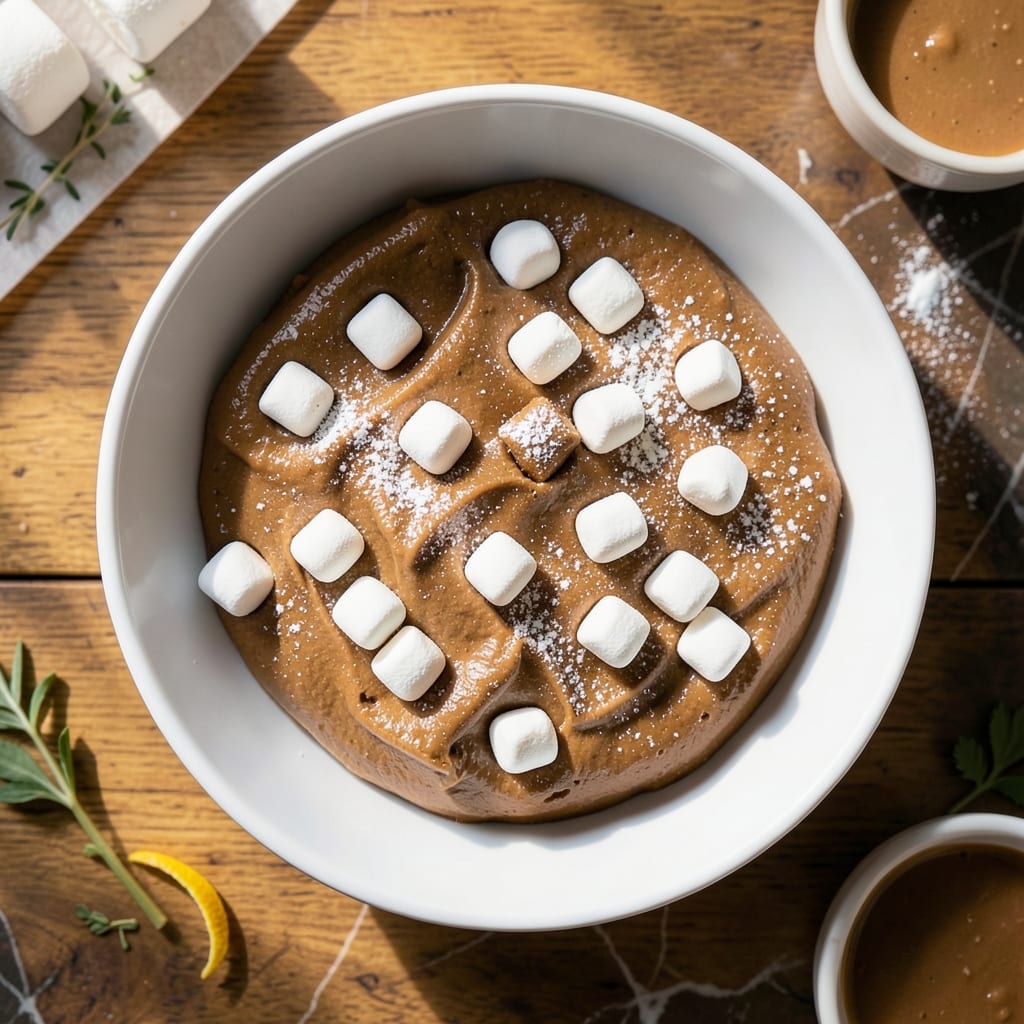
This no-bake fudge delivers rich peanut butter flavor with a smooth, melt-in-your-mouth texture. Marshmallows are the secret to achieving that perfect consistency without turning on the oven.
The process is surprisingly simple: just melt a few ingredients together, then let it set. In 10 minutes of active prep, you’ll have a batch of creamy, sweet fudge ready to satisfy any craving.
What makes this version special is the balance of sweetness and nutty depth. The marshmallows create a silky base that lets the peanut butter shine through without overpowering it.
It’s the ideal treat for last-minute gatherings or when you need a quick sweet fix. This recipe keeps well at room temperature for days.
Ingredients for Peanut Butter Fudge Recipe Using Marshmallows
Rich peanut butter and marshmallows make this no-bake treat irresistibly smooth and sweet.
| Ingredient | Amount | Notes |
|---|---|---|
| Peanut Butter 🥜 | 1 ½ cups | Creamy, not natural style |
| Mini Marshmallows 🍬 | 4 cups | Regular size works too |
| Unsalted Butter 🧈 | ½ cup | Cut into cubes for melting |
| Powdered Sugar 🧂 | 3 cups | Sifted for smooth texture |
| Vanilla Extract 💧 | 1 tsp | Pure vanilla preferred |
| Salt 🧂 | ¼ tsp | Fine sea salt |
| Semi-Sweet Chocolate Chips 🍫 | 1 cup | Optional for chocolate swirl |
The peanut butter is non-negotiable here. Jif or Skippy creamy give that perfect texture—natural styles separate and won’t blend right. Mini marshmallows melt faster, but regular ones work (just takes a minute longer). I grab my marshmallows from Walmart in bulk bags—they’re cheaper and stay fresh for months in the pantry. For the butter, Land O’Lakes unsalted is my go-to for consistent results.
No peanut butter? Almond or cashew butter works but changes the flavor. Swap marshmallows for marshmallow fluff at a 1:1 ratio if that’s what you’ve got. Want it sweeter? Add extra powdered sugar, but don’t skip the salt—it balances everything. For a chocolate twist, melt the chips separately and swirl them in (don’t stir too much or you’ll lose the marbled look).
This sets up in about 2 hours at room temp or 30 minutes in the fridge. Store in an airtight container—it’ll last 1 week on the counter, though it’ll be gone way sooner. Cut into squares once fully set for clean portions.
Why You’ll Love This Recipe
- 5-Minute Magic: I melt the marshmallows and butter in one pot, then stir in everything else—no candy thermometer, no fuss.
- Creamy Dream: The peanut butter and melted marshmallows create this ridiculously smooth, melt-in-your-mouth texture.
- Gift in a Snap: I pack these into little boxes for teachers, neighbors, or last-minute potlucks—always a hit.
- Stays Fresh: Honestly, it keeps for a week in the fridge, so I can make a big batch and nibble as I please.
Step-by-Step Instructions for Peanut Butter Fudge Using Marshmallows
This no-bake method comes together quickly with just a microwave and a few simple steps.
Step 1: Melt Butter and Marshmallows Together
In a large microwave-safe bowl, combine the 0.5 cup Unsalted Butter (cut into cubes for even melting) with the 4 cups Mini Marshmallows. I like to use a glass or ceramic bowl here—it retains heat better than plastic.
Microwave on high for 1 minute, then stir well. The mixture will look mostly melted but may have some stubborn marshmallow pieces. Return it to the microwave for another 30-45 seconds and stir until completely smooth and glossy. Watch carefully—overheating can cause the marshmallows to turn grainy.
This melted base creates the sticky foundation that binds everything together. You’ll notice the butter fully incorporates into the marshmallows, creating a single, uniform mixture that’s hot to the touch. Set this aside while you prep the dry ingredients.
Step 2: Combine Dry Ingredients in a Separate Bowl
In another large bowl, whisk together the 3 cups Powdered Sugar (sifted for that ultra-smooth texture), 0.25 tsp Salt, and 1 tsp Vanilla Extract. I always sift my powdered sugar first—it eliminates lumps that could ruin the fudge’s creamy consistency.
The salt might seem like a small amount, but it balances the sweetness perfectly. Make sure your vanilla extract is pure—imitation vanilla can add a harsh, artificial note to the finished fudge. This dry mixture will absorb the melted marshmallow base beautifully.
Step 3: Blend Wet and Dry Ingredients Until Smooth
Pour the melted marshmallow mixture over the powdered sugar mixture. Using a sturdy silicone spatula, fold everything together until the powdered sugar is fully incorporated. This takes some elbow grease—the mixture will be thick and sticky.
Once combined, add the 1.5 cups Peanut Butter. I use creamy peanut butter here for the smoothest texture. Fold until no streaks remain and the peanut butter is evenly distributed throughout. The mixture should pull away from the sides of the bowl and form a cohesive ball.
At this point, you can add the 1 cup Semi-Sweet Chocolate Chips if you want a chocolate swirl variation. Fold them in just until distributed—overmixing will melt the chocolate and create a uniform color rather than a marbled effect.
Step 4: Press and Set in the Pan
Line an 8×8-inch baking pan with parchment paper, leaving an overhang on the sides for easy removal. Transfer the fudge mixture to the pan and press it down evenly with the spatula or your fingers (lightly greased to prevent sticking).
You want an even layer about 1-inch thick throughout. I find that damping my fingers with a little water helps prevent the fudge from sticking as I smooth the surface. Press firmly to eliminate any air pockets—this ensures clean, professional-looking slices later.
Let the fudge set at room temperature for 2 hours, or speed up the process by refrigerating for 30-45 minutes. It’s ready when it holds its shape when pressed and the top is no longer tacky to the touch.
Step 5: Cut and Serve
Using the parchment overhang, lift the fudge out of the pan and place it on a cutting board. With a sharp knife dipped in hot water (and wiped dry between cuts), slice into 1-inch squares. The hot water trick prevents the fudge from sticking to the knife and gives you clean edges.
Store in an airtight container at room temperature for up to 1 week, or refrigerate for up to 2 weeks if you can resist eating it all immediately. The texture is best at room temperature—cold fudge can be a bit firm, so let it sit for 10 minutes before serving if stored in the fridge.
Pro Tips For Making Peanut Butter Fudge Recipe Using Marshmallows
- Melt Butter Slowly: Use low heat to melt the butter and peanut butter together—high heat can cause the mixture to separate or burn, leaving you with a grainy mess. I learned this the hard way after ruining a batch by rushing it.
- Use Fresh Marshmallows: Stale marshmallows won’t melt smoothly into the fudge. Grab a fresh bag and check that they’re soft and pliable before adding them to the mixture.
- Don’t Overmix Powdered Sugar: Stir just until the powdered sugar is fully incorporated. Overmixing can introduce air, making the fudge crumbly instead of creamy.
- Chill in Portions: Instead of spreading the fudge in one big pan, divide it into smaller containers or molds—it sets faster and is easier to cut into neat squares.
Perfect Pairings for This Dish
Beverage Pairings
Cold milk is the classic pairing—its creamy texture and cool temperature balance the richness perfectly. I always serve with whole milk for maximum indulgence. For a dairy-free option, vanilla almond milk adds a complementary nutty note. 🥛
Coffee Complements
A hot cup of black coffee cuts through the sweetness beautifully. I love a dark roast from Starbucks for its bold bitterness. For iced versions, a cold brew with 1 tbsp of cream creates the perfect contrast.
Dessert Wines
Moscato d’Asti brings sparkling sweetness that mirrors the fudge’s flavors. Its low alcohol content makes it ideal for dessert pairings. For red wine lovers, try a Ruby Port—its rich berry notes complement the peanut butter beautifully. 🍷
Tea Options
A robust Earl Grey with its citrus bergamot notes provides an elegant contrast. I steep mine for exactly 4 minutes to avoid bitterness. For herbal lovers, chamomile tea with 1 tsp honey offers soothing warmth.
Fruit Accompaniments
Fresh apple slices provide a crisp, refreshing contrast to the creamy texture. I use Honeycrisp apples for their sweet-tart balance. Alternatively, red grapes add a juicy pop that cleanses your palate between bites.
Nutrition Facts
Frequently Asked Questions
Can I use regular marshmallows instead of mini?
Yes! Regular marshmallows work just as well. They’ll take slightly longer to melt—about 1-2 extra minutes in the microwave. Just cut them into smaller pieces first for even melting.
Why does my fudge turn out grainy?
Graininess usually means overheating the marshmallow mixture. Stick to 1-minute intervals and stir well between each. Also, sift your powdered sugar to avoid lumps.
How do I make it extra creamy?
Use creamy peanut butter (not natural) and ensure all ingredients are fully incorporated. For ultra-smooth texture, add an extra 2 tablespoons of melted butter.
Can I freeze this fudge?
Wrap individual pieces in plastic, then store in an airtight container for up to 3 months. Thaw at room temperature for 30 minutes before serving.

- Pina Colada Dip Recipe Red Lobster: Tropical Creaminess With Toasted Coconut - October 12, 2026
- Pickled Sweet Cherry Peppers Recipe Canning: Tangy Heat for Pantry Staples - October 12, 2026
- Peppercorn Sauce Recipe Vegan: Rich Umami Depth Without Cream - October 12, 2026