
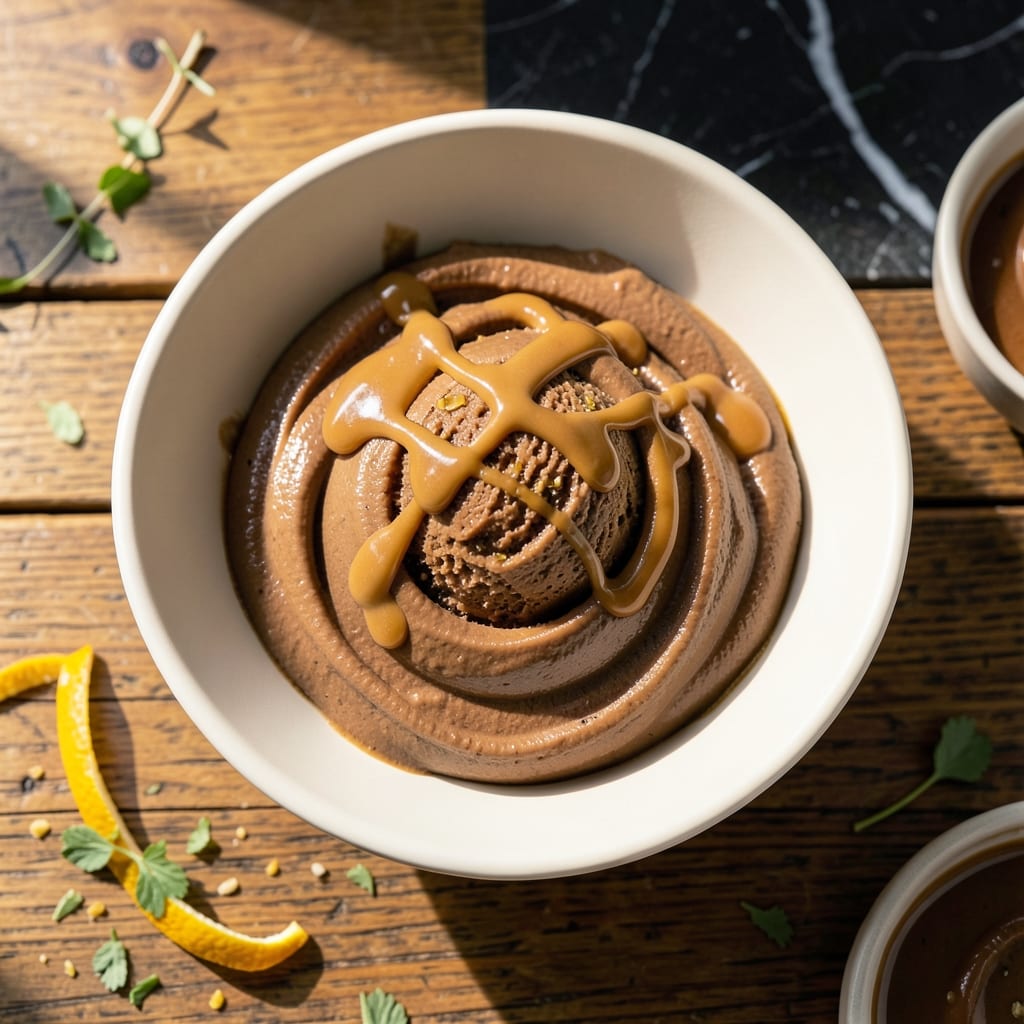
This peanut butter ice cream delivers the rich, nutty depth that made David Lebovitz’s version legendary. The secret lies in using smooth peanut butter and a touch of salt to balance the sweetness.
I’ve perfected this recipe to achieve that ultra-creamy texture without ice crystals. The base comes together quickly with just a few simple ingredients, then chills before churning.
What emerges from the ice cream maker is luxuriously smooth with a deep peanut flavor that lingers. The result is far superior to store-bought versions, with none of that artificial aftertaste.
Serve it plain or with chocolate chunks for added texture. The wait during chilling is the hardest part.
Ingredients for Peanut Butter Ice Cream Recipe David Lebovitz
A few quality ingredients create that ultra-creamy, deeply nutty ice cream everyone loves.
| Ingredient | Amount | Notes |
|---|---|---|
| Heavy Cream 🥛 | 2 cups | Full-fat for ultra-creamy texture |
| Whole Milk 🥛 | 1 cup | Cold, for smooth base |
| Granulated Sugar 🍚 | ¾ cup | Fine grain for even dissolution |
| Smooth Peanut Butter 🥜 | ¾ cup | No added sugar or honey |
| Large Egg Yolks 🥚 | 4 whole | Room temperature for emulsification |
| Vanilla Extract 🌿 | 2 tsp | Pure extract, not imitation |
| Salt 🧂 | ½ tsp | Fine sea salt to balance sweetness |
| Dark Chocolate Chunks 🍫 | ½ cup | Optional, for texture contrast |
| Peanut Oil 🫒 | 1 tbsp | For depth of peanut flavor |
| Corn Syrup 🍯 | 2 tbsp | Light or dark for smoothness |
The peanut butter is non-negotiable here—smooth natural peanut butter (like Smucker’s Natural or Crazy Richard’s) gives the best flavor without added sugars or oils. Heavy cream and whole milk ensure that luxurious texture; don’t substitute lower-fat options. Egg yolks add richness and prevent ice crystals, so use fresh, high-quality eggs from free-range sources if possible.
No peanut butter? Peanut powder mixed with a touch of oil can work in a pinch, though the flavor won’t be as deep. Out of heavy cream? Use full-fat coconut milk for a dairy-free alternative (though texture may differ). For the chocolate chunks, Ghirardelli or Guittard are reliable brands—chop a bar yourself for the best melt-in-your-mouth pieces.
The base keeps in the fridge for 24 hours before churning—ideal for prep ahead. Once churned, it’s best eaten within 1 week (though it’ll disappear faster). Store in an airtight container with parchment pressed directly on the surface to prevent ice crystals.
Why You’ll Love This Recipe
- No Churn Needed: I just whisk the custard base, chill it, then spin in my ice cream maker—no fancy steps.
- Rich Peanut Flavor: The smooth peanut butter melts into the heavy cream for that deep, creamy PB taste.
- Kid-Approved Treat: My nieces beg for this every visit, and I’ll be real: I always make a double batch.
- Stays Creamy: Leftovers keep well for a week, and honestly, the texture only gets better.
Step-by-Step Instructions for Peanut Butter Ice Cream
Master the custard base and chilling process for ultra-smooth, rich ice cream every time.
Step 1: Infuse and Heat the Dairy Base
Combine the 2 cups Heavy Cream, 1 cup Whole Milk, 0.75 cup Granulated Sugar, 0.75 cup Smooth Peanut Butter, 1 tbsp Peanut Oil, and 2 tbsp Corn Syrup in a heavy saucepan. Cook over medium heat, whisking constantly until the mixture is steaming and the peanut butter fully dissolves.
You’ll notice the sugar crystals disappear first, followed by the peanut butter blending smoothly into the liquid. This step ensures no grainy texture in your final product. Stop heating just before it reaches a boil—tiny bubbles at the edges are your cue.
Step 2: Temper the Egg Yolks
In a separate bowl, whisk the 4 whole Large Egg Yolks until pale and slightly thickened. Slowly pour about 1 cup of the hot cream mixture into the yolks while whisking vigorously. This gradual introduction prevents the eggs from scrambling.
Once fully incorporated, pour the tempered yolk mixture back into the saucepan with the remaining cream base. Return to medium-low heat and cook, stirring constantly with a wooden spoon, until the custard thickens enough to coat the back of the spoon.
Step 3: Finalize the Custard and Chill
Remove the custard from heat and stir in the 2 tsp Vanilla Extract and 0.5 tsp Salt. The vanilla deepens the peanut butter flavor, while the salt balances the sweetness. Strain the mixture through a fine-mesh sieve into a clean bowl to remove any cooked bits of egg.
Press plastic wrap directly onto the surface of the custard to prevent a skin from forming. Refrigerate for at least 4 hours, or preferably overnight, until completely chilled. This step is non-negotiable for achieving the smoothest texture.
Step 4: Churn and Add Mix-Ins
Pour the chilled custard into your ice cream maker and churn according to the manufacturer’s instructions, typically 20-25 minutes. The mixture should resemble soft-serve when ready. In the last 2 minutes of churning, add the 0.5 cup Dark Chocolate Chunks for even distribution.
The chocolate chunks add pockets of firm texture against the creamy base. If you prefer a firmer consistency, transfer the ice cream to a lidded container and freeze for an additional 2-3 hours before serving.
Pro Tips For Making Peanut Butter Ice Cream Recipe David Lebovitz
- Temper the Yolks: Slowly drizzle about 1/3 of the hot milk mixture into the egg yolks while whisking constantly—I learned this the hard way after scrambling eggs in my first batch.
- Warm the Peanut Butter: Microwave the peanut butter for 20-30 seconds to loosen it before mixing into the custard; this prevents stubborn clumps that never fully incorporate.
- Strain the Custard: After thickening, strain the mixture through a fine-mesh sieve to catch any cooked bits of egg—your ice cream will be silky smooth instead of slightly grainy.
- Chill Overnight: Give the base a full 8-12 hours in the fridge before churning; I was skeptical until I tried it, but the flavors deepen and the texture improves dramatically.
Serving Suggestions for Leftovers
Classic Presentation
Serve this in chilled coupe glasses for an elegant touch. The curved shape highlights the ice cream’s rich color and makes each scoop look intentional. I always add a drizzle of melted peanut butter on top—just 1 tbsp warmed with 1 tsp peanut oil for easy pouring. 💛
Texture Contrasts
For crunch, sprinkle crushed salted peanuts over each serving—about 2 tbsp per bowl. The salt enhances the peanut flavor while adding a satisfying bite. Alternatively, layer with crumbled pretzels for a sweet-and-salty twist.
Sauce Pairings
A warm chocolate fudge sauce takes this to another level. I use Ghirardelli’s 60-second microwave version. For fruit lovers, a quick raspberry compote (simmer 1 cup berries with 2 tbsp sugar) adds bright contrast.
Sandwich Style
Press scoops between two chocolate chip cookies for a gourmet ice cream sandwich. Use soft-baked cookies from your local bakery—they hold up better than store-bought. Roll the edges in mini chocolate chips for extra flair.
Waffle Cone Upgrade
Serve in fresh waffle cones from a local ice cream shop. The cones’ buttery crispness complements the creamy texture. For a DIY approach, warm store-bought cones in a 350°F oven for 2 minutes to enhance their aroma. ✨
Garnish Ideas
A sprinkle of flaky sea salt like Maldon right before serving elevates all the flavors. Fresh banana slices add natural sweetness and visual appeal. Edible flowers, like pansies, make it Instagram-worthy for special occasions.
Nutrition Facts
Frequently Asked Questions
Do I need an ice cream maker for this?
Yes, an ice cream maker is essential for achieving the right texture. Without one, the mixture won’t churn properly and may freeze rock-hard.
Can I use crunchy peanut butter instead of smooth?
Smooth peanut butter is recommended for a silky texture. Crunchy will work but may leave small peanut pieces in the ice cream. Strain if you prefer a uniform consistency.
How long can I store homemade peanut butter ice cream?
It’s best enjoyed within 1 week. Store in an airtight container with parchment pressed on the surface to prevent ice crystals.
Why does the recipe call for corn syrup?
Corn syrup helps lower the freezing point, creating a softer, creamier texture. It also prevents ice crystals from forming during storage.

- Potato Candy Recipe 1933: Vintage Peanut Butter Roll Delight - October 30, 2026
- Potato Chip Cookie Recipe With Pecans: Buttery Crunch Meets Nutty Richness - October 30, 2026
- Potato Patty Recipe No Egg: Crispy Edges Without the Binder - October 30, 2026