
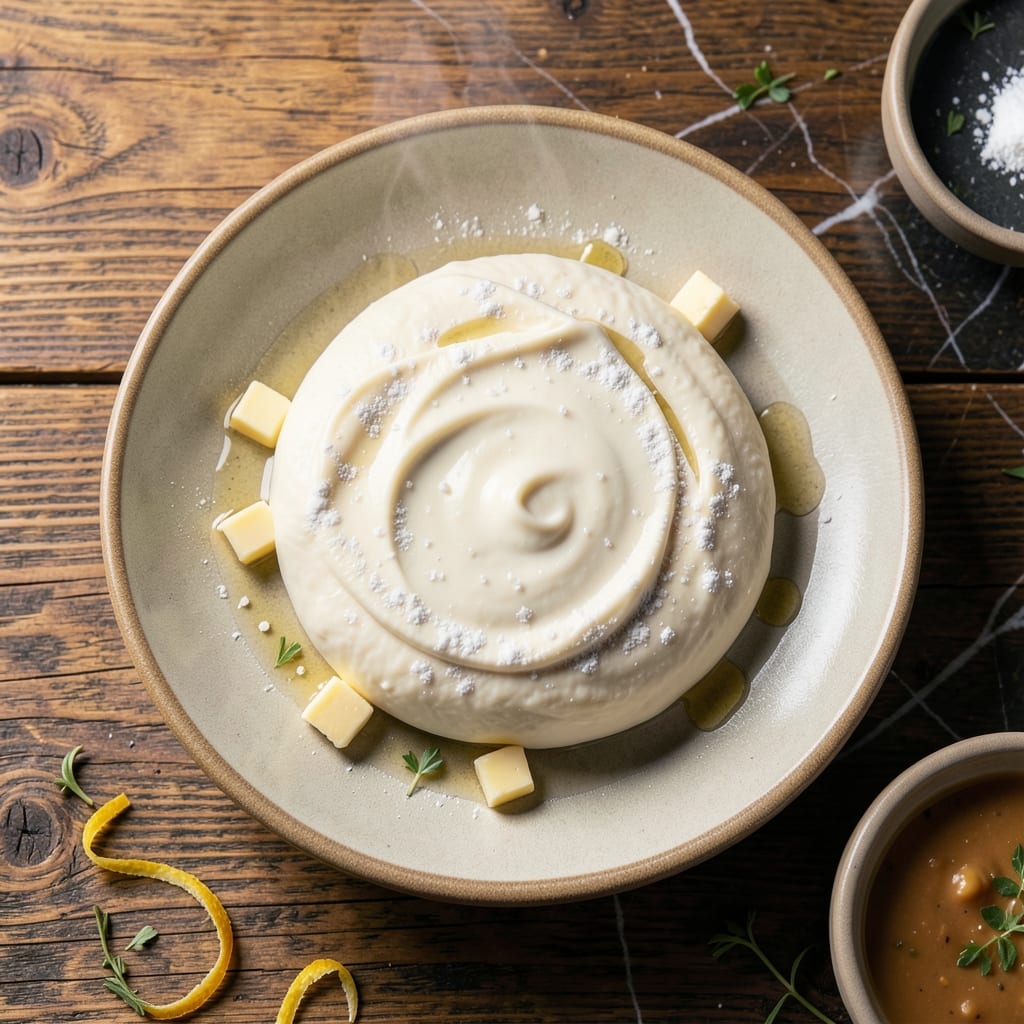
This no-egg pierogi dough delivers tender, pillowy results every time. I developed this recipe after years of testing, and sour cream proves to be the secret for achieving that perfect texture without eggs.
The dough comes together quickly with simple ingredients, then rests to develop its elastic consistency. Rolling it thin ensures delicate dumplings that hold their shape during boiling.
Fill these with classic potato and cheese, savory mushrooms, or sweet fruit compotes. The sour cream base adds subtle tang that complements both traditional and modern fillings beautifully.
This method guarantees smooth, workable dough that yields restaurant-quality pierogi at home. The process is straightforward yet consistently impressive.
Ingredients for Pierogi Dough Recipe with Sour Cream No Egg
Six simple ingredients create this elastic, egg-free pierogi dough with perfect texture.
| Ingredient | Amount | Notes |
|---|---|---|
| All-Purpose Flour 🌾 | 3 cups | Plus extra for dusting work surface |
| Full-Fat Sour Cream 🥛 | ¾ cup | Cold, for optimal texture development |
| Unsalted Butter 🧈 | ¼ cup | Melted and cooled to room temperature |
| Warm Water 💧 | ¼ cup | About 110°F, not hot |
| Fine Sea Salt 🧂 | 1 tsp | Diamond Crystal preferred for even distribution |
| Neutral Oil 🫒 | 1 tbsp | For bowl coating, prevents sticking |
The sour cream is non-negotiable—full-fat only for that signature tenderness. Cabot or Breakstone’s are reliable brands at most grocery stores. For flour, King Arthur all-purpose gives consistent results, though any unbleached variety works. The butter must be unsalted to control seasoning precisely. Use a thermometer for the water temperature if you’re serious about consistency (110°F is ideal).
No sour cream on hand? Plain Greek yogurt at equal volume works in a pinch, though the tang will be more pronounced. For a richer dough, substitute crème fraîche, but reduce water by 1 tbsp. The flour amount might need slight adjustment based on humidity—add it gradually. Vegan version? Use plant-based sour cream and butter alternatives, but texture may differ slightly.
The dough rests best covered at room temperature for 30-60 minutes. It can be refrigerated overnight (bring to room temp before rolling) or frozen for 1 month. Wrap tightly in plastic, then foil, to prevent freezer burn. Fresh dough is best used within 2 days for peak elasticity.
Why You’ll Love This Recipe
- No Fuss Mixing: I just dump everything in one bowl—sour cream, butter, flour, and a pinch of salt—then knead. No eggs to worry about.
- Rich, Tangy Bite: The full-fat sour cream gives the dough this subtle tang that makes every pierogi taste like it came from my grandma’s kitchen.
- Freezer Friendly: I make a double batch, roll it out, and stash the extra dough for up to a month. Honestly, it’s my lazy-day secret.
- Budget Stretch: Flour, sour cream, butter—that’s it. I’ll be real: it costs less than a takeout order to feed four.
Step-by-Step Instructions for Pierogi Dough With Sour Cream No Egg
Follow this precise method to create silky-smooth dough that rolls out effortlessly and yields tender dumplings.
Step 1: Combine Dry Ingredients and Fat
In a large mixing bowl, whisk together the 3 cups All-Purpose Flour and 1 tsp Fine Sea Salt until evenly distributed. I prefer Diamond Crystal salt for its consistent texture and even dispersion throughout the dough.
Create a well in the center and add the 0.25 cup Unsalted Butter, which should be melted and cooled to room temperature. Using a fork, gradually incorporate the butter into the flour mixture until it resembles coarse crumbs with no visible butter streaks.
This preliminary mixing ensures the fat is evenly distributed before adding the wet ingredients, which is crucial for achieving a uniform texture in the final dough.
Step 2: Incorporate Sour Cream and Water
Add the 0.75 cup Full-Fat Sour Cream to the center of the bowl. The sour cream must be cold—this temperature contrast with the warm water creates the ideal environment for gluten development while maintaining tenderness.
Pour in the 0.25 cup Warm Water (about 110°F) around the sour cream. Using a wooden spoon or dough whisk, begin mixing from the center outward, gradually incorporating the flour mixture until a shaggy dough forms.
The dough will appear slightly sticky at this stage, but resist the urge to add more flour. The hydration level is precisely calibrated for optimal texture after kneading.
Step 3: Knead to Smooth Perfection
Turn the dough out onto a lightly floured work surface dusted with some of the extra All-Purpose Flour. Knead for 8-10 minutes by pushing the dough away with the heel of your hand, then folding it back over itself and rotating a quarter turn.
After 5 minutes, the dough should become noticeably smoother and more elastic. Continue kneading until it passes the windowpane test—when you stretch a small piece between your fingers, it should be thin enough to see light through without tearing.
This extended kneading develops the gluten structure necessary for dumplings that hold their shape during boiling while remaining tender. The dough should feel slightly tacky but not sticky when properly kneaded.
Step 4: Rest and Relax the Gluten
Shape the dough into a ball and place it in a clean bowl. Drizzle the 1 tbsp Neutral Oil over the dough, then turn it to coat all surfaces. This prevents the dough from drying out and sticking to the bowl during its rest.
Cover the bowl with plastic wrap or a damp kitchen towel and let it rest at room temperature for 30 minutes. During this time, the gluten strands relax, making the dough significantly easier to roll out thinly without springing back.
After resting, the dough should feel smooth, pliable, and only slightly resistant when you press your finger into it. This resting period is non-negotiable for achieving the promised tender texture in your finished pierogi.
Pro Tips For Making Pierogi Dough Recipe With Sour Cream No Egg
- Warm the Sour Cream: Take the full-fat sour cream out of the fridge 30 minutes before mixing—cold sour cream makes the dough tough and hard to roll.
- Use Just Enough Water: Add warm water a tablespoon at a time until the dough just comes together; too much makes it sticky and impossible to handle.
- Don’t Overwork It: Knead the dough just until smooth, about 3-4 minutes—overworking it develops gluten, making your pierogi chewy instead of tender.
- Rest Before Rolling: Cover the dough and let it rest for 20-30 minutes at room temperature; this relaxes the gluten so it rolls out thin without springing back.
Health Benefits of pierogi dough recipe with sour cream no egg
Rich in B Vitamins
The sour cream in this dough provides a boost of B vitamins, particularly B12 and riboflavin, which are essential for energy production and nervous system health. I love that this recipe turns a simple ingredient into a nutritional powerhouse.
Supports Bone Health
Sour cream contains calcium and phosphorus, both vital for maintaining strong bones and teeth. A single batch of this dough offers a meaningful contribution to your daily calcium needs. 💪
Good Source of Energy
The all-purpose flour provides complex carbohydrates, which are your body’s primary energy source. This makes pierogi a satisfying meal that keeps you fueled for hours. I often make a batch for busy days when I need lasting energy.
Low in Saturated Fat
With unsalted butter as the only fat source, this dough is relatively low in saturated fat compared to other pastry recipes. The small amount used is just enough to create a tender texture without excess. 💛
Dietary Flexibility
This egg-free version is perfect for those with egg allergies or dietary restrictions. It’s also vegetarian-friendly, making it versatile for various eating plans. I’ve served it to friends with different dietary needs, and everyone loves it.
Balanced Hydration
The combination of warm water and sour cream creates a hydrated dough that’s easy to work with and gentle on digestion. Proper hydration also helps the flour absorb nutrients more effectively.
Nutrition Facts
Frequently Asked Questions
Why use sour cream in pierogi dough?
Sour cream adds tenderness and subtle tang while keeping the dough elastic. Its fat content replaces eggs, creating a rich texture that holds up to boiling. Full-fat versions work best for this purpose.
How thin should I roll the dough?
Roll it to about 1/8-inch thickness for perfect dumplings. Too thick makes them doughy; too thin risks tearing. Use a floured surface to prevent sticking.
Can I make this dough ahead?
Yes! Store wrapped dough in the fridge for 2 days or freeze for 1 month. Thaw overnight in the fridge before using. Avoid room-temperature storage.
What if my dough is too sticky?
Add flour 1 tbsp at a time while kneading. Don’t overdo it—slight tackiness is normal. Chill the dough for 15 minutes if it’s unmanageable.

- Potato Candy Recipe 1933: Vintage Peanut Butter Roll Delight - October 30, 2026
- Potato Chip Cookie Recipe With Pecans: Buttery Crunch Meets Nutty Richness - October 30, 2026
- Potato Patty Recipe No Egg: Crispy Edges Without the Binder - October 30, 2026