
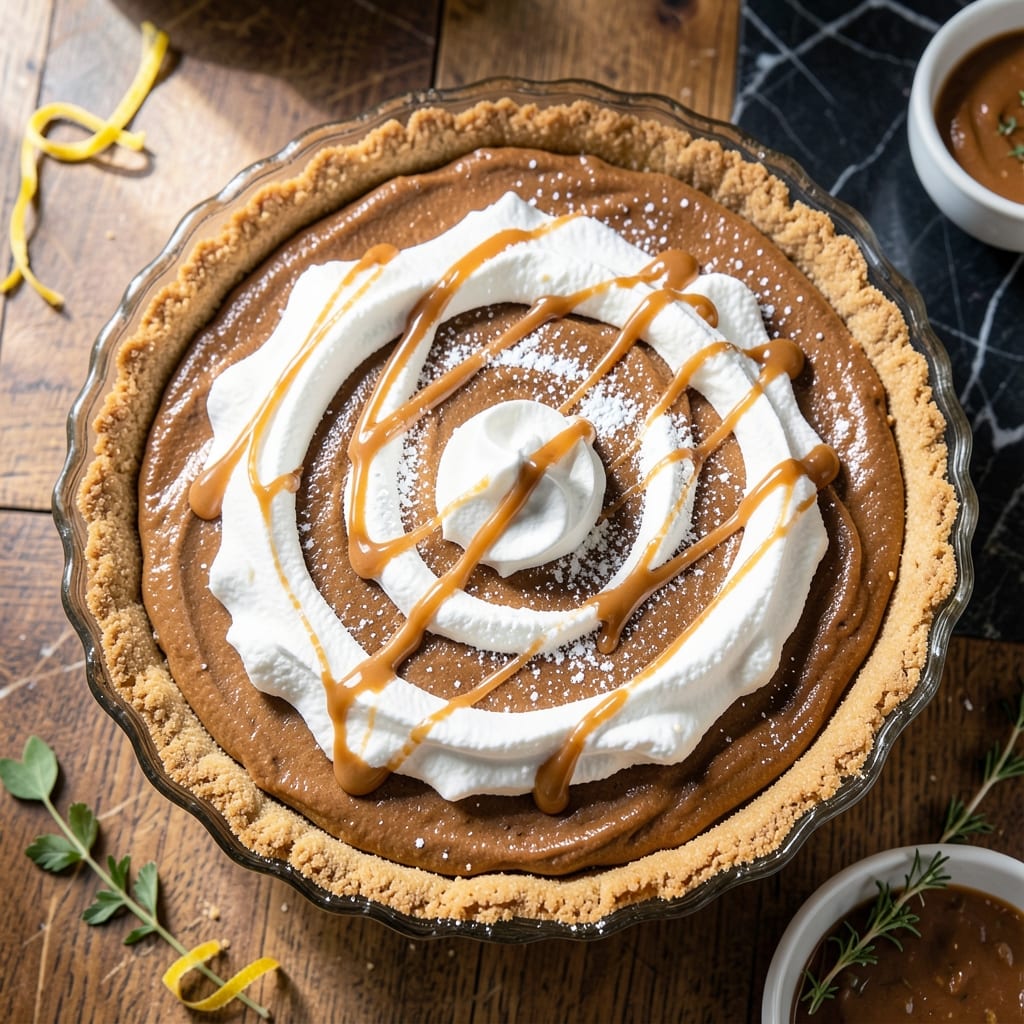
This no-bake dessert delivers a creamy peanut butter filling with a light, airy topping that’s impossible to resist.
I developed this version to satisfy peanut butter lovers without turning on the oven. The Cool Whip creates a fluffy contrast to the rich, velvety base.
What you’ll get is a perfectly balanced pie—smooth, nutty, and just sweet enough, with a texture that holds its shape when sliced.
Ideal for warm weather or when you need an effortless crowd-pleaser. Here’s how to make it.
Ingredients for Peanut Butter Pie Recipe with Cool Whip
Creamy peanut butter and fluffy Cool Whip come together for this no-bake dream.
| Ingredient | Amount | Notes |
|---|---|---|
| Creamy Peanut Butter 🥜 | 1 ½ cups | Smooth, not natural style |
| Powdered Sugar 🍚 | 1 ½ cups | Sifted for smoothness |
| Unsalted Butter 🧈 | ½ cup | Softened to room temperature |
| Vanilla Extract 🌿 | 1 tsp | Pure vanilla for best flavor |
| Cool Whip 🥣 | 8 oz | Thawed according to package |
| Graham Cracker Crust 🍪 | 1 whole | Pre-made 9-inch crust |
| Heavy Cream 🥛 | ½ cup | Cold, for folding into topping |
| Salt 🧂 | ¼ tsp | Fine sea salt preferred |
| Chopped Peanuts 🥜 | ½ cup | For garnish, lightly salted |
| Chocolate Syrup 🍫 | ¼ cup | For drizzling before serving |
The peanut butter matters here. Jif or Skippy give that perfect smooth texture—natural styles can separate. You’ll find them at any grocery store (usually on sale too). The graham crust? Keebler or store-brand both work fine. Just make sure it’s the regular size, not mini. Butter should be soft but not melted—leave it out for about an hour before starting.
No Cool Whip? Whipped cream at double the amount works, but it won’t hold as long. Swap powdered sugar for granulated if needed (just blend it first). The chocolate syrup can be homemade or store-bought—Hershey’s is a solid choice. For extra texture, swap chopped peanuts for crushed Oreo cookies (about 6 cookies).
This pie keeps 3-4 days in the fridge—cover it tightly so it doesn’t absorb other flavors. Freezing? Not ideal (the Cool Whip gets weird), but you can freeze the filling alone for up to 2 weeks if needed.
Why You’ll Love This Recipe
- I’ll be real: I love that I can make it the night before and let it set in the fridge—no last-minute stress.
- No-Bake Bliss: I just mix peanut butter, powdered sugar, butter, and vanilla, fold in Cool Whip, and it’s done—no oven required.
- Rich & Creamy: That first bite of Cool Whip-lightened peanut butter filling? Honestly, it’s like a fluffy, sweet cloud of peanut butter.
- Crowd Pleaser: Between us, I’ve served this at potlucks and family dinners, and it’s always the first to disappear.
Step-by-Step Instructions for Peanut Butter Pie with Cool Whip
This no-bake method comes together in minutes with just a little mixing and chilling.
Step 1: Create the Peanut Butter Filling Base
In a large bowl, beat the 0.5 cup Unsalted Butter with the 1.5 cups Creamy Peanut Butter until completely smooth and creamy. I use a hand mixer for this—it ensures there are no butter lumps hiding in the peanut butter.
Add the 1.5 cups Powdered Sugar and 0.25 tsp Salt, then beat again until fully incorporated. The mixture will look crumbly at first, but keep mixing until it comes together into a thick, dough-like consistency. Stir in the 1 tsp Vanilla Extract for that perfect sweet aroma.
Step 2: Fold in the Cool Whip
Gently fold the 8 oz Cool Whip into the peanut butter mixture using a silicone spatula. The key here is to fold, not stir—this keeps the Cool Whip light and airy, giving your pie that dreamy creamy texture.
Work in thirds if needed to prevent overmixing. You want the filling to be smooth and uniformly combined, with no white streaks remaining. The mixture should look slightly fluffy, not dense, when done right.
Step 3: Assemble and Chill the Pie
Scoop the filling into the 1 whole Graham Cracker Crust and spread it evenly with the back of a spoon. Press gently to eliminate any air pockets, but don’t compact it too firmly—you want to maintain that light texture.
Cover the pie loosely with plastic wrap and refrigerate for at least 4 hours, or until the filling is completely set. I like to make this the night before serving—it gives the flavors time to meld together beautifully.
Step 4: Add the Toppings Before Serving
Just before serving, whip the 0.5 cup Heavy Cream until soft peaks form. Spread or pipe this over the chilled pie for an extra layer of creaminess. This step is optional but adds a lovely light contrast to the rich peanut butter filling.
Finish by drizzling the 0.25 cup Chocolate Syrup over the top and sprinkling with the 0.5 cup Chopped Peanuts. The chocolate should pool slightly in spots, and the peanuts should be evenly distributed for that perfect crunch in every bite.
Pro Tips For Making Peanut Butter Pie Recipe With Cool Whip
- Soften the Butter: Use room-temperature butter—about 65°F—so it blends smoothly with the peanut butter without leaving lumps. I learned this the hard way after ending up with a grainy filling.
- Chill the Crust: Pop your pie crust in the freezer for 10 minutes before adding the filling. Sounds weird, but it works: it keeps the crust firm and prevents sogginess.
- Fold Cool Whip Last: Wait until the very end to fold in the Cool Whip so it stays light and fluffy. Mix it in too early, and you’ll deflate the texture—your future self will thank you.
- Use Name-Brand PB: Skip the generic peanut butter; the oil separation in cheaper brands can make your filling greasy. I was skeptical until I tried it, but the consistency is noticeably better with Jif or Skippy.
Serving Suggestions for This peanut butter pie recipe with cool whip
Plating Presentation
Serve each slice on chilled dessert plates for an elegant touch. I use white plates to make the rich peanut butter color pop. Add a dollop of extra Cool Whip on top of each slice for a restaurant-style finish. 💛
Garnish Variations
Swap the chopped peanuts for crushed Reese’s Pieces for a colorful, kid-friendly version. For adults, shaved dark chocolate adds sophistication. A sprinkle of flaky sea salt enhances all the flavors beautifully.
Beverage Pairings
Cold milk is classic, but I love serving this with iced coffee for a mocha-peanut butter combo. For a grown-up twist, pair with a glass of cold brew stout—the roasted notes complement the peanut butter perfectly. 🍺
Portion Control
This rich pie serves 8 generously. For smaller gatherings, cut into 10-12 smaller slices. The flavors are so concentrated that even a small portion feels satisfying. I always get requests for seconds!
Seasonal Touches
In summer, add fresh raspberries or strawberries on the side. For winter, warm the chocolate syrup slightly before drizzling. These small changes make the dessert feel special for any occasion.
Nutrition Facts
Frequently Asked Questions
Can I use natural peanut butter instead of creamy?
Natural styles often separate and can make the filling oily. Stick with Jif or Skippy for the best texture. If you must use natural, stir it very well and chill the pie longer to help it set.
How long does this pie need to chill?
Refrigerate for at least 4 hours, but overnight is ideal. This gives the filling time to firm up completely and the flavors to meld beautifully.
Can I make this pie ahead of time?
Prepare it up to 2 days in advance. Store covered in the fridge, but add toppings like whipped cream and chocolate syrup just before serving.
What can I substitute for Cool Whip?
Use 2 cups whipped cream instead, but note it won’t hold as long. For a lighter option, Greek yogurt works but may change the texture slightly.

- Pina Colada Dip Recipe Red Lobster: Tropical Creaminess With Toasted Coconut - October 12, 2026
- Pickled Sweet Cherry Peppers Recipe Canning: Tangy Heat for Pantry Staples - October 12, 2026
- Peppercorn Sauce Recipe Vegan: Rich Umami Depth Without Cream - October 12, 2026