
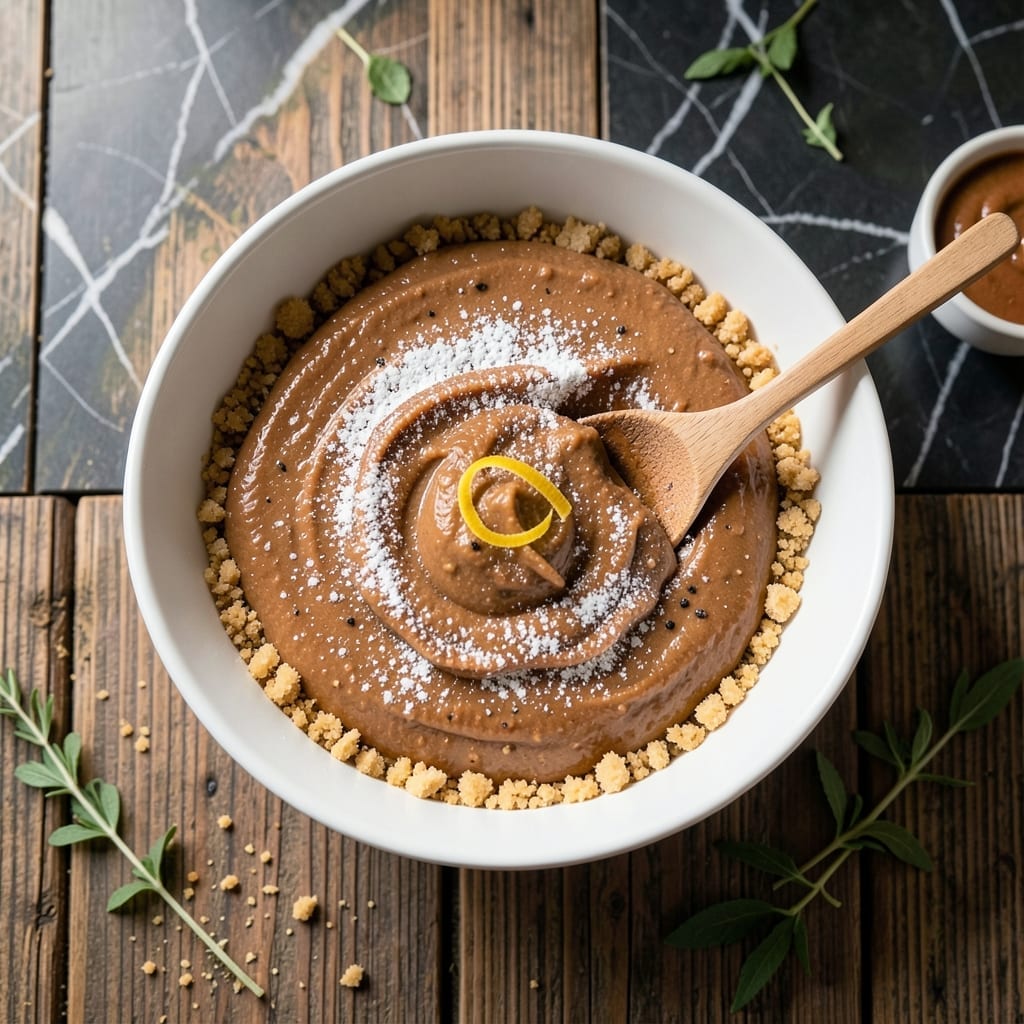
When you need a dessert that comes together without turning on the oven, these no-bake peanut butter squares deliver creamy satisfaction in every bite.
I developed this recipe for hot summer days when baking felt impossible. The layers of peanut butter, graham cracker crumbs, and chocolate create a texture that’s both rich and light. It’s the kind of treat that disappears fast from any gathering.
The secret is in the timing—each layer needs a few minutes to set before adding the next. This ensures clean slices and perfect texture. No fancy equipment required, just a mixing bowl and a little patience.
Vegetarian-friendly and effortless, this dish proves you don’t need heat to make something extraordinary. The result is always worth the minimal effort.
Ingredients for Peanut Butter Squares Recipe No Bake
No oven required. Just creamy layers of peanut butter and chocolate on a crumbly base.
| Ingredient | Amount | Notes |
|---|---|---|
| Graham Cracker Crumbs 🍪 | 2 cups | Finely crushed, about 16 full crackers |
| Creamy Peanut Butter 🥜 | 1 ½ cups | Natural or regular, well-stirred |
| Unsalted Butter 🧈 | ¾ cup | Melted, then cooled slightly |
| Powdered Sugar 🍚 | 1 ½ cups | Sifted for smooth texture |
| Vanilla Extract 💧 | 1 tsp | Pure for best flavor |
| Salt 🧂 | ¼ tsp | Balances sweetness |
| Semi-Sweet Chocolate Chips 🍫 | 2 cups | For topping layer |
| Heavy Cream 🥛 | ¼ cup | For chocolate ganache |
| Honey 🍯 | 2 tbsp | Optional for extra sweetness |
| Pecans 🌰 | ½ cup | Chopped, for crunch |
The peanut butter is the soul here—Jif or Skippy work great, but natural kinds (like Smucker’s) need a good stir first. Graham crackers are easy to find at any grocery store, but Keebler or Honey Maid have the best crumb texture. For the chocolate, Ghirardelli or Guittard chips melt smoothly for that glossy top layer. Always check the label—some brands add wax that won’t melt right.
No graham crackers? Digestive biscuits or vanilla wafers at one-to-one ratio work in a pinch. Out of peanut butter? Almond or cashew butter swap in perfectly (same amount). Need it dairy-free? Use coconut oil instead of butter—same quantity, but chill the mixture 10 minutes longer between layers. The honey can be maple syrup if you prefer.
These keep 5 days in the fridge (if they last that long). For longer storage, freeze for up to 3 months—just thaw in the fridge overnight before slicing. Letting it sit at room temp for 10 minutes makes cutting cleaner.
Why You’ll Love This Recipe
- No Oven Needed: I just mix, press, and chill—no preheating, no baking sheets, just my fridge doing the work.
- Sweet-Salty Magic: That creamy peanut butter with the buttery graham crumbs hits the perfect balance every single time.
- Potluck MVP: I bring these to parties and they’re always the first to disappear, even next to fancy desserts.
- Budget-Friendly Batch: Five simple ingredients, most already in my pantry, make a big pan that lasts for days.
Step-by-Step Instructions for Peanut Butter Squares
Here’s the method. Simple, no-fail, and ready in no time.
Step 1: Prepare the Peanut Butter Base
In a large bowl, combine the 2 cups Graham Cracker Crumbs, 1.5 cups Powdered Sugar, 1.5 cups Creamy Peanut Butter, 0.75 cup Unsalted Butter (melted and cooled), 1 tsp Vanilla Extract, and 0.25 tsp Salt. Use a wooden spoon or spatula to mix until everything is fully incorporated and the mixture holds together when pressed.
Here’s the thing—the texture should resemble wet sand. If it seems too dry, add the optional 2 tbsp Honey for extra binding power. Press half of this mixture evenly into a parchment-lined 8×8-inch baking dish, using the bottom of a glass to create a smooth, compact layer. This forms your first creamy layer.
Step 2: Add the Crunch and Top Layer
Sprinkle the 0.5 cup Pecans (chopped) evenly over the first layer. Then spread the remaining peanut butter mixture on top, pressing down gently to create an even surface. This middle layer adds a delightful texture contrast that makes every bite interesting.
Place the dish in the refrigerator to chill while you prepare the chocolate topping. I’ve found that 15-20 minutes is enough time for the base to set slightly, making it easier to spread the chocolate without disturbing the layers below.
Step 3: Create the Chocolate Ganache Topping
In a microwave-safe bowl, heat the 0.25 cup Heavy Cream for 45-60 seconds until it just begins to simmer. Immediately pour this over the 2 cups Semi-Sweet Chocolate Chips in a separate bowl. Let it sit for 1 minute to allow the heat to begin melting the chocolate.
Then whisk gently until the mixture becomes smooth and glossy. If any chocolate chips remain unmelted, microwave in 15-second bursts, stirring between each, until completely smooth. The ganache should be thick but pourable—if it’s too thick, add a teaspoon more of warm cream.
Step 4: Assemble and Chill to Perfection
Pour the chocolate ganache over the peanut butter layers, using a spatula to spread it evenly to the edges. The chocolate should form a seamless, glossy top layer that will harden as it chills. For an extra touch, sprinkle a few additional chopped pecans on top if desired.
Refrigerate the entire dish for at least 2 hours, or until the chocolate is completely set and firm to the touch. This chilling time is crucial—it allows all the layers to come together and makes for clean, easy slicing. When ready, lift the parchment paper to remove the set mixture and cut into 16 even squares.
Pro Tips For Making Peanut Butter Squares Recipe No Bake
- Melt Butter Slowly: Use low heat and stir constantly when melting the butter—burnt butter will ruin the smooth peanut butter flavor in your squares.
- Use Fresh Crumbs: Pulse whole graham crackers yourself rather than using pre-crushed crumbs; they’ll bind better and give you that perfect texture.
- Chill Before Cutting: Pop the pan in the fridge for at least 2 hours, or the squares will crumble apart when you try to slice them.
- Warm the Peanut Butter: Microwave the peanut butter for 20-30 seconds to soften it first—it mixes into the butter and powdered sugar much easier without clumping.
Serving Suggestions for Leftovers
Plating for Parties
For gatherings, cut into 1-inch squares and arrange on a white platter. The contrast between the dark chocolate and peanut butter layers looks stunning. I like to add a sprinkle of flaky sea salt on top for visual pop and flavor balance. 💛
Individual Portions
Use mini cupcake liners in a muffin tin to create single-serving portions. Press the crust layer into each liner, then add the peanut butter mixture and chocolate. These are perfect for lunchboxes or portion control.
Drizzle Finishes
Melt an additional ¼ cup peanut butter with 1 tbsp honey and drizzle over the top before chilling. Alternatively, warm ¼ cup caramel sauce works beautifully for a sweet contrast to the chocolate. 🔥
Garnish Ideas
Top with chopped roasted peanuts or mini chocolate chips for added texture. A dusting of cocoa powder through a fine mesh sieve adds a professional touch. I often add a few pecan halves for visual appeal.
Serving Temperature
These taste best when served slightly cool but not ice-cold. Remove from the fridge 15 minutes before serving to let the flavors soften. The chocolate will have a perfect slight give when cut.
Pairing Drinks
A cold glass of milk is classic, but I love these with vanilla chai tea or a dark roast coffee. The bitterness of coffee enhances the sweetness beautifully. For adults, a port wine creates an elegant pairing.
Nutrition Facts
Frequently Asked Questions
Can I use crunchy peanut butter instead?
Yes! Crunchy peanut butter adds extra texture. The pieces will soften slightly but still provide a nice contrast to the smooth layers.
How long do these need to chill?
Allow at least 2 hours in the fridge for the chocolate to set completely. For best results, chill overnight. This ensures clean, easy slicing without smudging the layers.
What if my chocolate layer doesn’t harden?
If the ganache stays soft, the cream may have been too hot. Return it to the fridge for 30-60 minutes longer. Avoid overheating the cream next time.
Can I make these gluten-free?
Swap graham cracker crumbs for gluten-free biscuit crumbs at a 1:1 ratio. Check all ingredient labels to ensure they’re certified gluten-free.

- Potato Candy Recipe 1933: Vintage Peanut Butter Roll Delight - October 30, 2026
- Potato Chip Cookie Recipe With Pecans: Buttery Crunch Meets Nutty Richness - October 30, 2026
- Potato Patty Recipe No Egg: Crispy Edges Without the Binder - October 30, 2026