
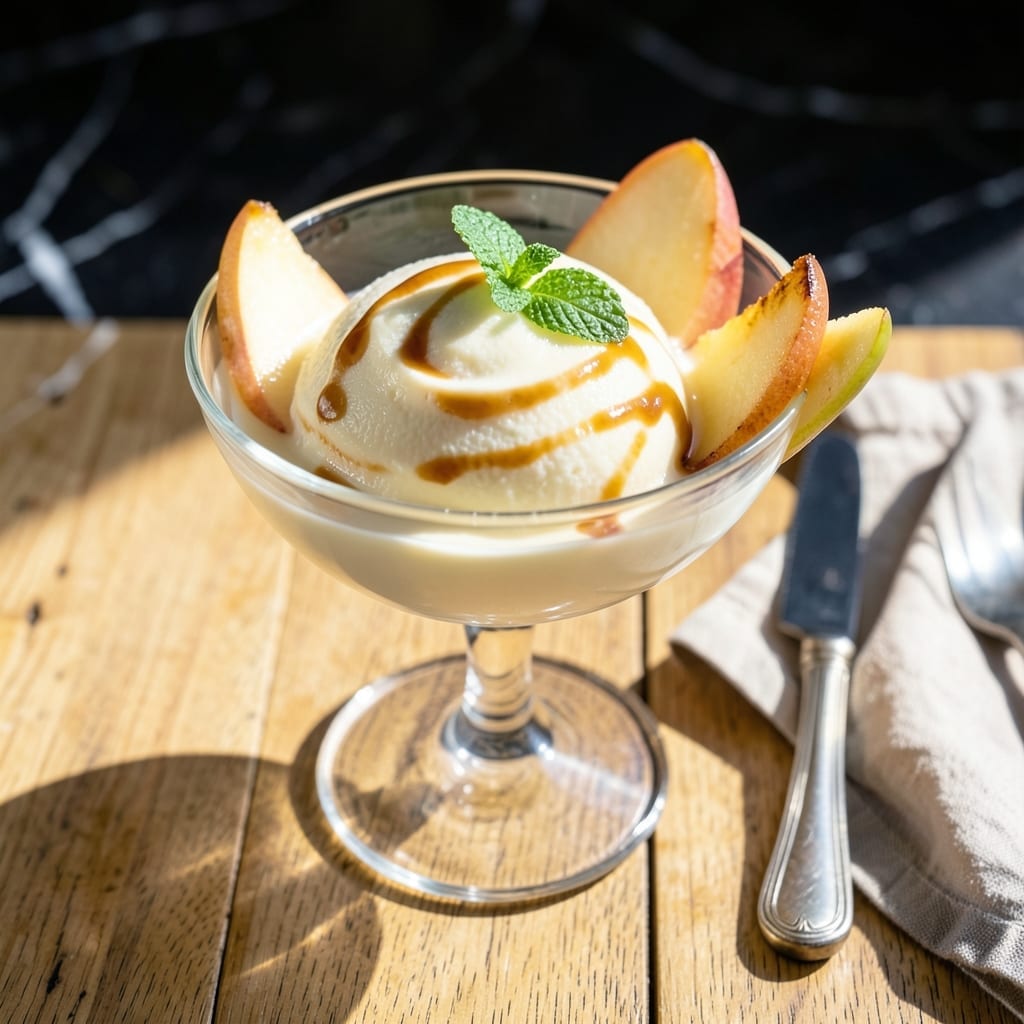
This pear sorbet delivers a refreshing burst of natural sweetness with every spoonful. Using an ice cream maker ensures a smooth, velvety texture that’s hard to achieve by hand.
The process is straightforward—ripe pears are blended with a touch of sugar and lemon juice, then churned until creamy. No artificial flavors or preservatives, just pure fruit goodness.
What sets this sorbet apart is its simplicity. The ice cream maker does most of the work, transforming the mixture into a light, airy dessert in under 30 minutes.
Serve it as a palate cleanser or a light finish to any meal. The result is always smooth, refreshing, and perfectly balanced.
Ingredients for Pear Sorbet Recipe Ice Cream Maker
Six simple ingredients blend into a light, naturally sweet frozen treat.
| Ingredient | Amount | Notes |
|---|---|---|
| Ripe Pears 🍐 | 2 lb | Bartlett or Anjou preferred |
| Granulated Sugar 🍚 | ¾ cup | Adjust to taste preference |
| Lemon Juice 🍋 | 2 tbsp | Freshly squeezed for brightness |
| Water 💧 | ¼ cup | Optional for thinner consistency |
| Vanilla Extract 🌿 | 1 tsp | Pure extract for best flavor |
| Pinch of Salt 🧂 | 1 pinch | Enhances natural sweetness |
The pears are everything here. Bartlett or Anjou varieties have the right sweetness and smooth texture—avoid Bosc, which can be grainy. Look for fruit that yields slightly to gentle pressure (ripe but not mushy). Most grocery stores carry these year-round, but farmers markets in late summer/fall have the best flavor. Organic isn’t necessary unless you’re eating the skins, which you’ll peel off anyway.
No fresh pears? Canned pears in juice (not syrup) work in a pinch—drain well first. Short on sugar? Maple syrup or agave at a 1:1 ratio, but the texture will be slightly different. The lemon juice isn’t just for flavor—it prevents browning and adds that bright finish. Skip the water if your pears are extra juicy. Vanilla is optional but really ties everything together.
The base mixture keeps in the fridge for 2 days before churning. Once churned, sorbet is best the first day but holds well for up to 1 week in an airtight container. Freeze for 3 months if needed—just let it sit at room temp for 10 minutes before scooping.
Why You’ll Love This Recipe
- 5-Minute Prep: I just blend the ripe pears with sugar, lemon juice, and water—no cooking, no fuss.
- Bright & Fresh: The vanilla extract and lemon juice make the pear flavor pop in a way that feels fancy but tastes like home.
- Crowd-Pleasing Treat: Honestly, it’s the only dessert my picky nephew and my foodie sister both devour.
- Freezer Friendly: I double the batch and stash the leftovers—they keep perfectly for weeks, so I always have dessert on hand.
Step-by-Step Instructions for Pearl Sorbet
This method ensures a silky texture and balanced sweetness with every refreshing spoonful.
Step 1: Prepare and Poach the Pears
Peel, core, and dice the 2 lb ripe pears into uniform 1-inch chunks. This size ensures even cooking and a smooth puree later. Place them in a medium saucepan with the 0.25 cup water and 2 tbsp lemon juice.
Bring to a gentle simmer over medium heat and cook for 8-10 minutes, stirring occasionally, until the pears are completely tender when pierced with a fork. The lemon juice prevents browning and adds brightness to the final flavor.
Step 2: Sweeten and Blend the Mixture
Remove the saucepan from heat and stir in the 0.75 cup granulated sugar until fully dissolved. Taste the mixture and adjust sweetness if needed—the sugar should complement, not overpower, the natural pear flavor.
Transfer the warm pear mixture to a blender or food processor. Add the 1 tsp vanilla extract and pinch of salt, then puree until completely smooth. The salt enhances the pears’ natural sweetness, while the vanilla adds depth. For extra silkiness, strain the puree through a fine-mesh sieve to remove any fibrous bits.
Step 3: Chill the Base Thoroughly
Pour the puree into a shallow dish or bowl and cover it with plastic wrap, pressing the wrap directly onto the surface to prevent a skin from forming. Refrigerate for at least 4 hours, or preferably overnight.
This chilling step is critical for two reasons: it allows the flavors to meld and develop, and it ensures the mixture is ice cold before churning. A warm base will take longer to freeze and may result in a grainy texture.
Step 4: Churn in the Ice Cream Maker
Pour the chilled pear mixture into your ice cream maker and churn according to the manufacturer’s instructions, typically for 20-25 minutes. The sorbet is ready when it reaches a thick, slushy consistency, similar to soft-serve ice cream.
If your machine has a bowl that needs pre-freezing, make sure it’s been in the freezer for at least 12 hours beforehand. The churning process incorporates air, which gives the sorbet its light, fluffy texture.
Step 5: Freeze to Firm Perfection
Transfer the churned sorbet to a lidded container and smooth the top with a spatula. Freeze for at least 4 hours, or until firm enough to scoop. This final freeze sets the texture, transforming the soft churned mixture into a scoopable, refreshing dessert.
For best results, let the sorbet sit at room temperature for 5-10 minutes before serving to soften slightly. The final product should be smooth, with a bright pear flavor and a texture that’s neither icy nor soupy.
Pro Tips For Making Pear Sorbet Recipe Ice Cream Maker
- Chill the Base: Always refrigerate your pear puree mixture for at least 2 hours before churning—I learned this the hard way after ending up with soupy sorbet that refused to set.
- Use Overripe Pears: Pick pears that are almost too soft to eat; their natural sweetness means you can cut the sugar by a tablespoon or two without sacrificing flavor.
- Strain the Puree: After blending, press the mixture through a fine-mesh sieve to remove fibrous bits—this makes the texture silky smooth instead of grainy.
- Add Lemon Last: Stir in the lemon juice right before churning, not during blending, to keep the pears from browning while the base chills.
Serving Suggestions for Leftovers
Elegant Plating
Scoop 2-3 perfect quenchers into chilled coupe glasses for a restaurant-worthy presentation. I love the contrast of the smooth sorbet against the crystal-clear glass. Garnish with a thin pear slice or a sprig of fresh mint for a pop of color. 💫
Warm Weather Pairing
This light dessert shines on a hot day with sparkling rosé or a crisp Prosecco. The effervescence cuts through the sweetness beautifully. For a non-alcoholic option, try sparkling pear cider—it doubles down on the fruit flavor.
Crunchy Toppings
Add texture with toasted almond slivers or crushed amaretti cookies. About 2 tbsp per serving gives just the right contrast. I also love a drizzle of honey for extra depth without overpowering the pear.
Make It Fancy
Serve with shortbread cookies or biscotti for dipping. The buttery crunch complements the sorbet’s clean finish. For a dinner party, pre-scoop into small glasses and return to the freezer until ready to serve.
Simple Family Style
For casual gatherings, serve directly from the container with a warm metal scoop. The contrast of the cold sorbet and warm scoop makes serving easier. Kids love adding rainbow sprinkles for a fun touch.
Dessert Board
Include this sorbet on a dessert charcuterie board with dark chocolate, dried apricots, and candied ginger. The variety of textures and flavors makes for a memorable finish to any meal.
Nutrition Facts
Frequently Asked Questions
Do I need to peel the pears first?
Yes, always peel pears for sorbet. The skin can create a grainy texture and bitter taste. Use a vegetable peeler for efficiency, then core and dice into 1-inch chunks for even cooking.
Can I make this without an ice cream maker?
You can, but the texture won’t be as smooth. Freeze the base in a shallow dish, then fork-whisk every 30 minutes for 3-4 hours to break up ice crystals. An ice cream maker gives the best results.
Why did my sorbet turn icy?
This usually happens if the base wasn’t cold enough before churning or if it sat too long in the freezer. Ensure the mixture is ice cold (4 hours in fridge) and store in an airtight container to prevent freezer burn.

- Pina Colada Dip Recipe Red Lobster: Tropical Creaminess With Toasted Coconut - October 12, 2026
- Pickled Sweet Cherry Peppers Recipe Canning: Tangy Heat for Pantry Staples - October 12, 2026
- Peppercorn Sauce Recipe Vegan: Rich Umami Depth Without Cream - October 12, 2026