
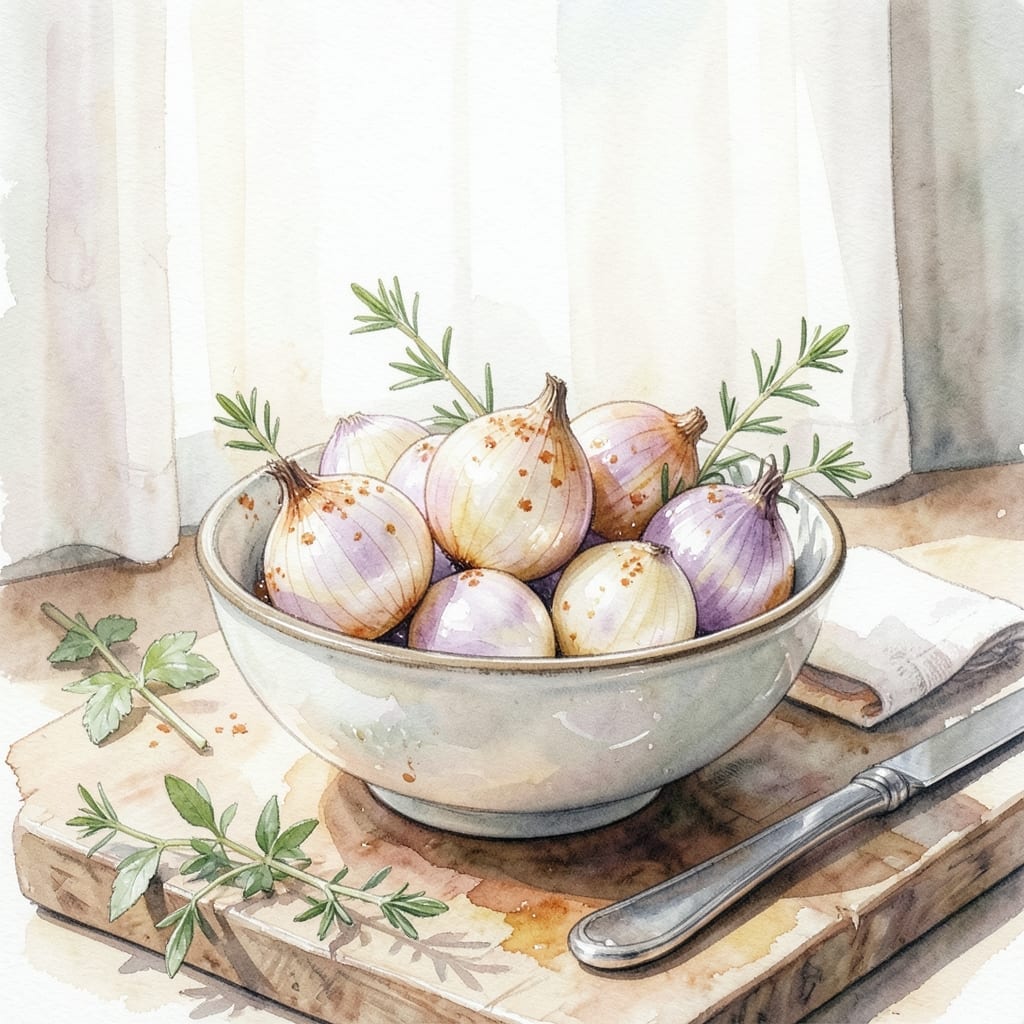
Pearl onions bring elegant flavor to any meal with minimal effort. These tiny alliums transform into tender, sweet bites when cooked properly.
I’ve perfected a method that enhances their natural sweetness while maintaining texture. Whether roasted, glaze-braised, or pickled, they elevate everything from weeknight dinners to holiday feasts.
This creation balances simplicity with sophistication. A short 30-minute cooking time yields caramelized edges and soft interiors that pair well with meats or stand alone.
Try them as a side or incorporate into stews for a refined touch. The results are consistently impressive.
Ingredients for Pearl Onion Recipe Ideas
These delicate onions require minimal ingredients for maximum impact on any plate.
| Ingredient | Amount | Notes |
|---|---|---|
| Pearl Onions 🧅 | 2 lb | Peeled, fresh or frozen |
| Unsalted Butter 🧈 | 4 tbsp | For sauteing onions |
| Olive Oil 🫒 | 2 tbsp | Extra-virgin preferred |
| Balsamic Vinegar 🍷 | ¼ cup | Aged for depth |
| Brown Sugar 🍚 | 2 tbsp | Light or dark variety |
| Fresh Thyme Sprigs 🌿 | 4 whole | Leaves stripped from stems |
| Garlic Cloves 🧄 | 3 cloves | Minced for even distribution |
| Salt 🧂 | 1 tsp | Diamond Crystal kosher |
| Black Pepper 🌶️ | ½ tsp | Freshly ground for best flavor |
| Beef Stock 🥩 | 1 cup | Low-sodium preferred |
| Red Wine 🍷 | ½ cup | Dry variety for deglazing |
| Fresh Parsley 🌿 | ¼ cup | Chopped for garnish |
The pearl onions are the star—fresh ones (found at Whole Foods or specialty markets) have superior texture to frozen, though frozen work in a pinch. Aged balsamic vinegar is worth the splurge here; Colavita or Aceto Balsamico di Modena are excellent. The beef stock should be rich and low-sodium so you can control the seasoning precisely.
No red wine? Substitute with additional beef stock plus 1 tsp of vinegar. Fresh thyme can be replaced with dried at one-third the amount. For a vegetarian option, swap beef stock for vegetable stock. The brown sugar can be replaced with honey or maple syrup, though the flavor profile will shift slightly.
Peeled pearl onions keep in the fridge for 3-4 days (unpeeled, 2 weeks). The finished dish holds well for 3 days refrigerated. Freezing isn’t recommended—onions turn mushy when thawed.
Why You’ll Love This Recipe
- Minimal Prep: I just peel and toss—no chopping required with these tiny onions.
- Sweet & Tangy: The brown sugar and balsamic vinegar create this ridiculous caramelized glaze I could drink.
- Dinner to Lunch: Roast a big batch on Sunday, and I’ve got sides for the whole week.
Step-by-Step Instructions for Pearl Onion Side Dish
This method delivers perfectly caramelized onions with a rich, savory-sweet glaze every time.
Step 1: Sear the Pearl Onions to Golden Perfection
Heat a large skillet over medium-high heat and add the 4 tbsp unsalted butter and 2 tbsp olive oil. Once the butter melts and begins to foam, add the 2 lb pearl onions in a single layer. I use fresh onions here for the best texture, but frozen work too if properly thawed and patted dry.
Cook undisturbed for 4-5 minutes until the onions develop a deep golden brown crust on one side. Resist the urge to stir too early—this initial sear creates the foundation for caramelization. Then stir and cook for another 5-6 minutes until the onions are evenly browned on all sides.
Step 2: Build the Aromatic Base
Reduce heat to medium and add the 3 cloves minced garlic cloves, 4 whole fresh thyme sprigs (leaves stripped), 2 tbsp brown sugar, 1 tsp salt, and 0.5 tsp black pepper. Stir to coat the onions evenly with the aromatics and sugar.
The garlic should become fragrant within 30 seconds—don’t let it burn. The brown sugar will begin to melt and coat the onions, creating the first layer of that signature sticky, sweet-savory glaze we’re after. This step transforms the dish from simple to sophisticated.
Step 3: Deglaze and Create the Sauce
Pour in the 0.5 cup red wine and 0.25 cup balsamic vinegar to deglaze the pan, scraping up all the browned bits with a wooden spoon. The liquid should sizzle and bubble immediately upon contact with the hot pan. Let this mixture reduce by half, about 3-4 minutes.
Once reduced, add the 1 cup beef stock and bring back to a gentle simmer. The beef stock adds depth and body to the sauce, balancing the acidity of the vinegar and wine. Simmer for 8-10 minutes until the onions are tender and the liquid has reduced to a glaze consistency.
Step 4: Finish and Garnish
Remove the skillet from heat and discard the thyme sprigs. The onions should be glossy and coated in a thick, rich sauce. If the sauce seems too thin, return to heat for another 1-2 minutes of reduction.
Transfer to a serving dish and sprinkle with the 0.25 cup chopped fresh parsley for a bright, fresh finish. The parsley not only adds color but also a clean, herbal note that cuts through the richness. Serve warm as a side dish that pairs beautifully with roasted meats or as a vegetarian main over creamy polenta.
Pro Tips For Making Pearl Onion Recipe Ideas
- Blanch First: Drop pearl onions in boiling water for 1-2 minutes before peeling—I learned this the hard way after struggling with tiny, stubborn skins.
- Brown the Butter: Let the unsalted butter cook until it turns golden brown before adding onions; it adds a nutty depth that plain butter just can’t.
- Skip the Rush: Resist the urge to crank the heat too high when caramelizing; low and slow with olive oil and butter guarantees sweet, even browning.
- Deglaze with Vinegar: After onions are caramelized, pour in balsamic vinegar to lift all those browned bits—sounds weird, but it builds a glossy, tangy glaze that brown sugar alone can’t.
Pro Cooking Tips for Perfect Results
Perfect Searing Technique
Don’t crowd your 12-inch skillet—use one large enough to hold 2 lb pearl onions in a single layer. I recommend All-Clad stainless steel for even heat distribution. The butter-oil combo prevents burning while allowing proper browning.
Timing the Caramelization
That initial 4-5 minute undisturbed sear is crucial for developing the Maillard reaction. You’ll know it’s working when the edges turn deep golden brown. Stirring too soon creates steam, which softens onions before they brown properly.
Deglazing Like a Pro
When adding the 0.5 cup red wine and 0.25 cup balsamic vinegar, tilt your pan to pool the liquid in one area. This helps dissolve all those flavorful browned bits. Use a wooden spoon to scrape aggressively—this is where the depth of flavor develops. 🌟
Glaze Consistency Check
After adding 1 cup beef stock, your glaze should coat the back of a spoon. If it’s watery after 8-10 minutes, simmer uncovered for 1-2 minutes more. The sauce should be thick enough to cling to each onion.
Thyme Management
Add 4 whole thyme sprigs early so their flavor infuses during cooking. Remove them before serving—no one wants to bite into a woody stem. The leaves will have released all their aromatic oils by then.
Final Touch Timing
Add 0.25 cup fresh parsley right before serving to preserve its bright color and flavor. If added too early, it’ll wilt and lose its vibrant freshness. This final garnish makes the dish look as good as it tastes.
Nutrition Facts
Frequently Asked Questions
Can I use frozen pearl onions instead of fresh?
Yes, frozen work well if thawed and patted completely dry first. This prevents excess moisture from steaming the onions instead of browning them.
What can I substitute for red wine?
Use additional beef stock plus 1 tsp vinegar to mimic the acidity. For alcohol-free versions, try grape juice with a splash of lemon.
How do I know when they’re properly caramelized?
Look for a deep golden brown color and glossy glaze coating each onion. The edges should be tender with slight resistance when pierced.
How long can I store leftovers?
Refrigerate in an airtight container for up to 3 days. Reheat gently on the stovetop with a splash of water to revive the glaze.

- BBQ Sausage Recipe Oven: Smoky Depth Without the Grill - September 28, 2026
- BBQ Chicken Bowl Recipe Rice: Smoky Sweetness Over Fluffy Grains - September 28, 2026
- Beef Cutlet Recipe Ideas: Crispy Breaded Patties With Bold Seasonings - September 28, 2026