
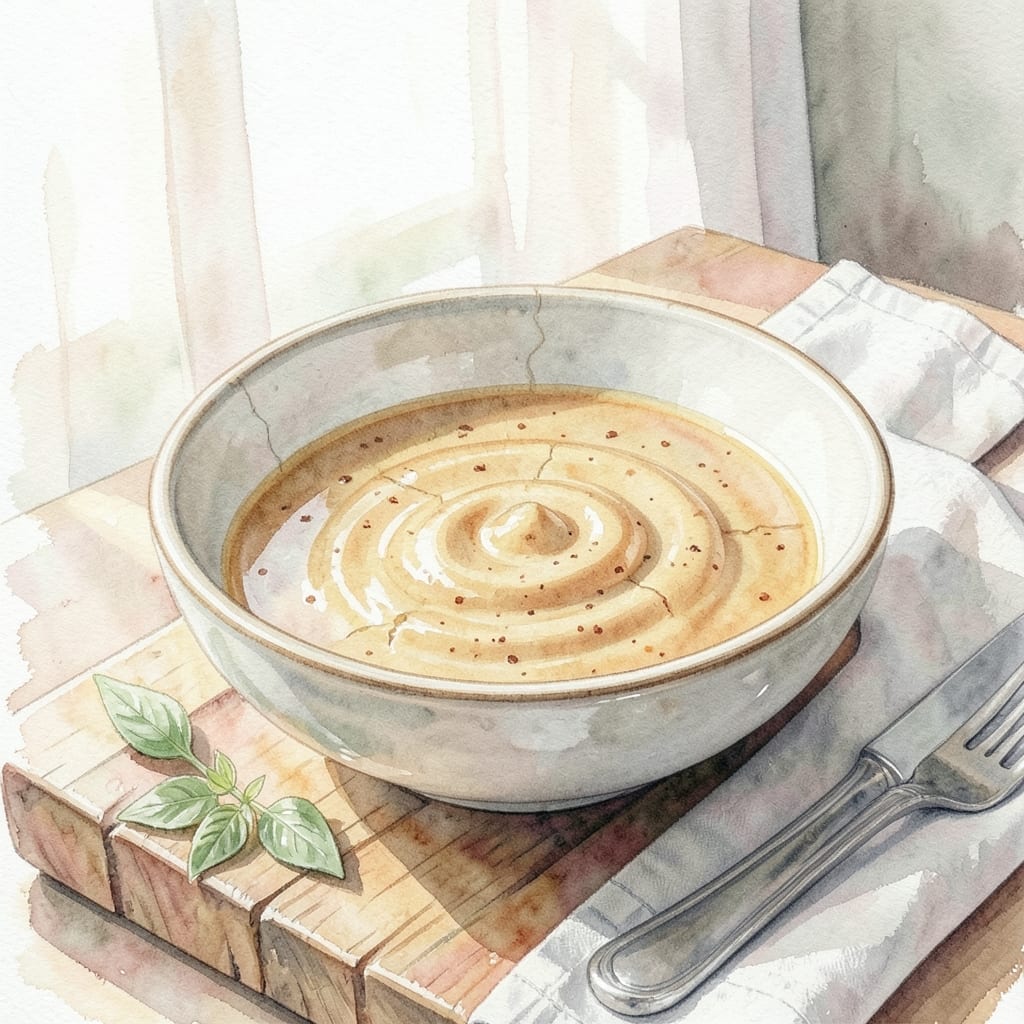
Making rich chicken gravy without drippings is easier than you think. This homemade version uses simple pantry ingredients to build deep, savory flavor from scratch.
The key lies in browning flour with butter to create a roux, then slowly whisking in chicken broth for a smooth, velvety texture. A touch of poultry seasoning adds authentic taste.
What results is a rich, golden gravy with the same body and depth as traditional versions. It’s perfect for mashed potatoes, biscuits, or any dish needing a savory boost.
Store in the fridge for up to 5 days or freeze for longer use. This method delivers consistent, homemade results every time.
Ingredients for Recipe for Chicken Gravy Without Drippings
Nine pantry staples create this velvety, savory homemade chicken gravy from scratch.
| Ingredient | Amount | Notes |
|---|---|---|
| Unsalted Butter 🧈 | ½ cup | For roux base, unsalted preferred |
| All-Purpose Flour 🌾 | ½ cup | For thickening the gravy |
| Chicken Broth 🥣 | 3 cups | Low-sodium preferred for control |
| Poultry Seasoning 🌿 | 1 tsp | Blends sage, thyme, and rosemary |
| Garlic Powder 🧄 | ½ tsp | Adds savory depth to flavor |
| Onion Powder 🧅 | ½ tsp | Balances the savory profile |
| Black Pepper 🌶️ | ½ tsp | Freshly ground for best results |
| Salt 🧂 | ½ tsp | Adjust to taste after cooking |
| Worcestershire Sauce 💧 | 1 tsp | Optional, adds umami depth |
The butter and flour form the foundation, so use high-quality unsalted butter for a clean flavor. King Arthur Flour is a reliable choice for all-purpose flour, but any trusted brand works. The chicken broth should be low-sodium to control the salt content. You’ll find all these ingredients at any standard grocery store—no specialty shops required.
No poultry seasoning? Use one-third the amount of dried sage and thyme as a substitute. For a deeper umami flavor, add a dash of soy sauce or mushroom powder. If you’re avoiding alcohol, skip the Worcestershire sauce—it won’t make or break the dish. The key is slowly whisking in the broth to prevent lumps.
This gravy keeps well in the fridge for up to 5 days in an airtight container. For longer storage, freeze in ice cube trays—perfect for single servings. Reheat gently on the stove, adding a splash of broth if it thickens too much.
Why You’ll Love This Recipe
- No Drippings Needed: I can make rich gravy anytime since this skips waiting for roast chicken drippings.
- Buttery Garlic Depth: The butter and garlic powder build a savory base that tastes like it simmered for hours.
- Weeknight Lifesaver: Between us, this saves me when I need gravy for mashed potatoes or biscuits in a pinch.
- Pantry Staples: Honestly, I always have butter, flour, broth, and those spices on hand, so it’s a no-brainer.
Step-by-Step Instructions for Chicken Gravy Without Drippings
This method delivers rich, velvety gravy using a classic roux technique and carefully balanced seasonings.
Step 1: Create a Smooth Roux Base
Melt the 0.5 cup unsalted butter in a heavy saucepan over medium heat. The butter should foam but not brown—this is your foundation for the roux. Once completely melted, add the 0.5 cup all-purpose flour all at once.
Whisk constantly for 2-3 minutes until the mixture forms a smooth paste and turns a light golden color. This cooking process removes the raw flour taste and develops a nutty depth. The roux should bubble gently but not darken—if it browns, your gravy will have an off flavor.
Step 2: Gradually Incorporate Chicken Broth
Slowly pour in the 3 cups chicken broth, about ½ cup at a time, while whisking vigorously after each addition. This gradual incorporation prevents lumps from forming. The mixture will thicken noticeably as you add the liquid.
Continue whisking until the gravy is smooth and begins to simmer. You’ll see it transform from a thin liquid to a velvety consistency that coats the back of a spoon. If lumps appear despite your efforts, don’t panic—just whisk more vigorously or use an immersion blender to smooth them out.
Step 3: Season and Develop Flavor
Add the 1 tsp poultry seasoning, 0.5 tsp garlic powder, 0.5 tsp onion powder, 0.5 tsp black pepper, and 1 tsp Worcestershire sauce. Stir well to distribute the seasonings evenly throughout the gravy.
The poultry seasoning’s blend of sage, thyme, and rosemary will infuse the gravy with classic savory notes. Simmer for 3-4 minutes, stirring occasionally, to allow the flavors to meld and the gravy to reach your desired thickness. It should be thick enough to nap a spoon but still pourable.
Step 4: Adjust and Finish
Taste and adjust seasoning with the 0.5 tsp salt, adding it gradually until the flavor is perfect. Remember that low-sodium chicken broth allows for precise seasoning control. The gravy should taste rich and well-balanced, with no single seasoning overpowering the others.
If the gravy becomes too thick during simmering, thin it with additional chicken broth, 1 tablespoon at a time. Conversely, if it’s too thin, simmer for another 2-3 minutes to reduce further. The final product should have a glossy sheen and a consistency that clings to your serving spoon.
Pro Tips For Making Recipe For Chicken Gravy Without Drippings
- Brown the Butter: Cook the butter over medium heat until it turns a light golden brown before adding flour—this adds a nutty depth that plain butter just can’t match.
- Whisk Constantly: Once you add the flour, keep whisking for a full 2-3 minutes to cook out the raw taste and prevent lumps from forming in your roux.
- Use Warm Broth: Heat your chicken broth before adding it to the roux; cold broth causes clumping and makes it harder to achieve that smooth, silky texture.
- Season in Layers: Add poultry seasoning and garlic powder to the roux, not just at the end, so the flavors bloom and distribute evenly throughout the gravy.
Serving Suggestions for This recipe for chicken gravy without drippings
Over Mashed Potatoes
I love ladling this velvety gravy over creamy mashed potatoes—the rich sauce soaks into every bite. Use Yukon Gold potatoes for the perfect texture. Add a pat of butter on top for extra shine.
With Biscuits
For a classic Southern meal, serve with warm buttermilk biscuits. The gravy’s savory depth pairs beautifully with flaky layers. I recommend Pillsbury Grands! for convenience.
Poured Over Chicken
Drizzle this gravy over roasted chicken or fried chicken tenders for a restaurant-quality finish. The flavors complement each other perfectly, creating a cohesive dish.
As a Poutine Base
Try using this as the base for chicken poutine—layer crispy fries, shredded chicken, cheese curds, then smother in hot gravy. It’s a crowd-pleaser every time. 🔥
With Rice or Noodles
This gravy transforms simple steamed rice or egg noodles into a hearty meal. Stir in 1 tbsp of gravy per ½ cup of rice for the best ratio.
Gravy Boat Presentation
Serve in a small gravy boat or pitcher for easy pouring at the table. Garnish with a sprig of fresh thyme for a touch of elegance. 💡
Nutrition Facts
Frequently Asked Questions
Can I use cornstarch instead of flour?
Yes, but the method changes slightly. Mix 3 tbsp cornstarch with 3 tbsp cold water first, then whisk into hot broth. Cook for 1-2 minutes until thickened. The texture will be glossier but less rich than flour-based gravy.
Why did my gravy turn out lumpy?
Lumps form when flour isn’t fully dissolved before adding liquid. Whisk vigorously while pouring broth slowly. If lumps appear, use an immersion blender or strain through a fine-mesh sieve.
How can I make it gluten-free?
Replace all-purpose flour with a gluten-free alternative like rice flour or a 1:1 gluten-free blend. Cook the roux for 1 extra minute to remove any raw taste. Check labels to ensure all ingredients are certified gluten-free.
Can I make this ahead of time?
Prepare as directed, then store in an airtight container in the fridge for up to 5 days. Reheat gently on the stove, adding a splash of broth if needed to thin it out.

- BBQ Sausage Recipe Oven: Smoky Depth Without the Grill - September 28, 2026
- BBQ Chicken Bowl Recipe Rice: Smoky Sweetness Over Fluffy Grains - September 28, 2026
- Beef Cutlet Recipe Ideas: Crispy Breaded Patties With Bold Seasonings - September 28, 2026