
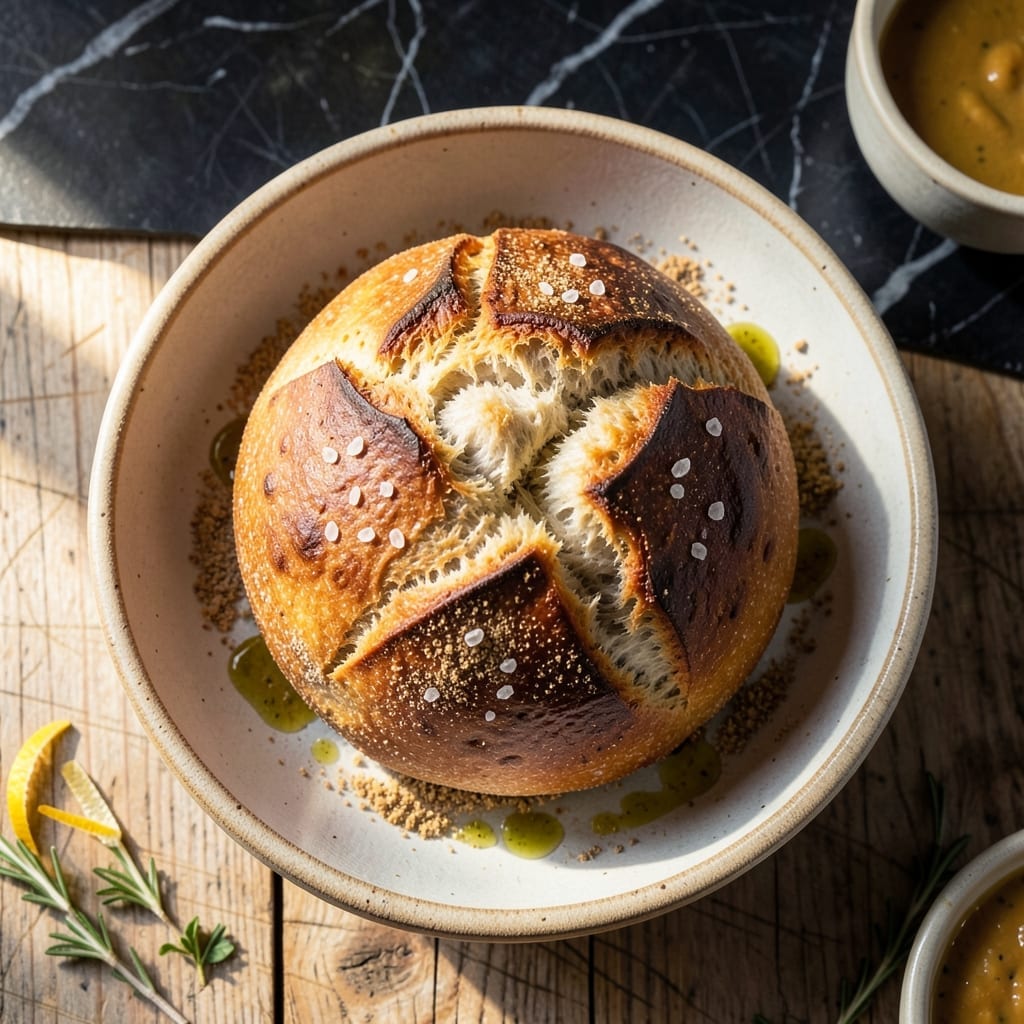
There’s something deeply satisfying about pulling a golden, crusty loaf from the oven with almost no effort. This no-knead peasant bread delivers artisan results without the traditional labor, making it perfect for busy home bakers.
The beauty lies in its simplicity: just mix, wait, and bake. The long fermentation develops complex flavors while the high-heat baking creates a crispy crust and airy interior. No special equipment or techniques required.
What emerges is a rustic loaf with a shatteringly crisp exterior and soft, open crumb. The aroma alone will have everyone gathering in the kitchen, eager for that first warm slice.
Serve with olive oil for dipping or as the foundation for hearty sandwiches. This bread proves that incredible results don’t require complicated methods.
Ingredients for Peasant Bread Recipe No Knead
Six simple ingredients transform into a rustic artisan loaf with minimal effort.
| Ingredient | Amount | Notes |
|---|---|---|
| Bread Flour 🌾 | 3 ½ cups | All-purpose works in a pinch |
| Active Dry Yeast 🍞 | ¾ tsp | Or 1 packet instant yeast |
| Kosher Salt 🧂 | 2 tsp | Diamond Crystal preferred |
| Lukewarm Water 💧 | 1 ½ cups | 105-110°F for activation |
| Olive Oil 🫒 | 2 tbsp | For greasing bowl |
| Cornmeal 🌽 | 2 tbsp | For dusting Dutch oven |
| Honey 🍯 | 1 tsp | Optional for flavor |
The flour matters here. King Arthur Bread Flour gives the best rise and texture, but all-purpose from Gold Medal or Pillsbury works acceptably. Yeast freshness is critical—check the expiration date and store unopened packets in the freezer. For the water, use a thermometer to hit that 105-110°F sweet spot (too hot kills the yeast, too cool slows activation).
No bread flour? All-purpose plus 1 tbsp vital wheat gluten per cup mimics the protein content. Out of cornmeal? Use semolina or extra flour for dusting. The honey can be swapped for sugar or omitted entirely. If your kitchen is chilly, place the dough near a warm oven (turned off) to help it rise faster.
The dough ferments best at room temperature for 12-18 hours. Store leftover bread wrapped in a towel at room temp for 2 days, or slice and freeze for up to 3 months. Always bring to room temperature before serving for best texture.
Why You’ll Love This Recipe
- No Knead Magic: I mix flour, yeast, salt, and water, let it sit overnight—no kneading, no fuss.
- Crispy Crust: That golden olive oil-kissed exterior hides a soft, airy center.
- Breakfast to Dinner: Perfect as toast in the morning or alongside soup at night.
- Budget Stretch: Four basic ingredients, one loaf, endless meals—saves me a trip to the bakery.
Step-by-Step Instructions for Peasant Bread
This method ensures a crisp crust and airy crumb with almost no hands-on time.
Step 1: Combine and Hydrate the Dough
In a large mixing bowl, whisk together the 3.5 cups Bread Flour, 0.75 tsp Active Dry Yeast, and 2 tsp Kosher Salt until evenly distributed. The salt inhibits the yeast slightly, giving you better control over the fermentation.
Create a well in the center and add the 1.5 cups Lukewarm Water and 1 tsp Honey. Use a wooden spoon to mix until no dry flour remains. The dough will be shaggy and sticky—that’s exactly what you want. This high-hydration ratio is key to developing that open, airy texture.
Step 2: First Rise at Room Temperature
Drizzle 1 tbsp Olive Oil over the dough and use your hands to fold the edges toward the center, turning the bowl as you go. This builds initial structure without traditional kneading. Cover the bowl tightly with plastic wrap or a damp towel.
Let the dough rise at room temperature for 12-18 hours. The surface should become bubbly and the dough will roughly double in size. The slow fermentation develops complex flavors and a light, airy texture. If your kitchen is cool, the rise may take closer to 18 hours.
Step 3: Shape and Second Rise
After the first rise, lightly flour a work surface and turn the dough out. Fold the edges toward the center again to create a round loaf, then flip it seam-side down. Use your hands to gently shape it into a taut ball without pressing too hard.
Generously coat a Dutch oven with the remaining 1 tbsp Olive Oil and sprinkle the 2 tbsp Cornmeal evenly across the bottom. Place the dough in the pot, cover with the lid, and let it rise for 1-2 hours at room temperature. The dough is ready when it has risen about 50% and springs back slowly when pressed.
Step 4: Bake to Perfection
Preheat your oven to 450°F with the Dutch oven inside for 30 minutes. This ensures the pot is screaming hot, which is critical for achieving a crisp, golden crust. Carefully remove the hot pot from the oven and uncover it.
Bake uncovered for 30 minutes, then remove the lid and bake for another 15-20 minutes until the loaf is deep golden brown and an instant-read thermometer inserted in the center reads 205-210°F. The internal temperature confirms the bread is fully baked and the crust has developed properly.
Transfer the bread to a wire rack and let it cool for at least 1 hour before slicing. This resting period allows the crumb to set and the flavors to fully develop. The crust should be audibly crisp when tapped, and the interior will be open and tender.
Pro Tips For Making Peasant Bread Recipe No Knead
- Test the Yeast: I learned this the hard way—always bloom your active dry yeast in the lukewarm water with a pinch of sugar for 5-10 minutes first. If it doesn’t foam, your bread won’t rise, no matter how long you wait.
- Use a Scale: After a few dense loaves, I finally started weighing my bread flour—300 grams exactly. Scooping with a cup can pack in 20% extra flour, and that’ll kill your no-knead texture.
- Skip the Cold Water: Lukewarm water, around 105°F, is non-negotiable. Too hot kills the yeast, too cold slows the rise, and I’ve ruined batches both ways before checking with a thermometer.
- Oil the Bowl: Coat your rising bowl with about 1 tablespoon of olive oil before adding the dough—it prevents sticking and makes the first rise easier to handle, especially with this sticky no-knead batter.
Best Sauces and Condiments for These Flavors
Classic Italian Pairings
For an authentic touch, I love serving this bread with extra virgin olive oil from my local Italian deli, infused with fresh rosemary and a pinch of flaky sea salt. The combination reminds me of Nonna’s kitchen in Sicily. 💛
Herb-Infused Oils
Create a simple garlic-herb oil by warming ½ cup olive oil with 3 crushed garlic cloves and 1 tbsp fresh thyme. Drizzle it over warm slices for dipping. I always use the wooden spoon Nonna gave me to taste-test the blend.
Cheese and Charcuterie
Pair thick slices with aged Parmigiano-Reggiano and thinly sliced prosciutto di Parma for a rustic antipasto. The bread’s open crumb is perfect for soaking up the oils and flavors. Sunday family dinners wouldn’t feel the same without it.
Sweet Spreads
For breakfast or dessert, try it with local honey from the farmers market or a homemade fig jam. The sweetness contrasts beautifully with the crust’s earthy notes. I often drizzle honey from my grandmother’s favorite Sicilian producer.
Savory Dips
Whip up a quick balsamic glaze by reducing 1 cup balsamic vinegar with 1 tbsp brown sugar until syrupy. Or serve with a creamy white bean dip for a hearty snack. Both are staples in Italian-American communities.
Fresh Toppings
Rub a cut garlic clove directly on warm slices and top with fresh basil leaves or crushed San Marzano tomatoes. This simple treatment highlights the bread’s rustic charm without overpowering it.
Nutrition Facts
Frequently Asked Questions
Can I use all-purpose flour instead of bread flour?
Yes! For best results, add 1 tbsp vital wheat gluten per cup of all-purpose flour to mimic bread flour’s protein content. Without it, your loaf may be slightly denser but still delicious.
Why is my bread dense instead of airy?
This usually means the dough didn’t rise enough. Ensure your yeast is fresh, water is 105-110°F, and the first rise gets 12-18 hours. A chilly kitchen may need more time.
How do I know when it’s done baking?
Look for a deep golden brown crust and an internal temperature of 205-210°F. The loaf should sound hollow when tapped on the bottom. Always let it cool 1 hour before slicing.
Can I make this in a regular oven without a Dutch oven?
Yes, but use a baking stone or heavy oven-safe pot. Preheat it thoroughly and add a pan of water below for steam. The crust won’t be quite as crisp but will still be tasty.

- Pina Colada Dip Recipe Red Lobster: Tropical Creaminess With Toasted Coconut - October 12, 2026
- Pickled Sweet Cherry Peppers Recipe Canning: Tangy Heat for Pantry Staples - October 12, 2026
- Peppercorn Sauce Recipe Vegan: Rich Umami Depth Without Cream - October 12, 2026