
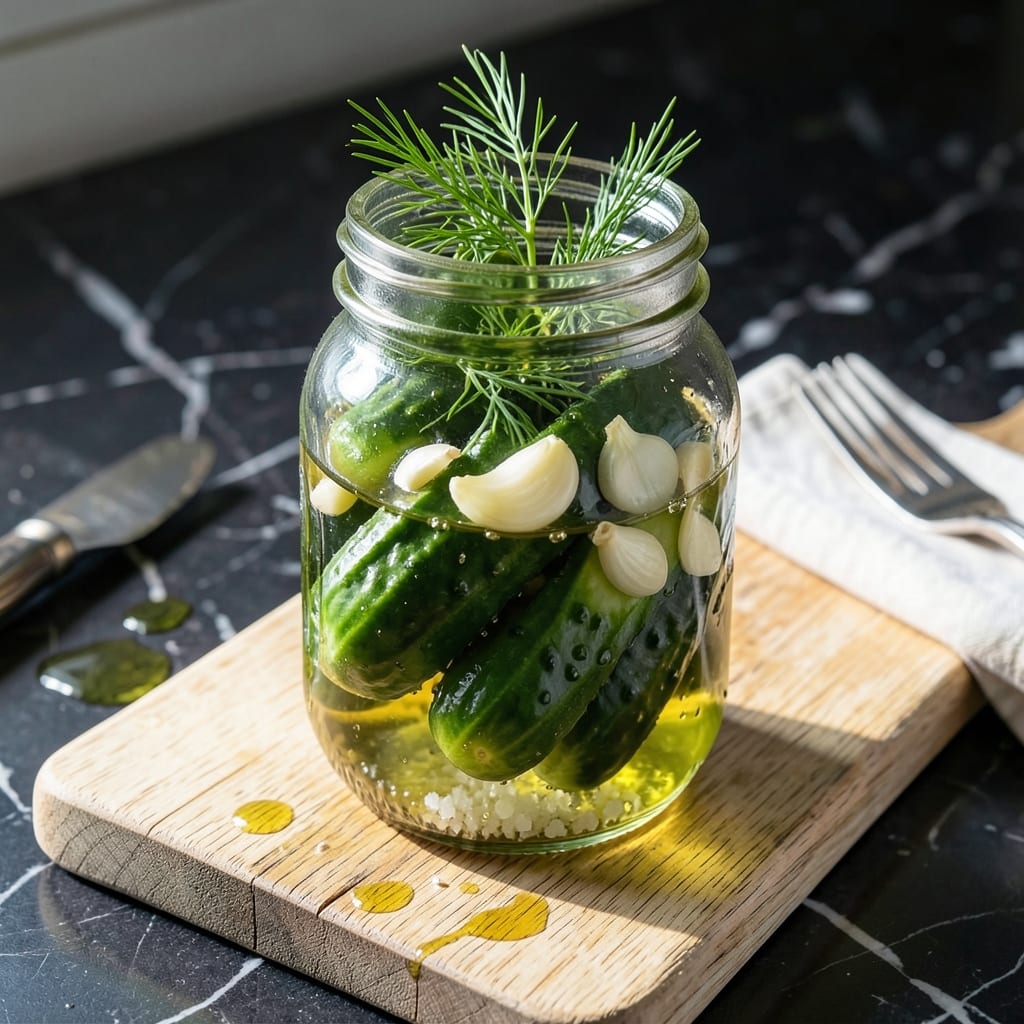
There’s nothing quite like the crisp snap of a perfectly pickled vegetable to brighten any meal. This method delivers that classic tangy crunch using simple ingredients and a foolproof technique.
White vinegar serves as the preserving base, creating the sharp acidity that defines great pickles. The process requires no special equipment—just a pot, jars, and 15 minutes of active time before the magic happens during the brining period.
What emerges is a batch of pickles with that ideal balance of sour and crisp, ready to elevate sandwiches, salads, or charcuterie boards. The beauty lies in its simplicity and the way it transforms ordinary vegetables.
Make a big batch and keep it on hand for whenever that pickle craving strikes.
Ingredients for Pickle Recipe with White Vinegar
Simple ingredients transform into crisp, tangy pickles with minimal effort and maximum flavor.
| Ingredient | Amount | Notes |
|---|---|---|
| White Vinegar 💧 | 2 cups | 5% acidity for best results |
| Water 💧 | 2 cups | Filtered or distilled preferred |
| Pickling Salt 🧂 | 2 tbsp | Non-iodized for clarity |
| Granulated Sugar 🍚 | 2 tbsp | Adjust to taste preference |
| Fresh Dill 🌿 | 4 pieces | Stems or sprigs, whole |
| Garlic Cloves 🧄 | 6 cloves | Peeled, lightly crushed |
| Mustard Seeds 🌿 | 1 tsp | Yellow or brown variety |
| Black Peppercorns 🌶️ | 1 tsp | Whole, not ground |
| Cucumber 🥒 | 2 lb | Kirby or Persian preferred |
The vinegar is the backbone here. Heinz or Store Brand white vinegar at 5% acidity is ideal—no need for anything fancier. The cucumbers matter most: Kirby or Persian stay crunchier than slicing types. Find them at farmers markets in season or well-stocked grocery stores year-round. Pickling salt (like Diamond Crystal) keeps the brine clear, while table salt can make it cloudy.
No dill? Dried dill seed at half the amount works, though fresh is better. Swap mustard seeds for coriander or celery seeds for a different flavor profile. The sugar can be reduced or replaced with maple syrup for a slightly different sweetness. For extra zing, add a pinch of red pepper flakes or a bay leaf to the brine.
These pickles keep in the fridge for 1-2 months. The flavor improves after 48 hours and peaks around 2 weeks. Always use clean utensils when removing pickles to prevent contamination. The brine can be reused once for a new batch.
Why You’ll Love This Recipe
- No-Fuss Brine: I just mix vinegar, water, salt, and sugar—no fancy steps, and the dill does the rest.
- Tangy Crunch: The white vinegar gives that sharp, bright bite I crave in every crisp bite.
- Fridge Staple: Honestly, I keep a jar ready for sandwiches, snacks, or last-minute charcuterie boards.
- Pantry Hero: Five cheap ingredients, and I’ve got pickles for weeks—no waste, all flavor.
Step-by-Step Instructions for Pickles With White Vinegar
This method ensures crisp, tangy pickles with a perfect balance of flavors every time.
Step 1: Prepare the Cucumbers and Jars
Wash the 2 lb Cucumber thoroughly under cold running water and scrub gently with a clean vegetable brush. I prefer Kirby or Persian varieties for their thin skin and firm texture. Trim off 1/16 inch from the blossom end of each cucumber—this is critical for crispness as it removes enzymes that can soften them.
Slice the cucumbers into spears or leave them whole if using small pickling cucumbers. Pack them tightly into clean, sterilized quart jars along with the 4 pieces Fresh Dill, 6 cloves Garlic Cloves, 1 tsp Mustard Seeds, and 1 tsp Black Peppercorns. Leave ½ inch headspace at the top of each jar to allow for expansion.
Step 2: Create the Pickling Brine
In a medium saucepan, combine the 2 cups White Vinegar, 2 cups Water, 2 tbsp Pickling Salt, and 2 tbsp Granulated Sugar. The 5% acidity vinegar is essential for both safety and that signature tangy flavor.
Bring the mixture to a boil over medium-high heat, stirring until the salt and sugar are completely dissolved. This usually takes 3-4 minutes. You’ll see the liquid turn from cloudy to clear as the crystals disappear. Remove from heat immediately once boiling to prevent unnecessary evaporation.
Step 3: Fill Jars and Process for Shelf Stability
Carefully ladle the hot brine into the jars, covering the cucumbers completely while maintaining that ½ inch headspace. Use a bubble remover or clean chopstick to eliminate any air pockets trapped between the cucumbers. This ensures even brine distribution and prevents spoilage.
Wipe the jar rims clean with a damp cloth to ensure a proper seal. Apply lids and rings, tightening just until fingertip-tight—don’t overtighten. Process the jars in a boiling water bath for 10 minutes (adjust for altitude if needed). You’ll hear a satisfying “pop” as the jars seal during cooling, indicating a proper vacuum seal.
Step 4: Cool and Store for Optimal Flavor
After processing, transfer the jars to a draft-free area and let them cool undisturbed for 12-24 hours. You’ll notice the brine may look slightly cloudy at first—this is normal and will clear as the pickles cure. Check the seals after cooling by pressing the center of each lid; if it doesn’t pop, it’s properly sealed.
For best flavor development, wait at least 48 hours before eating, though 2-3 weeks will yield the most developed taste. Store the sealed jars in a cool, dark place where they’ll keep for up to 1 year. Once opened, refrigerate and consume within 1 month for peak quality.
Pro Tips For Making Pickle Recipe With White Vinegar
- Boil the Brine: Heat your white vinegar, water, salt, and sugar together until the salt and sugar fully dissolve—this guarantees even distribution in every bite.
- Use Fresh Dill Heads: I learned this the hard way: whole dill heads (not just stems) release the best flavor into the brine, giving your pickles that classic tangy aroma.
- Skip the Iodized Salt: Pickling salt is non-negotiable here—iodized salt can turn your brine cloudy and leave a bitter taste in the pickles.
- Cool Before Pouring: Let the brine cool to room temperature before pouring over your veggies, or you’ll end up with sad, mushy pickles instead of crisp ones.
Perfect Pairings for This pickle recipe with white vinegar
Sandwich Superstars
These pickles elevate any sandwich from good to extraordinary. I love them on a classic Reuben with corned beef, Swiss cheese, and Thousand Island dressing. The tang cuts through the richness perfectly. David swears by them on his grilled cheese—just add 2-3 slices for that perfect crunch. 🥪
Charcuterie Boards
Arrange these pickles alongside cured meats, cheeses, and crackers for a showstopping board. I pair them with sharp cheddar, prosciutto, and water crackers from Central Market. The acidity balances fatty meats beautifully. Add grainy mustard for dipping to take it over the top.
Salad Toppers
Chop these pickles and sprinkle over green salads for a flavor boost. They add amazing crunch to a Southern-style potato salad—just fold in ½ cup diced pickles before chilling. I also love them in a Greek salad with tomatoes, feta, and olives for that extra zing.
Beverage Pairings
A crisp pilsner or wheat beer complements the tanginess perfectly. For non-alcoholic options, try sparkling water with lemon—the bubbles enhance the crunch. I always keep Topo Chico on hand for pickle snacking at our Austin farmers market hauls. 🍺
Nutrition Facts
Frequently Asked Questions
Can I use apple cider vinegar instead?
Yes, but it will change the flavor profile slightly. Apple cider vinegar adds a fruity note that white vinegar doesn’t have. The pickles will still be tangy and crisp, just with a different taste. Stick to 5% acidity for safety.
How do I keep my pickles extra crisp?
Use small, firm cucumbers like Kirby or Persian varieties. Trim 1/16 inch from the blossom end to remove softening enzymes. Also, soak cucumbers in ice water for 1-2 hours before pickling to enhance crunch.
Why did my brine turn cloudy?
Cloudy brine is usually harmless and often caused by minerals in hard water or using table salt instead of pickling salt. It can also happen with certain vegetables. The pickles are still safe to eat if properly processed.
How long do these pickles last?
Unopened jars keep for up to 1 year in a cool, dark place. Once opened, refrigerate and use within 1 month for best quality. The flavor peaks after about 2 weeks of curing.

- Potato Candy Recipe 1933: Vintage Peanut Butter Roll Delight - October 30, 2026
- Potato Chip Cookie Recipe With Pecans: Buttery Crunch Meets Nutty Richness - October 30, 2026
- Potato Patty Recipe No Egg: Crispy Edges Without the Binder - October 30, 2026