
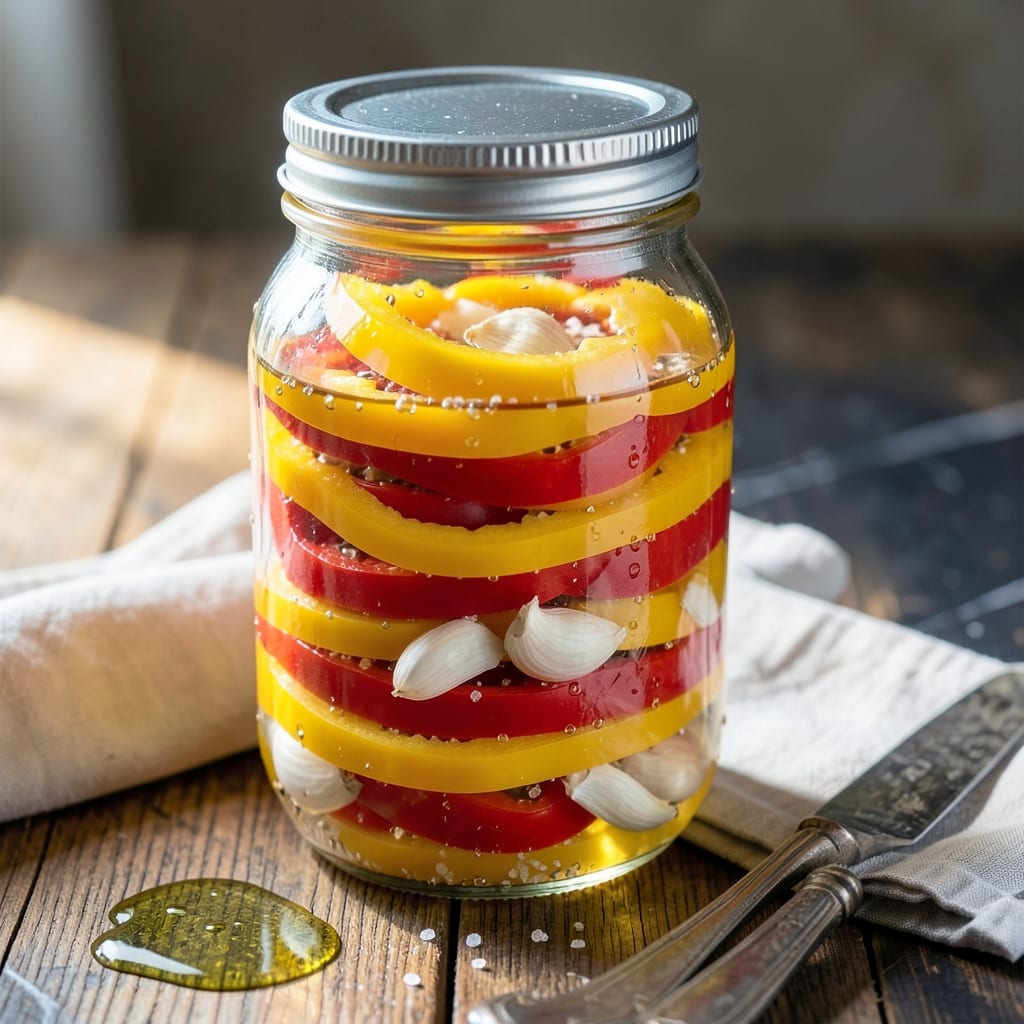
There’s a special satisfaction in filling jars with vibrant pickled banana peppers, ready to add tangy heat to sandwiches, salads, or charcuterie boards. This vinegar-based brine preserves their crisp texture while enhancing their natural spice.
The process is simple yet precise—combining vinegar, water, salt, and sugar to create a balanced brine that complements the peppers’ mild heat. Optional garlic, dill, or red pepper flakes can customize the flavor to your preference.
Once jarred, these pickled peppers develop depth over time, making them a versatile pantry staple. They’ll keep for months in the fridge, ready to elevate any dish with a bright, zesty kick.
Perfect for gifting or stocking your own kitchen. Here’s how to make them.
Ingredients for Pickled Banana Peppers Recipe Vinegar
Bright, tangy banana peppers and a simple vinegar brine. Pantry magic in a jar.
| Ingredient | Amount | Notes |
|---|---|---|
| Banana Peppers 🌶️ | 2 lb | Fresh, firm, sliced into rings |
| White Vinegar 💧 | 2 cups | 5% acidity for best preservation |
| Water 💧 | 2 cups | Filtered or distilled preferred |
| Pickling Salt 🧂 | 2 tbsp | No iodine or anti-caking agents |
| Granulated Sugar 🍚 | 2 tbsp | Balances the vinegar tang |
| Garlic Cloves 🧄 | 4 cloves | Lightly crushed, optional |
| Fresh Dill Sprigs 🌿 | 4 whole | Or 1 tbsp dried dill |
| Red Pepper Flakes 🌶️ | 1 tsp | Adjust for extra heat |
| Black Peppercorns 🌶️ | 1 tsp | Whole, for brine infusion |
The peppers are everything here. Look for firm, glossy banana peppers—no soft spots or wrinkles. Farmers markets have the best selection in late summer, but most grocery stores carry them year-round. White vinegar with 5% acidity is non-negotiable for safety and crispness. I grab mine from Walmart in gallon jugs—cheap and reliable. The salt must be pickling salt (no additives) to keep the brine clear.
No banana peppers? Jalapeños or pepperoncini work too (adjust sugar if using hotter peppers). Skip the dill? Mustard seeds or celery seeds add a nice twist. The garlic can be swapped for shallots or a pinch of asafoetida for a different depth. If you want a milder tang, apple cider vinegar works at a 1:1 ratio. Just don’t drop the acidity below 5%.
These keep for 6-12 months in the fridge once jarred. The flavor gets better with time—wait at least 48 hours before digging in. Always use clean utensils when scooping out peppers (worth the extra minute) to prevent mold.
Why You’ll Love This Recipe
- 5-Minute Prep: I just slice the banana peppers, toss them in jars with vinegar, water, salt and sugar—no cooking required.
- Tangy Crunch: The vinegar gives them that bright, zippy kick while keeping the peppers crisp.
- Fridge Staple: Honestly, I throw these on sandwiches, salads, even pizzas all week long.
- Pantry Savior: A pound of banana peppers turns into multiple jars for pennies, and they last for months.
Step-by-Step Instructions for Pickled Banana Peppers
Here’s how I make perfectly tangy pickled peppers with just the right amount of heat.
Step 1: Prepare the Peppers
Start by washing and drying the 2 lb Banana Peppers thoroughly. I slice them into uniform ¼-inch rings for consistent texture and even pickling. Remove and discard the stems and seeds unless you prefer extra heat.
The uniformity matters—thinner slices become limp, while thicker ones stay too crisp. I like to wear gloves for this step since the oils in peppers can irritate skin. Set the prepared rings aside in a clean bowl while you make the brine.
Step 2: Create the Pickling Brine
In a medium saucepan, combine the 2 cups White Vinegar, 2 cups Water, 2 tbsp Pickling Salt, and 2 tbsp Granulated Sugar. Heat over medium-high heat until the mixture comes to a rolling boil and the salt and sugar fully dissolve.
Stir occasionally to help the solids incorporate faster. This brine ratio delivers that classic tangy-sweet balance we’re after. Once boiling, remove from heat and let it cool for 10 minutes—it should be hot but not scalding when you pour it over the peppers.
Step 3: Layer Flavors in the Jar
Divide the sliced banana peppers evenly between clean pint jars. I add 2 cloves Garlic Cloves, 2 whole Fresh Dill Sprigs, ½ tsp Red Pepper Flakes, and ½ tsp Black Peppercorns to each jar, tucking them between the pepper rings for even flavor distribution.
The garlic and dill infuse the brine with aromatic depth, while the red pepper flakes and black peppercorns add subtle heat. Make sure the jars are clean but don’t need to be sterilized for this method.
Step 4: Pour and Seal
Carefully pour the warm brine over the peppers and aromatics, ensuring all the peppers are completely submerged. I use a chopstick to gently press down the peppers and release any air bubbles trapped in the jar.
Leave ½ inch of headspace at the top of each jar. Seal with lids while the brine is still warm to create a proper vacuum as it cools. The peppers will start to soften and take on flavor almost immediately.
Step 5: Cool and Store
Let the jars cool completely at room temperature. As they cool, you’ll hear the lids pop—this confirms a proper seal. Once cool, transfer to the refrigerator and wait at least 24 hours before eating to allow the flavors to fully develop.
These will keep in the fridge for up to 3 months, getting more flavorful over time. The brine will turn a beautiful golden color, and the peppers will stay crisp with that perfect tangy bite.
Pro Tips For Making Pickled Banana Peppers Recipe Vinegar
- Slice Evenly: Cut banana peppers into uniform 1/4-inch rings so they pickle at the same rate—no one wants half-soggy, half-crunchy peppers.
- Boil the Brine: Heat the vinegar, water, salt, and sugar together until the sugar dissolves completely; I learned this the hard way after finding undissolved grains at the bottom of my jar.
- Pack Tightly: Press the peppers into the jar firmly to remove air pockets, or they’ll float and stay exposed to air, risking mold.
- Wait 24 Hours: Resist the urge to taste right away—after a full day in the fridge, the flavors actually develop and the peppers soften just enough.
Storing and Reheating This Dish
Refrigerator Storage
Once cooled, store your jars in the fridge at 40°F or below. The peppers will keep for 3-4 months with optimal flavor and texture. I always use the back of the shelf where it’s coldest for consistent quality. ❄️
Pantry Shelf Life
If properly sealed with acidity at 5% from the vinegar, these can be stored in a cool, dark pantry for up to 1 month. After opening, always refrigerate. I check the seal by pressing the lid—if it pops, it’s still good.
Freezing Option
For longer storage, freeze the peppers in their brine in airtight containers for up to 6 months. Use freezer-safe jars or heavy-duty plastic bags. Thaw in the fridge overnight before using.
Reviving Flavor
If the brine taste weakens over time, add a splash of white vinegar or a pinch of salt to revive it. The peppers will reabsorb the flavors within 24 hours. I do this right before using them in recipes.
Preventing Spoilage
Always use clean, dry utensils when removing peppers to avoid contamination. If you see mold or cloudy brine, discard the jar immediately. I label each jar with the date to track freshness. 💡
Nutrition Facts
Frequently Asked Questions
Can I use apple cider vinegar instead of white?
Yes, but it adds a milder, fruitier taste. Use 5% acidity vinegar for safety. The flavor difference is subtle but noticeable in the final brine.
How long before they’re ready to eat?
Wait at least 24 hours for basic flavor, but 48 hours is ideal. The longer they sit, the more the tang develops. Patience pays off!
Why did my brine turn cloudy?
Cloudiness usually means bacteria growth or hard water minerals. Always use filtered water and clean jars. If it smells off, discard the batch.
Can I reuse the brine for another batch?
No, each brine is single-use for food safety. Making fresh brine ensures proper acidity and flavor for new peppers.

- Pina Colada Dip Recipe Red Lobster: Tropical Creaminess With Toasted Coconut - October 12, 2026
- Pickled Sweet Cherry Peppers Recipe Canning: Tangy Heat for Pantry Staples - October 12, 2026
- Peppercorn Sauce Recipe Vegan: Rich Umami Depth Without Cream - October 12, 2026