
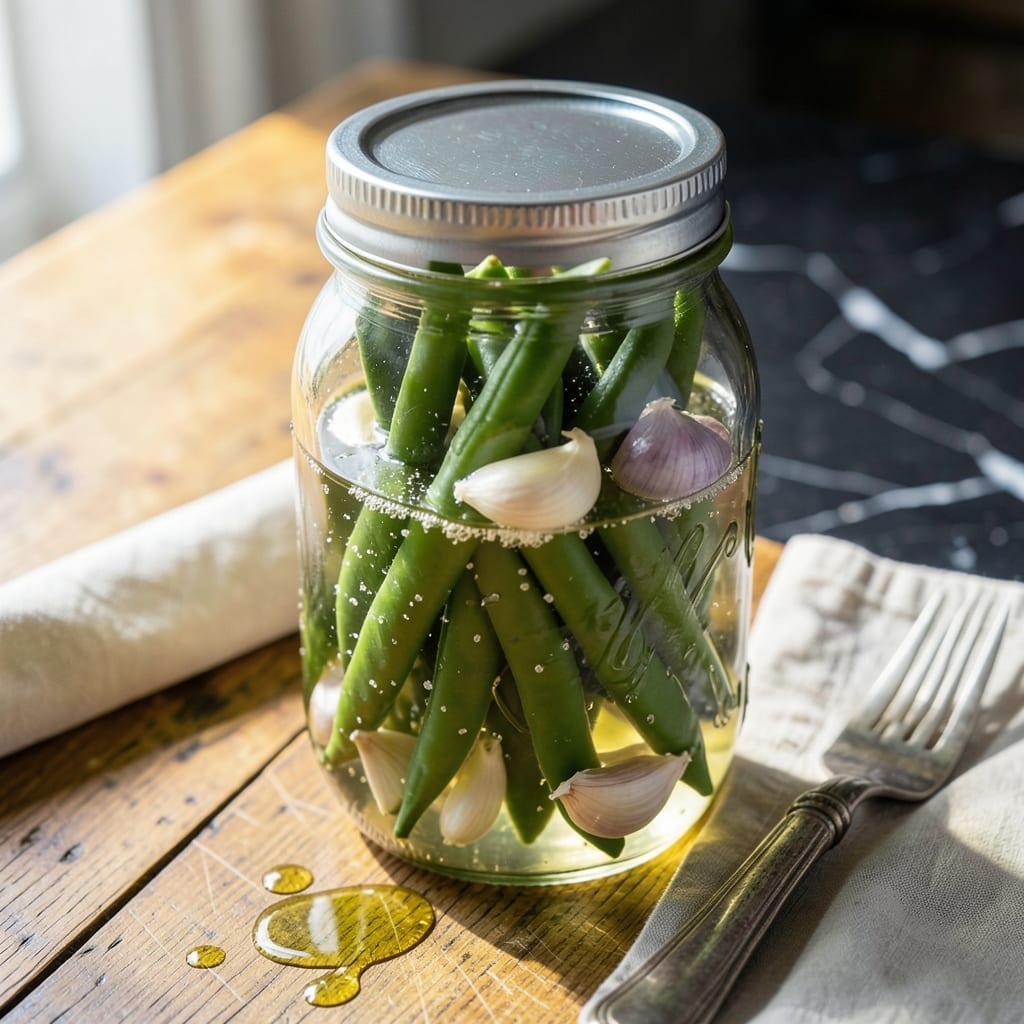
I discovered the magic of quick-pickling during a particularly busy week when I needed a way to preserve fresh green beans without canning. This method delivers crunchy, tangy beans in just 24 hours.
The beauty of refrigerator pickles is their simplicity. No sterilizing jars or processing required—just a vinegar brine, fresh beans, and a little patience. The result is a crisp texture that stays bright and snappy.
What you get is a side dish that’s as versatile as it is delicious. These beans add a zesty crunch to sandwiches, salads, or charcuterie boards.
Perfect for using up garden surplus or market finds. Here’s how to make them.
Ingredients for Pickled Beans Recipe Refrigerator
Fresh beans meet a tangy vinegar brine for crisp, zesty refrigerator pickles
| Ingredient | Amount | Notes |
|---|---|---|
| Fresh Green Beans 🌱 | 1 lb | Trimmed, whole and crisp |
| White Vinegar 💧 | 1 ½ cups | 5% acidity preferred |
| Water 💧 | 1 ½ cups | Filtered for clarity |
| Granulated Sugar 🍚 | 2 tbsp | Or substitute maple syrup |
| Kosher Salt 🧂 | 1 tbsp | Diamond Crystal preferred |
| Garlic Cloves 🧄 | 4 cloves | Peeled, smashed lightly |
| Dill Sprigs 🌿 | 4 pieces | Fresh, or 1 tsp seeds |
| Black Peppercorns 🌶️ | 1 tsp | Whole, not ground |
| Mustard Seeds 🌿 | 1 tsp | Yellow or brown |
| Red Pepper Flakes 🔥 | ½ tsp | Adjust for heat preference |
| Dried Bay Leaves 🍃 | 2 pieces | Optional for depth |
The green beans are everything here. Farmers market or homegrown have the best crunch—look for slender, bright green pods without blemishes. Supermarket beans work too (just avoid the floppy ones). I grab mine from Trader Joe’s when my garden isn’t producing. The vinegar should be white distilled or apple cider—skip the fancy balsamic for this one.
No dill? Fresh thyme or tarragon add great flavor. Out of mustard seeds? Coriander seeds at half the amount work well. The sugar can be swapped for agave or coconut sugar if you prefer. For extra zing, add a slice of lemon or lime. Want it spicier? Double the red pepper flakes. The beauty is you can tweak this to taste.
These keep crisp for about 1 month in the fridge. The beans get softer over time but stay tasty. I reuse the brine for a second batch—just freshen it up with a splash of vinegar. Perfect for sandwiches or snacks anytime.
Why You’ll Love This Recipe
- No Cook Needed: I just toss the green beans in a jar with vinegar, water, sugar, and salt—no stove, no fuss.
- Tangy Crunch: The vinegar gives them this bright, zingy kick while keeping the beans crisp.
- Meal Prep Magic: I make a big batch Sunday and they’re ready for salads, snacks, or charcuterie all week.
- Pantry Hero: Green beans are cheap in summer, and this recipe turns them into something special that keeps for weeks.
Step-by-Step Instructions for Pickled Beans
Here’s the simple method for transforming fresh green beans into tangy, crisp refrigerator pickles.
Step 1: Prepare the Green Beans
Begin by trimming the ends of the 1 lb Fresh Green Beans. I prefer to leave them whole for an elegant presentation, but you can cut them into bite-sized pieces if you like. Rinse them under cold water and pat them completely dry with a clean kitchen towel.
Pack the beans vertically into clean, sterilized jars. This upright arrangement ensures the beans stay submerged in the brine, which is critical for even pickling. Leave about ½ inch of headspace at the top of each jar to allow for expansion.
Step 2: Make the Pickling Brine
In a medium saucepan, combine the 1.5 cups White Vinegar, 1.5 cups Water, 2 tbsp Granulated Sugar, and 1 tbsp Kosher Salt. Bring this mixture to a boil over medium-high heat, stirring just until the sugar and salt dissolve completely.
You’ll notice the liquid turn clear once everything is fully incorporated. Remove the pan from the heat immediately—boiling isn’t necessary once the solids dissolve, and you don’t want to evaporate too much of the vinegar solution.
Step 3: Infuse with Aromatics
While the brine is still hot, add the 4 cloves Garlic Cloves, 4 pieces Dill Sprigs, 1 tsp Black Peppercorns, 1 tsp Mustard Seeds, 0.5 tsp Red Pepper Flakes, and 2 pieces Dried Bay Leaves. Let the mixture steep for 5 minutes to allow the flavors to meld.
This step extracts the essential oils and aromas from the spices, which will penetrate the beans during the pickling process. The garlic will soften slightly, and the dill will release its fresh, grassy notes into the brine.
Step 4: Fill and Seal the Jars
Carefully pour the hot brine over the green beans in the jars, ensuring all the beans are completely covered. Use a clean spoon to press down gently on the beans, releasing any trapped air bubbles. The beans should be fully submerged to prevent spoilage.
Seal the jars tightly with lids. As the brine cools, you’ll hear a satisfying pop—this indicates a proper seal has formed. Let the jars cool to room temperature on the counter, which usually takes about 30-45 minutes.
Step 5: Refrigerate and Wait
Once cooled, transfer the jars to the refrigerator. For the best flavor and texture, allow the beans to pickle for at least 24 hours before tasting. I’ve found that the flavor peaks after about 48-72 hours.
The beans will remain crisp and tangy for up to 2 weeks in the fridge. The longer they sit, the more pronounced the garlic and dill flavors become, but they’ll stay delightfully crunchy throughout.
Pro Tips For Making Pickled Beans Recipe Refrigerator
- Trim the Ends: Snap or cut the stem ends off the green beans—they’re tough and won’t soften in the brine. I learned this the hard way after biting into a crunchy end in my first batch.
- Boil the Brine: Heat the vinegar, water, sugar, and salt until the sugar and salt dissolve completely. Doing this cold leaves grainy bits at the bottom of your jar.
- Pack Tightly: Press the beans into the jar so they’re snug—this keeps them submerged and prevents floaters. Sounds weird, but it works.
- Wait 24 Hours: Give them a full day in the fridge before tasting. I was skeptical until I tried it, but the flavor really develops after that first night.
Best Sauces and Condiments for These Flavors
Classic Creamy Pairings
These tangy beans cut through rich, creamy dishes beautifully. I love them with cream cheese on a bagel—just 2 tbsp spread with 3-4 pickled beans adds a bright contrast. The acidity balances the richness perfectly. 💡
Dip and Spread Ideas
Create a quick dip by blending ½ cup Greek yogurt with 1 tbsp of the pickling brine. It’s fantastic with veggie platters or as a sandwich spread. I also chop the beans and mix them into hummus for extra texture.
Sandwich Game Changer
Add 4-5 beans to any sandwich for instant crunch and tang. They work especially well with turkey and avocado on sourdough. The vinegar bite cuts through the creaminess of the avocado.
For a vegetarian option, try them in a grilled cheese with sharp cheddar. The contrast is incredible.
Salad Topper
Chop the beans into 1-inch pieces and toss them into green salads. They add a pop of color and flavor that wakes up any bowl. I particularly love them with butter lettuce and shaved Parmesan. 🥗
Charcuterie Board Essential
Arrange whole beans alongside cured meats, cheeses, and crackers for a tangy, crunchy element. They pair especially well with provolone and prosciutto. Guests always reach for them first.
Nutrition Facts
Frequently Asked Questions
How long do they stay crisp in the fridge?
They stay delightfully crunchy for up to 2 weeks when fully submerged in brine. Beyond that, texture softens but flavor remains bright and tangy.
Can I use other vinegars for the brine?
Apple cider vinegar works perfectly for a fruitier note. Avoid balsamic—it’s too dark and sweet. Stick to 5% acidity vinegars for safety and best flavor.
Why are my beans mushy after pickling?
Overpacking jars or using old beans causes softness. Always use fresh, crisp beans and pack them upright with space to breathe.
Can I reuse the pickling brine?
Yes! Use it within 1 week for a second batch. Boil it first with 1 tbsp additional vinegar to refresh the acidity.

- Potato Candy Recipe 1933: Vintage Peanut Butter Roll Delight - October 30, 2026
- Potato Chip Cookie Recipe With Pecans: Buttery Crunch Meets Nutty Richness - October 30, 2026
- Potato Patty Recipe No Egg: Crispy Edges Without the Binder - October 30, 2026