
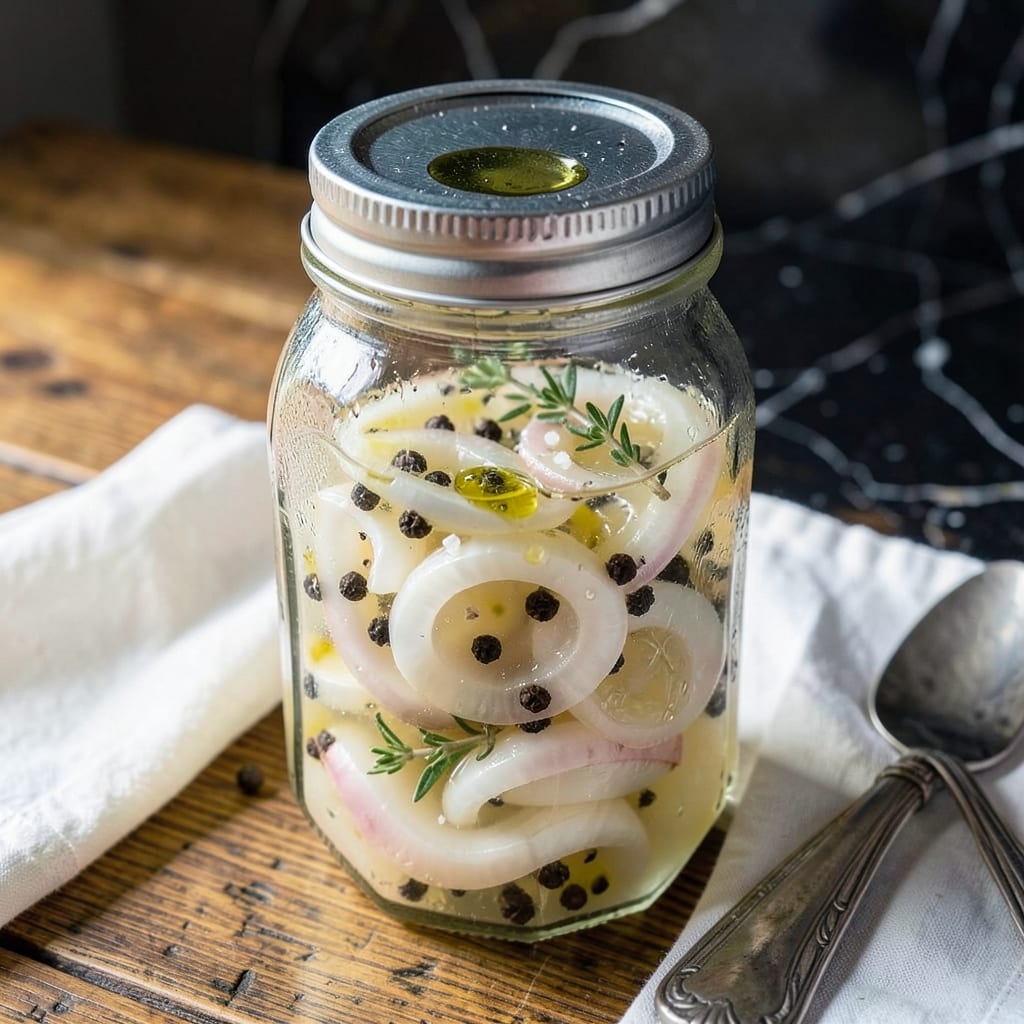
This quick pickling method transforms sweet onions into tangy, crunchy bites with minimal effort. The white vinegar brine works fast, delivering bright flavor without long fermentation.
I developed this technique for busy cooks who want restaurant-quality pickled onions on demand. A 15-minute brine time makes these perfect for last-minute meal prep.
The result is crisp onions with a balanced sweet-tangy profile that enhances tacos, sandwiches, or salads. Their vibrant color and texture outshine any store-bought version.
Make a batch today and keep them refrigerated for up to 3 weeks. The flavor improves with each passing day.
Ingredients for Pickled Sweet Onions Recipe with White Vinegar
Transform sweet onions into vibrant pickled bites with this simple eight-ingredient brine.
| Ingredient | Amount | Notes |
|---|---|---|
| Sweet Onions 🧅 | 2 whole | Thinly sliced, medium size |
| White Vinegar 💧 | 1 ½ cups | 5% acidity for best results |
| Granulated Sugar 🍚 | ¼ cup | Adjust to taste preference |
| Water 💧 | 1 cup | Filtered or distilled preferred |
| Kosher Salt 🧂 | 1 tbsp | Diamond Crystal brand recommended |
| Black Peppercorns 🌶️ | 1 tsp | Whole for brine infusion |
| Mustard Seeds 🌿 | 1 tsp | Yellow or brown variety |
| Dried Red Pepper Flakes 🌶️ | ½ tsp | Optional for heat adjustment |
The onions are everything here. Vidalia or Walla Walla varieties offer the perfect sweetness for pickling. Look for firm bulbs with tight skins at Whole Foods or your local farmers market. Avoid any with soft spots or sprouting—these won’t crisp properly. The white vinegar must have 5% acidity (check the label) for proper preservation and that sharp tang.
No sweet onions? Yellow onions work in a pinch (soak slices in cold water for 10 minutes to mellow). Swap white vinegar for apple cider vinegar for fruitier notes, but the color will darken. Half the sugar if you prefer more tang. Mustard seeds can be omitted, but they add a subtle depth to the brine. Coriander seeds make a nice alternative if that’s what’s in your spice cabinet.
These keep in the fridge for 3 weeks (the flavor peaks around week two). Store in a glass jar with a tight lid. The brine can be reused once—just bring to a boil first. Perfect for tacos, sandwiches, or straight from the jar.
Why You’ll Love This Recipe
- 5-Minute Prep: No peeling, no fuss—just slice the sweet onions, mix the vinegar, sugar, and salt, and let time do the work.
- Sweet-Tangy Crunch: The white vinegar cuts through the onion’s natural sweetness with a zing that’s bright, not overpowering.
- Endless Uses: I toss these on tacos, sandwiches, even straight from the jar—honestly, they make everything better.
- Fridge Staple: A batch lasts weeks, so I always have a pop of flavor ready when dinner feels predictable.
Step-by-Step Instructions for Pickled Sweet Onions
This streamlined method delivers perfectly tangy, crisp onions with minimal hands-on time.
Step 1: Thinly Slice and Prepare the Sweet Onions
Begin by peeling the 2 whole Sweet Onions and slicing them crosswise into ¼-inch thick rounds. I recommend using a sharp chef’s knife and cutting slowly to maintain even thickness—this ensures consistent texture in the final product.
Separate the slices into rings and place them in a clean quart-sized mason jar or similar heatproof container. The onions should fit snugly but not be packed so tightly that the brine can’t circulate. This preparation step is crucial for achieving that signature crunch.
Step 2: Create the Brine Mixture
In a medium saucepan, combine the 1.5 cups White Vinegar, 0.25 cup Granulated Sugar, 1 cup Water, 1 tbsp Kosher Salt, 1 tsp Black Peppercorns, 1 tsp Mustard Seeds, and 0.5 tsp Dried Red Pepper Flakes.
Bring the mixture to a gentle boil over medium-high heat, stirring occasionally until the sugar and salt fully dissolve. This should take about 3-4 minutes. Watch for the moment when the liquid becomes clear and the surface shows small bubbles breaking consistently—that’s your cue it’s ready.
Step 3: Combine and Begin the Pickling Process
Carefully pour the hot brine over the onions in the jar, ensuring all pieces are completely submerged. Use a wooden spoon to press down gently on the onions if needed to eliminate air pockets. The liquid should cover the onions by at least ½ inch.
Let the mixture cool to room temperature, which typically takes 30-45 minutes. You’ll notice the onions will begin to soften slightly and turn a beautiful translucent pink as they absorb the brine. This visual transformation confirms the pickling process has begun.
Step 4: Refrigerate and Allow Flavors to Develop
Once cooled, seal the jar with its lid and transfer it to the refrigerator. For the best flavor development, let the onions pickle for at least 24 hours before using. I’ve found that 48 hours yields the ideal balance of tang and sweetness.
During this time, the onions will become more tender while maintaining their crispness. The brine will mellow slightly as it infuses with the onion flavor. These pickled onions will keep in the refrigerator for up to 3 weeks, though they’re so delicious they rarely last that long.
Pro Tips For Making Pickled Sweet Onions Recipe With White Vinegar
- Slice Evenly: Cut the sweet onions into uniform 1/8-inch slices so they pickle at the same rate—no one wants half-mushy, half-crunchy onions in the jar.
- Boil the Brine: Bring the white vinegar, water, sugar, and kosher salt to a full boil to fully dissolve the sugar and salt before pouring over the onions.
- Skip the Overpack: Leave about 1/2 inch of headspace in the jar—liquid expands, and you don’t want a vinegar explosion in your fridge.
- Rest Overnight: I learned this the hard way—wait at least 12 hours before digging in, or the flavors won’t have time to develop.
Perfect Pairings for pickled sweet onions recipe with white vinegar
Taco Toppings
These pickled onions add bright acidity to carne asada or al pastor tacos. I love them on fish tacos too—they cut through the richness perfectly. Pair with cilantro and cotija cheese for a classic combo. 🌮
Sandwich Boost
Elevate any sandwich with these tangy onions. They’re amazing on pulled pork or grilled chicken sandwiches. Try them on a Reuben for a sweet-sour twist that complements the corned beef beautifully.
Salad Enhancer
Add crunch to green salads or grain bowls. I particularly love them on a Southwest salad with black beans, corn, and avocado. They bring a pop of color and flavor to any bed of greens.
Burger Essential
Top your favorite burger with these onions for instant gourmet status. They work especially well on cheeseburgers or mushroom Swiss burgers. The sweetness balances the savory flavors perfectly. 🍔
Charcuterie Star
Include these on your next charcuterie board. They pair wonderfully with aged cheddar, prosciutto, and whole grain crackers. The acidity cuts through the richness of cured meats.
Hot Dog Upgrade
Take your hot dogs to the next level with these pickled onions. They add a tangy crunch that works with brats, Italian sausages, or classic ballpark franks. I always keep a jar in my fridge for quick meal upgrades.
Nutrition Facts
Frequently Asked Questions
Can I use red onions instead of sweet onions?
Yes, but soak the slices in cold water for 10 minutes first to mellow the sharpness. They’ll be more pungent than sweet onions but still delicious. The color will be more vibrant too.
How long do these stay crisp in the fridge?
They maintain their crunch for about 10 days in the refrigerator. After that, they’ll soften but remain flavorful. For best texture, use within the first week.
What if my brine looks cloudy after a few days?
Cloudiness is normal and doesn’t affect safety. It’s often just sediment from the spices or onion bits. If mold appears, discard immediately. Otherwise, just stir and use as usual.
Can I reuse the leftover brine?
Yes, but only once. Bring it to a boil first, then use within 24 hours. The flavor will be milder the second time. Never reuse brine more than once.

- Potato Candy Recipe 1933: Vintage Peanut Butter Roll Delight - October 30, 2026
- Potato Chip Cookie Recipe With Pecans: Buttery Crunch Meets Nutty Richness - October 30, 2026
- Potato Patty Recipe No Egg: Crispy Edges Without the Binder - October 30, 2026