
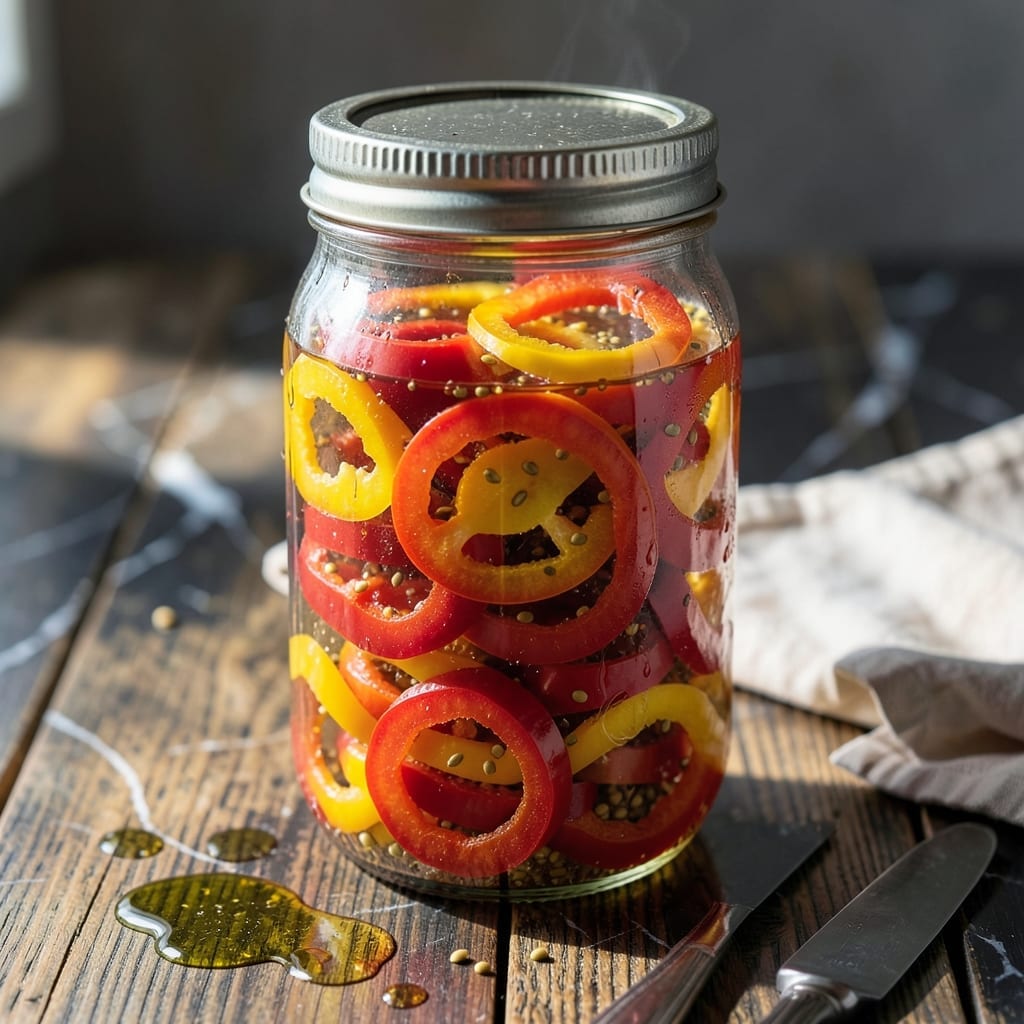
Preserving summer’s sweet pepper harvest has never been more rewarding than with this shelf-stable pickling method. The hot water bath canning process ensures your jars stay fresh and safe for months, locking in vibrant flavor and crisp texture.
This technique transforms fresh peppers into tangy, slightly sweet rings that brighten sandwiches, salads, or charcuterie boards. The key is precise timing—10 minutes in the bath guarantees a proper seal without overcooking the peppers.
You’ll appreciate how this method maintains the peppers’ natural crunch while infusing them with a balanced vinegar brine. The result is a pantry staple that’s as practical as it is delicious.
Perfect for gift-giving or stocking your own shelves, these pickled rings deliver restaurant-quality flavor with minimal effort.
Ingredients for Pickled Sweet Pepper Rings Recipe Hot Water Bath Canned
Bright peppers, tangy brine, and a few spices create this crisp pantry staple.
| Ingredient | Amount | Notes |
|---|---|---|
| Sweet Bell Peppers 🌶️ | 3 lb | Thinly sliced into rings |
| White Vinegar 💧 | 4 cups | 5% acidity for preservation |
| Water 💧 | 2 cups | Filtered preferred for clarity |
| Granulated Sugar 🍚 | ½ cup | Adjust to taste preference |
| Pickling Salt 🧂 | 2 tbsp | Non-iodized for clear brine |
| Yellow Mustard Seeds 🌿 | 1 tbsp | Whole seeds for texture |
| Black Peppercorns 🌶️ | 1 tsp | Lightly crushed for flavor |
| Celery Seeds 🌿 | 1 tsp | Optional for depth |
| Dried Dill 🌿 | 1 tsp | Or use 1 tbsp fresh dill |
| Garlic Cloves 🧄 | 4 cloves | Peeled and smashed |
| Red Pepper Flakes 🔥 | ½ tsp | Adjust for heat preference |
The peppers are everything here. Farmers markets in late summer have the sweetest, most vibrant ones—look for thick walls and bright colors. I grab mine from local growers when possible, but grocery store bell peppers (red, yellow, orange) work too. Avoid green ones—they’re often too bitter. For the vinegar, 5% acidity is non-negotiable for safe canning. Heinz or store-brand white vinegar both fit the bill.
No celery seeds? Coriander or mustard seeds add a similar depth. Out of dill? Fennel seeds at half the amount work in a pinch. The sugar can be swapped for maple syrup (use two-thirds the amount), but granulated keeps the brine clearer. For heat, add more red pepper flakes or a sliced jalapeño to each jar. The mustard seeds? Yellow or brown—both are great.
These keep for 12-18 months in a cool, dark pantry. Once opened, store in the fridge and use within 1 month. The brine is gold—save it for dressings or marinades (don’t waste it!). Processed jars seal as they cool; you’ll hear the satisfying pop within 24 hours.
Why You’ll Love This Recipe
- No-Fuss Canning: Honestly, the hot water bath method makes this almost foolproof—I just pack the jars and let the boiling water do the work.
- Sweet-Tangy Crunch: The vinegar and sugar balance is spot-on, and the peppers stay crisp even after months in the pantry.
- Pantry MVP: Between us, I toss these rings on sandwiches, salads, and even pizza for an instant flavor boost.
- Budget Stretcher: A bushel of sweet peppers at peak season turns into jars of pickled goodness that last all year.
Step-by-Step Instructions for Pickled Sweet Pepper Rings
Here’s the method I’ve perfected for crisp, tangy peppers that stay shelf-stable for months.
Step 1: Prepare the Peppers and Sterilize Jars
Start by washing the 3 lb Sweet Bell Peppers thoroughly and slicing them into ¼-inch rings, discarding the stems and seeds. I find that a sharp chef’s knife makes quick work of this, but a mandoline can give you perfectly uniform slices if you prefer.
While you’re working, place 4 pint-sized canning jars and their lids in a large pot of water and bring to a boil for 10 minutes to sterilize. This step is non-negotiable for safe canning—it kills any bacteria that could spoil your peppers. Keep the jars hot until you’re ready to fill them; cold jars can crack when filled with hot brine.
Step 2: Create the Pickling Brine
In a medium saucepan, combine the 4 cups White Vinegar, 2 cups Water, 0.5 cup Granulated Sugar, and 2 tbsp Pickling Salt. Bring this mixture to a rolling boil over medium-high heat, stirring occasionally until the sugar and salt fully dissolve. You’ll see the liquid turn from cloudy to clear—that’s your sign it’s ready.
Once boiling, reduce the heat to low and add the 1 tbsp Yellow Mustard Seeds, 1 tsp Black Peppercorns, 1 tsp Celery Seeds, and 0.5 tsp Red Pepper Flakes. Let these spices steep in the hot brine for 5 minutes to infuse their flavors. This isn’t just for taste; the spices also add visual appeal to your finished product.
Step 3: Pack the Jars with Peppers and Aromatics
Divide the 1 tsp Dried Dill and 4 cloves Garlic Cloves evenly among the sterilized jars. I like to add a pinch of dill and one garlic clove to each pint jar, but you can adjust this to your preference. Then, tightly pack the pepper rings into the jars, leaving ½-inch headspace at the top.
Pack them in vertically for a pretty presentation, but don’t stress too much about orientation—what matters is that they’re snug. The headspace is crucial, though; it allows for expansion during processing and creates a proper vacuum seal. If you overfill, the brine might spill over during the water bath, diluting the flavor.
Step 4: Fill with Brine and Process in a Hot Water Bath
Carefully ladle the hot brine into each jar, completely covering the peppers while maintaining that ½-inch headspace. Use a bubble remover or a clean chopstick to gently release any air bubbles trapped between the pepper rings. This ensures the brine fully surrounds the peppers, which is essential for both safety and flavor.
Wipe the rims of the jars with a clean, damp cloth to remove any residue, then seal with the lids. Process the jars in a boiling water bath for 10 minutes. Start your timer only after the water returns to a full, rolling boil. You’ll know the jars are processing properly when you see a steady stream of bubbles coming from the lids.
Step 5: Cool and Check for a Proper Seal
After processing, carefully remove the jars from the water bath using a jar lifter and place them on a clean towel-lined countertop. Let them cool undisturbed for 12-24 hours. You’ll likely hear a satisfying “ping” as each jar seals—this is the sound of the lid being pulled down by the vacuum created during cooling.
Once fully cooled, check the seals by pressing down on the center of each lid. If it doesn’t pop back up, the jar is properly sealed and ready for storage. Any jars that didn’t seal should be refrigerated and used within a week. Store your sealed jars in a cool, dark place, and they’ll keep for up to 1 year, though they’re so good they probably won’t last that long.
Pro Tips For Making Pickled Sweet Pepper Rings Recipe Hot Water Bath Canned
- Blanch First: I learned this the hard way—blanching the pepper rings in boiling water for 2-3 minutes before packing keeps them crisp and prevents that sad, mushy texture in the jar.
- Use Pickling Salt: Skip regular table salt; the additives in it can turn your brine cloudy. Pickling salt dissolves cleanly and keeps your peppers looking as good as they taste.
- Pack Tightly: Resist the urge to overstuff jars, but do pack the rings snugly to prevent floating and ensure they stay submerged under the brine.
- Sterilize Jars Hot: Keep your jars and lids hot until you fill them—sounds tedious, but it prevents thermal shock and guarantees a proper seal every time.
Health Benefits of These Flavors
Rich in Antioxidants
Sweet peppers are packed with vitamin C—just ½ cup provides over 100% of your daily needs. This powerful antioxidant supports immune function and skin health. The pickling process preserves much of this nutrient, making these rings a great way to boost your intake year-round. 💪
Low-Calorie Crunch
Each ¼-cup serving of these pickled rings contains only about 10-15 calories. They’re a perfect snack for anyone watching their weight but still wanting bold flavor and satisfying texture. I often reach for these instead of chips when I need a salty crunch.
Gut-Friendly Probiotics
Lacto-fermented versions (if you skip the hot water bath) develop natural probiotics that support digestive health. Even with canning, the vinegar in the brine aids digestion and may help stabilize blood sugar. The garlic and dill add prebiotic benefits too.
Vitamin A Boost
Red and yellow peppers are loaded with beta-carotene, which your body converts to vitamin A. This nutrient is essential for eye health and immune function. One serving provides about 30% of your daily vitamin A needs.
The brighter the pepper, the higher the concentration—another reason I always choose the most vibrant ones at the market. 🌟
Heart-Healthy Choice
These pickled rings are naturally fat-free and cholesterol-free, making them a heart-smart addition to any diet. The lack of preservatives (beyond the natural vinegar) also means you’re avoiding the sodium found in many store-bought pickled vegetables.
Nutrition Facts
Frequently Asked Questions
Do I need special equipment for canning?
A water bath canner, jar lifter, and canning jars with new lids are essential. A bubble remover helps eliminate air pockets. Never reuse lids.
Can I adjust the sugar in the brine?
Yes, but keep the vinegar-to-water ratio the same for safety. Reduce sugar to ¼ cup for a tangier flavor, or increase to ¾ cup for sweeter rings.
How long before the peppers are ready to eat?
Wait at least 24 hours for flavors to develop, but 2-3 weeks yields the best taste. The texture stays crisp for months.
What if a jar didn’t seal?
Refrigerate it immediately and use within 1 week. Check seals after 12-24 hours—if the lid pops, reprocess or refrigerate.

- Potato Candy Recipe 1933: Vintage Peanut Butter Roll Delight - October 30, 2026
- Potato Chip Cookie Recipe With Pecans: Buttery Crunch Meets Nutty Richness - October 30, 2026
- Potato Patty Recipe No Egg: Crispy Edges Without the Binder - October 30, 2026