
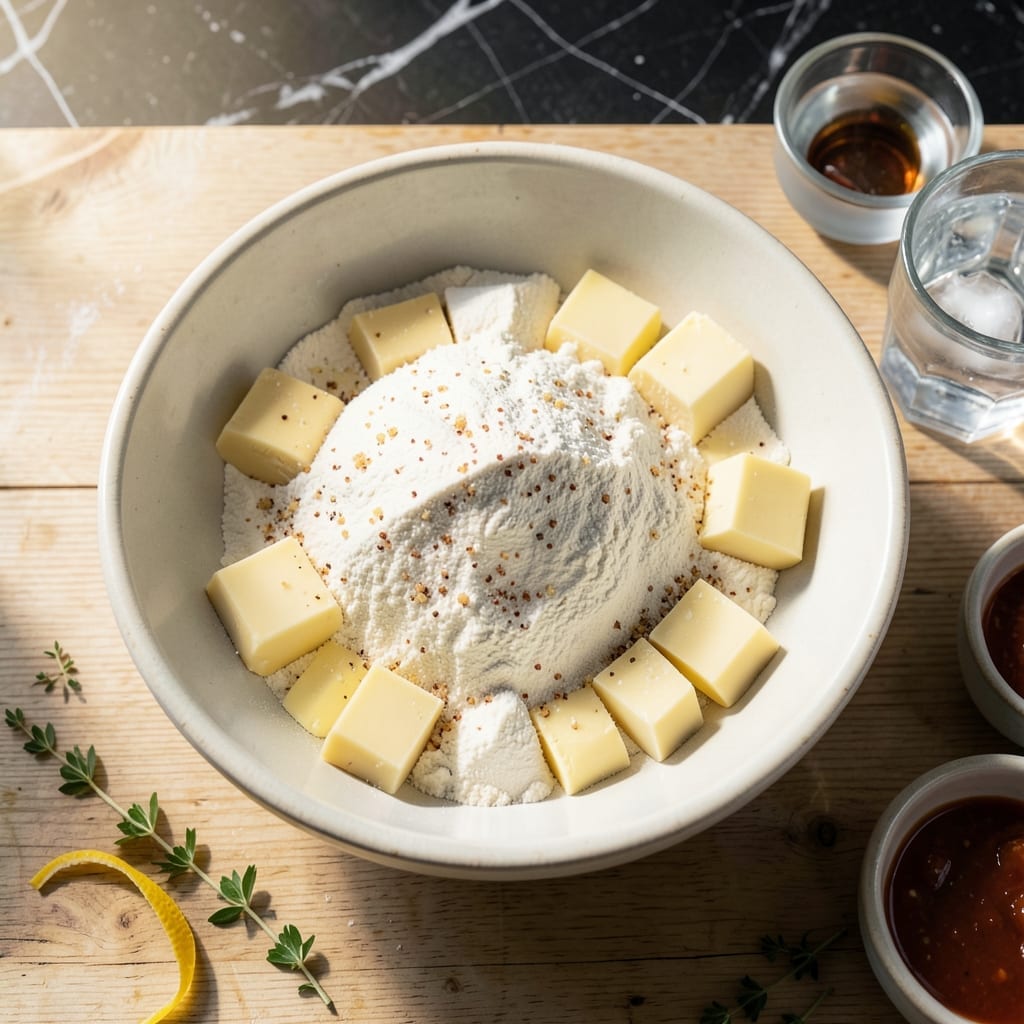
There’s a reason bakeries prize a well-made crust—it transforms a good pie into an unforgettable one. This recipe delivers a flaky, buttery foundation that holds up beautifully to the rich, spiced filling of sweet potato pie.
The key is keeping the dough cold and handling it minimally. Overworking the butter creates a tough crust, but with the right technique, you’ll achieve layers that shatter at the touch. A brief chill before baking ensures it stays crisp against the creamy filling.
Once baked, the crust emerges golden and sturdy, ready to cradle the velvety sweet potato mixture. The contrast between the tender filling and the crisp pastry is what makes each bite exceptional.
Pair this with a spiced custard, and you’ll have a dessert worth savoring.
Ingredients for Pie Crust Recipe for Sweet Potato Pie
A flaky, buttery crust starts with cold ingredients and minimal handling for that perfect cradle.
| Ingredient | Amount | Notes |
|---|---|---|
| All-Purpose Flour 🌾 | 2 ½ cups | Spoon and level for accuracy |
| Unsalted Butter 🧈 | 1 cup | Cold, cubed into 1/2-inch pieces |
| Granulated Sugar 🍚 | 1 tbsp | Fine white sugar preferred |
| Salt 🧂 | ½ tsp | Fine sea salt or table salt |
| Ice Water 💧 | ⅓ cup | Plus additional as needed |
| Apple Cider Vinegar 🍏 | 1 tsp | White vinegar works too |
| Vanilla Extract 🌿 | ½ tsp | Pure extract for best flavor |
| Sweet Potato Puree 🍠 | 2 cups | Fresh or canned, unsweetened |
| Brown Sugar 🟤 | ¾ cup | Light or dark, packed |
| Ground Cinnamon 🌿 | 1 tsp | Freshly ground if possible |
| Ground Nutmeg 🌰 | ¼ tsp | Freshly grated preferred |
| Large Eggs 🥚 | 2 whole | For custard binding |
| Heavy Cream 🥛 | ½ cup | Full-fat for richness |
| Pure Maple Syrup 🍁 | 2 tbsp | Optional for sweetness adjustment |
The butter is non-negotiable here. European-style butter (like Plugrá or Kerrygold) has higher fat content, giving you better flakiness. Keep it ice-cold—warm butter means tough crust. The flour should be standard all-purpose; no need for cake flour or bread flour. King Arthur is my go-to brand for consistent results. If your kitchen is warm, chill the flour for 30 minutes before starting.
No apple cider vinegar? White vinegar or lemon juice works in a pinch. For the filling, canned sweet potato puree (not pumpkin) saves time—just make sure it’s unsweetened. Brown sugar can be swapped for white, but you’ll lose some depth. The cinnamon and nutmeg are the stars—freshly ground spices (from Penzeys) make a noticeable difference in flavor intensity.
The dough can rest in the fridge for up to 2 days or freeze for 3 months. Baked crust keeps at room temperature for 24 hours—longer than that and it’ll soften. For the filling, store leftovers in the fridge for up to 4 days.
Why You’ll Love This Recipe
- One Bowl Magic: I just dump the flour, cold butter, sugar, and salt in one bowl, cut it with a fork, and add ice water—no fancy tools, no mess.
- Buttery Crisp Perfection: That flaky, golden crust with the hint of sugar? It’s the ideal match for sweet potato filling, not too sweet, just right.
- Thanksgiving Hero: I make two at once—one for the pie, one for the freezer—so I’m always ready for holiday baking or a last-minute potluck.
Step-by-Step Instructions for Pie Crust for Sweet Potato Pie
Master these fundamental steps to create a flaky, golden crust that perfectly complements your filling.
Step 1: Chill and Combine Dry Ingredients
Measure out 2.5 cups all-purpose flour, 1 tablespoon granulated sugar, and ½ teaspoon salt into a large mixing bowl. I spoon and level the flour to avoid compacting it, which ensures a tender result.
Whisk these dry ingredients together until fully combined. This step distributes the sugar and salt evenly throughout the flour, which is crucial for consistent flavor in every bite. Place the bowl in the refrigerator for 10 minutes to chill while you prepare the remaining ingredients.
Step 2: Cut in Cold Butter Until Pea-Sized
Add 1 cup unsalted butter, cubed into ½-inch pieces, to the chilled flour mixture. Using a pastry cutter or your fingertips, work the butter into the flour until the mixture resembles coarse crumbs with pea-sized butter pieces visible.
This technique creates layers in the dough, which expand during baking to form those coveted flaky layers. Work quickly to keep the butter as cold as possible—if it starts to soften, pause and return the bowl to the refrigerator for 5 minutes to re-chill.
Step 3: Moisten Dough with Liquid Ingredients
In a small bowl, combine ⅓ cup ice water, 1 teaspoon apple cider vinegar, and ½ teaspoon vanilla extract. The vinegar tenderizes the gluten, while the vanilla adds subtle depth to the crust’s flavor.
Drizzle this liquid mixture into the flour-butter mixture, 1 tablespoon at a time, gently stirring with a fork until the dough just begins to come together. You may not need all the liquid—stop as soon as the dough holds when pressed between your fingers. Overmixing will develop gluten and make the crust tough.
Step 4: Rest and Roll the Dough
Turn the dough out onto a lightly floured surface and gently shape it into a disk. Wrap it in plastic wrap and refrigerate for at least 1 hour (or up to 2 days). This resting period allows the gluten to relax and the butter to firm up.
When ready to use, roll the chilled dough on a floured surface to a 12-inch circle, about ⅛-inch thick. Transfer it to a 9-inch pie dish, press it into the bottom and up the sides, and trim any excess dough, leaving a ½-inch overhang. Crimp the edges decoratively and prick the bottom all over with a fork to prevent air bubbles.
Step 5: Pre-Bake the Crust
Preheat your oven to 375°F. Line the crust with parchment paper and fill it with pie weights or dried beans. Bake for 15 minutes, then carefully remove the weights and parchment.
Return the crust to the oven and bake for an additional 8-10 minutes until the edges are light golden brown and the bottom appears dry. This blind-baking step ensures your crust stays crisp and doesn’t become soggy when filled with the sweet potato mixture. Let it cool completely before adding the filling.
Pro Tips For Making Pie Crust Recipe For Sweet Potato Pie
- Chill the Butter: Cut the butter into small cubes and freeze for 15 minutes before mixing—I learned this the hard way after my crust turned out tough instead of flaky.
- Use Ice Water: Measure your water first, then add ice cubes to it and let it sit for 5 minutes; cold water prevents the butter from melting prematurely.
- Don’t Overwork Dough: Mix just until the dough comes together, even if it looks a little shaggy; overworking develops gluten, making the crust chewy rather than tender.
- Rest Before Rolling: Wrap the dough and refrigerate for at least 30 minutes—this relaxes the gluten and makes rolling out much easier, especially for a buttery crust like this one.
Pro Cooking Tips for This Recipe
Butter Temperature Control
Keep your 1 cup unsalted butter ice-cold and cubed into ½-inch pieces until ready to use. I store mine in the freezer for 15 minutes before starting. If the butter begins to soften while cutting into the flour, immediately return the bowl to the fridge for 5 minutes. 🌡️
Minimal Dough Handling
Once you add the liquid, handle the dough as little as possible. Overworking develops gluten, which makes the crust tough. Use a fork to gently stir just until the dough holds together when pressed. I stop adding liquid as soon as it barely clumps.
Proper Blind Baking
For a crisp crust that won’t sog, blind-bake at 375°F with pie weights for 15 minutes. Remove the weights, then bake 8-10 minutes more until light golden. I use dried chickpeas as improvised weights in a pinch.
Docking the Crust
After lining your pie dish, prick the bottom all over with a fork (20-25 docks) to prevent air bubbles. This also helps steam escape during baking. I also crimp the edges tightly to prevent shrinking during the blind-bake.
Resting is Non-Negotiable
After shaping, refrigerate the dough for at least 1 hour. This allows the gluten to relax and the butter to firm up. Skipping this step often results in a tough, shrunken crust. I’ve learned this lesson the hard way! 💪
Even Rolling Technique
Roll from the center outward in all directions, rotating the dough ¼ turn between rolls. This prevents sticking and ensures even thickness. Aim for a 12-inch circle that’s ⅛-inch thick for a standard 9-inch pie dish.
Nutrition Facts
Frequently Asked Questions
Can I use a store-bought crust instead?
Yes, but homemade offers superior flakiness and flavor. If short on time, choose an all-butter refrigerated crust for best results.
Why does the dough need to rest?
Resting allows gluten to relax and butter to firm up, preventing shrinkage and tough texture. 1 hour in the fridge is ideal.
What if my crust browns too quickly?
Cover edges with foil or a pie shield. For even baking, rotate the pan halfway through the 375°F baking time.
Can I make this dough ahead?
Wrapped tightly, it keeps in the fridge for 2 days or freezer for 3 months. Thaw overnight before rolling.

- Potato Candy Recipe 1933: Vintage Peanut Butter Roll Delight - October 30, 2026
- Potato Chip Cookie Recipe With Pecans: Buttery Crunch Meets Nutty Richness - October 30, 2026
- Potato Patty Recipe No Egg: Crispy Edges Without the Binder - October 30, 2026