
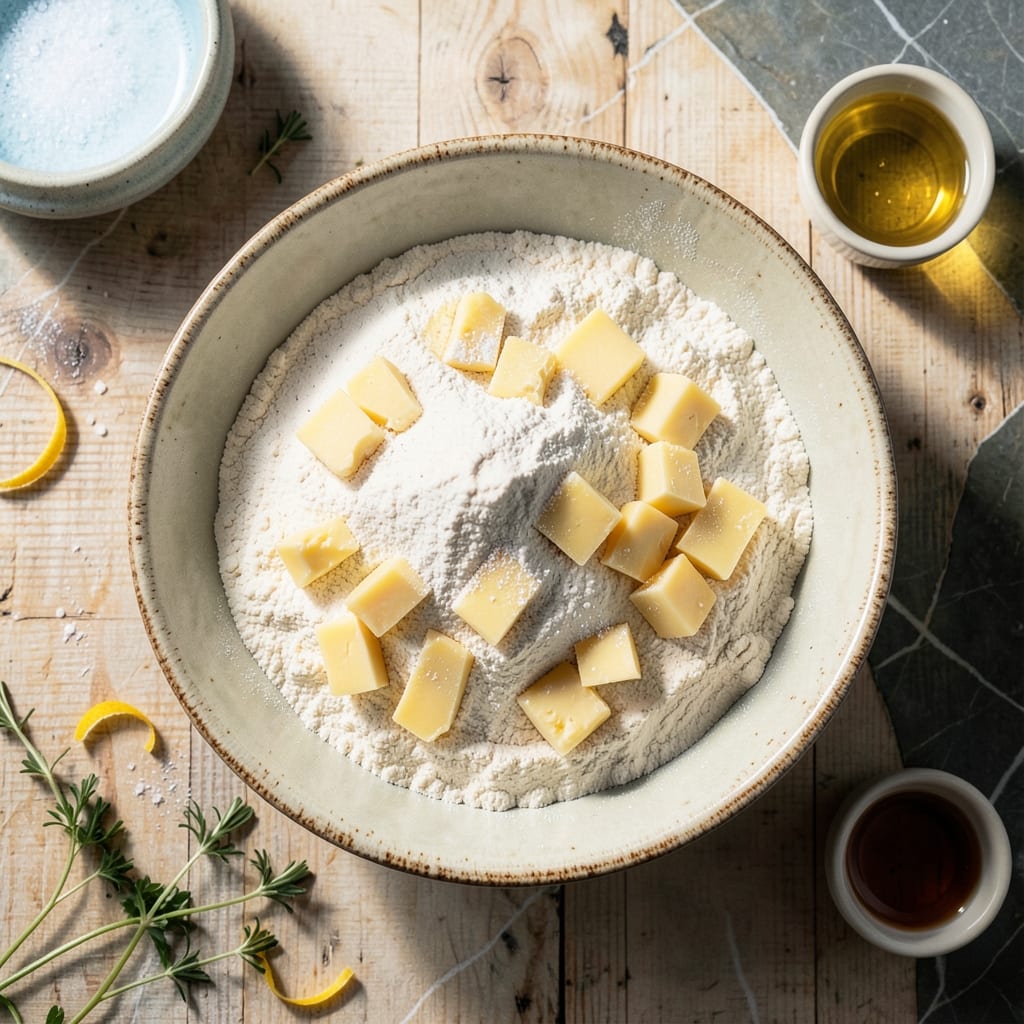
Mastering a flaky pie crust at home is simpler than you think. My grandmother taught me the secret is keeping everything cold—cold butter, cold water, cold hands.
This method uses just a few basic ingredients but delivers professional results. The butter creates layers that puff up beautifully in the oven, giving you that perfect golden finish.
What you’ll achieve is a crust that’s tender yet sturdy enough to hold any filling. The key is working the dough just enough to bring it together, then letting it rest.
Whether for fruit pies or custards, this foundation ensures your creation will shine. Here’s how to make it right every time.
Ingredients for Pie Crust Recipe Using Butter
Cold butter and flour are all you need for perfect flaky layers in this crust.
| Ingredient | Amount | Notes |
|---|---|---|
| All-Purpose Flour 🌾 | 2 ½ cups | Spoon and level, plus extra for dusting |
| Unsalted Butter 🧈 | 1 cup | Cold, cubed into 1/2-inch pieces |
| Fine Sea Salt 🧂 | 1 tsp | Dissolved in ice water |
| Ice Water 💧 | ½ cup | Plus more as needed |
| Granulated Sugar 🍚 | 1 tbsp | Optional, for sweet crusts |
| Apple Cider Vinegar 🍎 | 1 tbsp | Helps tenderize the dough |
The butter is everything here—use high-fat European-style if you can swing it (I like Plugrá or Kerrygold). It needs to stay cold, so cube it and stash it back in the fridge while you prep. All-purpose flour is ideal, but if you’re out, bread flour works in a pinch (just don’t overmix). The salt dissolving in ice water is non-negotiable—keeps everything frigid.
No unsalted butter? Salted works too, but skip the added salt in the water. Out of apple cider vinegar? White vinegar or lemon juice at the same amount. For a richer crust, swap 1 tbsp of the water for vodka—it evaporates faster, making the dough extra flaky. The sugar is optional, but sweet crusts are great for fruit pies.
The dough keeps in the fridge for 3 days or freezes beautifully for 3 months. Wrap it tight in plastic—no air gaps. Let it soften slightly before rolling (about 10 minutes on the counter).
Why You’ll Love This Recipe
- Five Ingredients Only: I love that this comes together with just flour, butter, salt, sugar, and ice water—no hunting for specialty items.
- Buttery Perfection: The cold unsalted butter creates layers so flaky they shatter at the touch, with just a hint of sweetness from the sugar.
- Endless Possibilities: I’ve used this for apple pie, quiche, and even hand pies—it’s my reliable base for sweet or savory dishes.
- Freezer Friendly: Honestly, I always double the batch and freeze the extra dough for those last-minute dessert emergencies.
Step-by-Step Instructions for Pie Crust Using Butter
Follow this method and you’ll achieve that perfect flaky texture with a beautiful golden finish.
Step 1: Cut the Butter Into the Flour
In a large bowl, combine the 2.5 cups All-Purpose Flour and 1 tbsp Granulated Sugar. I like to whisk them together first to distribute the sugar evenly, especially since we’re using it optionally for a sweet crust.
Add the 1 cup Unsalted Butter (cold and cubed into ½-inch pieces). Using a pastry cutter or your fingers, work the butter into the flour until the mixture resembles coarse crumbs with some pea-sized butter pieces remaining. This creates those flaky layers we’re after. The key is keeping the butter cold—don’t let it melt into the flour.
Step 2: Add the Liquid Ingredients
In a small bowl, dissolve the 1 tsp Fine Sea Salt in the ½ cup Ice Water. Then stir in the 1 tbsp Apple Cider Vinegar. This liquid combination is what brings the dough together while keeping it tender.
Create a well in the center of your flour-butter mixture. Pour in about ¼ cup of the ice water mixture and gently stir with a fork. Add the remaining liquid 1 tablespoon at a time, mixing just until the dough starts to come together. You’ll know it’s ready when it holds when pressed but isn’t sticky.
Step 3: Form and Chill the Dough
Turn the dough out onto a lightly floured surface and gently shape it into a disk about 1 inch thick. Be careful not to overwork it—just bring it together enough to form a cohesive ball. Overworking develops gluten, which makes for tough crust instead of flaky.
Wrap the disk tightly in plastic wrap and refrigerate for at least 1 hour (I prefer 2 hours when possible). This chilling step is crucial—it relaxes the gluten and rechills the butter, preventing the dough from shrinking during baking and ensuring those beautiful flaky layers.
Step 4: Roll and Shape for Baking
On a lightly floured surface, roll the chilled dough into a 12-inch circle about ⅛-inch thick. I like to roll from the center outward, rotating the dough occasionally to maintain an even thickness. If the dough starts to crack at the edges, press them back together with your fingers.
Transfer the rolled dough to your pie dish. Gently press it into the bottom and up the sides, being careful not to stretch it. Trim the excess dough, leaving a ½-inch overhang for crimping. For a decorative edge, you can use your fingers or a fork to create a pattern. This dough handles beautifully when properly chilled.
Step 5: Pre-Bake for Optimal Flakiness
For a pre-baked crust (blind baking), line the dough with parchment paper and fill with pie weights or dried beans. Bake at 375°F for 15 minutes, then remove the weights and bake for another 10-12 minutes until the edges are light golden brown.
For a filled pie, add your filling to the unbaked crust and bake according to your recipe. The crust is done when it’s deep golden brown and the edges are slightly puffed. The butter in the dough will create those beautiful flaky layers while the vinegar helps keep it tender. Let it cool completely before slicing for the cleanest pieces.
Pro Tips For Making Pie Crust Recipe Using Butter
- Chill the Butter: Cut your unsalted butter into 1/2-inch cubes and refrigerate for 30 minutes before mixing—cold butter is non-negotiable for flaky layers.
- Use Ice Water: Fill a glass with water and ice cubes, then measure from that for the coldest possible liquid; warm water makes a tough crust.
- Don’t Overwork It: Stop mixing as soon as the dough just comes together; I learned this the hard way after my first few crusts turned out dense and chewy.
- Rest Before Rolling: Wrap the dough and refrigerate for at least 1 hour—this relaxes the gluten and prevents shrinking when baked.
Essential Equipment for This Dish
Pastry Cutter
A good pastry cutter is my go-to for cutting cold butter into flour. I use the OXO Good Grips model—its comfortable handle and stainless steel blades make quick work of even the coldest butter. This tool helps maintain those crucial pea-sized butter pieces that create flaky layers. 💪
Rolling Pin
For rolling out your dough, a French-style tapering rolling pin gives you the most control. I prefer the J.K. Adams maple wood version—it’s durable and doesn’t stick. Roll from the center outward, rotating the dough frequently for even thickness.
Pie Dish
A 9-inch glass pie dish is ideal for this crust. I love Pyrex because it conducts heat evenly and lets you monitor the browning. The transparent glass helps you see when the bottom crust reaches that perfect golden color.
Plastic Wrap
Don’t skimp on the plastic wrap for chilling your dough. Use heavy-duty wrap like Glad ClingWrap to ensure no air gets in. This prevents the dough from drying out during its 1-2 hour rest in the refrigerator.
Bench Scraper
A bench scraper is invaluable for dividing dough and keeping your work surface clean. The Ateco 4-inch model is my favorite—its sharp edge cuts through dough cleanly and helps lift it off the counter without stretching.
Pie Weights
For blind baking, ceramic pie weights are superior to dried beans. I use RSVP International weights—they’re reusable and distribute heat evenly. Fill your crust completely to prevent puffing during the initial 15-minute bake.
Nutrition Facts
Frequently Asked Questions
Why does the butter need to stay cold?
Cold butter creates steam during baking, forming flaky layers. If it melts before baking, the crust becomes dense. Keep everything chilled until it hits the oven.
Can I use salted butter instead?
Yes, but omit the added salt in the water. Salted butter works fine, though unsalted gives you more control over the seasoning. The flavor difference is minimal.
How do I prevent the crust from shrinking?
Chill the dough for at least 1 hour before rolling. This relaxes the gluten and prevents shrinking. Also, avoid stretching the dough when fitting it into the pan.
What if my dough cracks while rolling?
Press the edges back together with your fingers and continue. A little cracking is normal—just patch it gently. If it’s too stubborn, let it warm slightly at room temperature.

- Pina Colada Dip Recipe Red Lobster: Tropical Creaminess With Toasted Coconut - October 12, 2026
- Pickled Sweet Cherry Peppers Recipe Canning: Tangy Heat for Pantry Staples - October 12, 2026
- Peppercorn Sauce Recipe Vegan: Rich Umami Depth Without Cream - October 12, 2026