
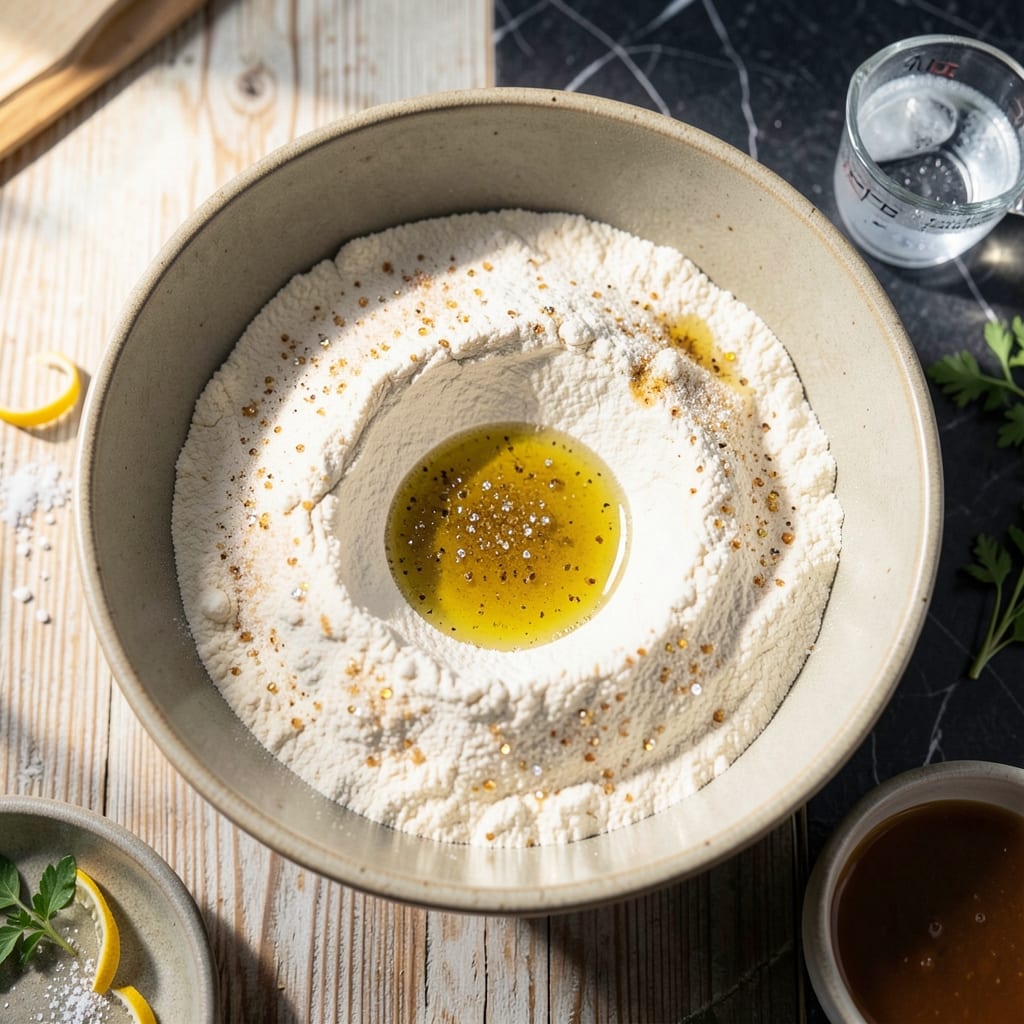
I’ve perfected this vegetable oil pie crust to deliver flaky layers every time without butter. The secret lies in using cold oil and minimal handling to prevent toughness.
This method ensures a tender, crisp base for any pie. It’s ideal for bakers seeking a reliable, dairy-free alternative that still delivers restaurant-quality results.
The dough comes together quickly with simple ingredients. It rolls out smoothly and holds its shape during baking, creating the perfect foundation for fruit or custard fillings.
Achieve a golden, flaky crust with just a few steps. This recipe proves you don’t need butter to create a pie crust worth bragging about.
Ingredients for Pie Crust Recipe Using Vegetable Oil
Simple pantry staples transform into a flaky vegetable oil pie crust worth bragging about.
| Ingredient | Amount | Notes |
|---|---|---|
| All-Purpose Flour 🌾 | 2 ½ cups | Sifted for lighter texture |
| Vegetable Oil 🫒 | ¾ cup | Cold, unflavored variety |
| Ice Water 💧 | ⅓ cup | Very cold for flakiness |
| Salt 🧂 | 1 tsp | Fine grain for even distribution |
| Granulated Sugar 🍚 | 1 tbsp | Optional for sweet fillings |
| Apple Cider Vinegar 🍏 | 1 tsp | Enhances tenderness |
The flour is foundational—King Arthur or Gold Medal deliver consistent results. Cold vegetable oil is non-negotiable; Crisco or store-brand work equally well. Ice water must be genuinely icy (add ice cubes to the measuring cup). The vinegar, while optional, adds a subtle tenderness that mimics butter-based crusts. These ingredients are shelf-stable and widely available at any supermarket.
No all-purpose flour? Pastry flour at a 1:1 ratio works, but avoid bread flour—it’s too dense. Any neutral oil (canola, sunflower) can replace vegetable oil. Short on time? Skip the vinegar; the crust will still be good. For sweet pies, increase sugar to 2 tbsp. The salt can be adjusted to taste, but don’t omit it entirely.
Store flour in an airtight container for up to 6 months. Oil and vinegar last 1 year unopened, 6 months after opening. The dough can be refrigerated for 2 days or frozen for 3 months (thaw before rolling).
Why You’ll Love This Recipe
- No Chill Needed: I roll this out straight from mixing—no waiting for butter to firm up.
- Buttery Without Butter: The oil gives it that rich, flaky texture you expect from a pie crust.
- Sweet or Savory: A pinch of sugar makes it work for desserts or pot pies.
- Pantry Staples: Flour, oil, water, salt—things I always have on hand.
Step-by-Step Instructions for Pie Crust Using Vegetable Oil
Achieving perfect flakiness requires precision in technique and respect for the ingredients.
Step 1: Combine Dry Ingredients for Consistent Base
In a large mixing bowl, whisk together the 2.5 cups All-Purpose Flour, 1 tsp Salt, and 1 tbsp Granulated Sugar until thoroughly combined. I always sift my flour first—this aerates it and prevents dense, compacted layers in the finished crust.
The fine grain salt ensures even distribution throughout the dough, while the sugar adds a subtle sweetness that complements both sweet and savory fillings. This dry mixture creates the structural foundation for your flaky layers.
Step 2: Incorporate Cold Vegetable Oil Properly
Pour the 0.75 cup Vegetable Oil (cold, unflavored) into the dry ingredients. Using a fork or pastry cutter, work the oil into the flour mixture until it resembles coarse crumbs with some pea-sized pieces remaining. This step is critical—overmixing would develop gluten and toughen the crust.
The cold temperature of the oil is essential; as it melts during baking, it creates steam that separates the flour layers, resulting in that coveted flaky texture. You should see the oil fully coated with flour, with no visible liquid remaining.
Step 3: Bind with Ice Water and Vinegar Mixture
In a small bowl, combine the 0.33 cup Ice Water and 1 tsp Apple Cider Vinegar. The vinegar tenderizes the gluten slightly, ensuring a more delicate crust. Create a well in the center of your flour-oil mixture and pour in the water-vinegar combination.
Using a fork, gradually incorporate the wet ingredients into the dry, mixing just until the dough begins to come together. The dough should look shaggy and slightly dry—resist the urge to add more water. Overworking at this stage would compromise the flakiness.
Step 4: Rest and Shape the Dough
Turn the dough out onto a lightly floured surface and gently press it into a cohesive ball. Divide it into two equal portions for a double-crust pie or use as one piece for a single crust. Flatten each portion into a 1-inch thick disc.
Wrap the discs tightly in plastic wrap and refrigerate for at least 30 minutes (or up to 2 days). This resting period allows the gluten to relax and the oil to solidify, making the dough easier to roll out and preventing shrinkage during baking.
Step 5: Roll and Fit for Baking
On a lightly floured surface, roll out one disc of dough to a 12-inch circle for a standard 9-inch pie plate. The dough should be about ⅛-inch thick. Transfer it to your pie plate, pressing gently into the bottom and sides without stretching.
For a pre-baked crust, prick the bottom with a fork and freeze for 15 minutes before baking at 375°F for 15-20 minutes until light golden brown. For a filled pie, proceed with your filling and bake according to your specific recipe’s instructions.
Pro Tips For Making Pie Crust Recipe Using Vegetable Oil
- Chill the Oil: I learned this the hard way—cold oil makes a flakier crust, so stash your vegetable oil in the fridge for 30 minutes before mixing.
- Use Ice Water: After my first soggy crust disaster, I now always use ice-cold water (about ¼ cup) to keep the dough from getting tough.
- Don’t Overmix: Sounds weird, but it works: mix just until the dough holds together—overworking it turns the crust dense.
- Add Sugar Last: I was skeptical until I tried it, but folding in the granulated sugar at the end prevents it from dissolving into the liquid.
Make-Ahead Tips for This Dish
Prep Ahead Strategy
I always make this dough 1-2 days before baking. After shaping into discs, wrap tightly in plastic wrap and refrigerate. The extended rest enhances flakiness as the gluten fully relaxes.
Freezer Storage
For longer storage, freeze wrapped dough discs for up to 3 months. Thaw overnight in the fridge before rolling. I label mine with the date using a permanent marker.
Freezing stops oil oxidation, preserving freshness. ❄️
Pre-Rolled Convenience
Roll out the dough between parchment paper, then stack with parchment between layers. Wrap the stack and refrigerate for up to 2 days or freeze for 1 month.
Pre-Baked Crusts
Bake empty crusts as directed, cool completely, then wrap in foil. Store at room temperature for 2 days or freeze for 1 month. Re-crisp in a 350°F oven for 5-10 minutes.
Emergency Thaw
Need dough fast? Submerge the wrapped disc in cold water for 30 minutes. This safely thaws it without warming the oil. Pat dry before rolling.
This method works perfectly when unexpected pie cravings hit. 💡
Nutrition Facts
Frequently Asked Questions
Can I use melted butter instead of oil?
No, melted butter won’t work the same way. The crust relies on solid fat creating steam layers during baking. Butter would make the dough greasy and dense. Stick with cold oil for best results.
Why is my crust tough instead of flaky?
Overworking the dough develops gluten, making it tough. Use a light touch when mixing and rolling. Also ensure your oil is cold before starting. Resting the dough helps too.
How thin should I roll the dough?
Aim for ⅛-inch thickness for a standard 9-inch pie plate. Use a ruler or rolling pin guides for consistency. Too thin and it may tear; too thick and it won’t bake evenly.
Can I make this ahead and freeze it?
Yes! Wrap dough discs tightly and freeze for up to 3 months. Thaw overnight in the fridge before rolling. This actually improves the texture.

- Potato Candy Recipe 1933: Vintage Peanut Butter Roll Delight - October 30, 2026
- Potato Chip Cookie Recipe With Pecans: Buttery Crunch Meets Nutty Richness - October 30, 2026
- Potato Patty Recipe No Egg: Crispy Edges Without the Binder - October 30, 2026