
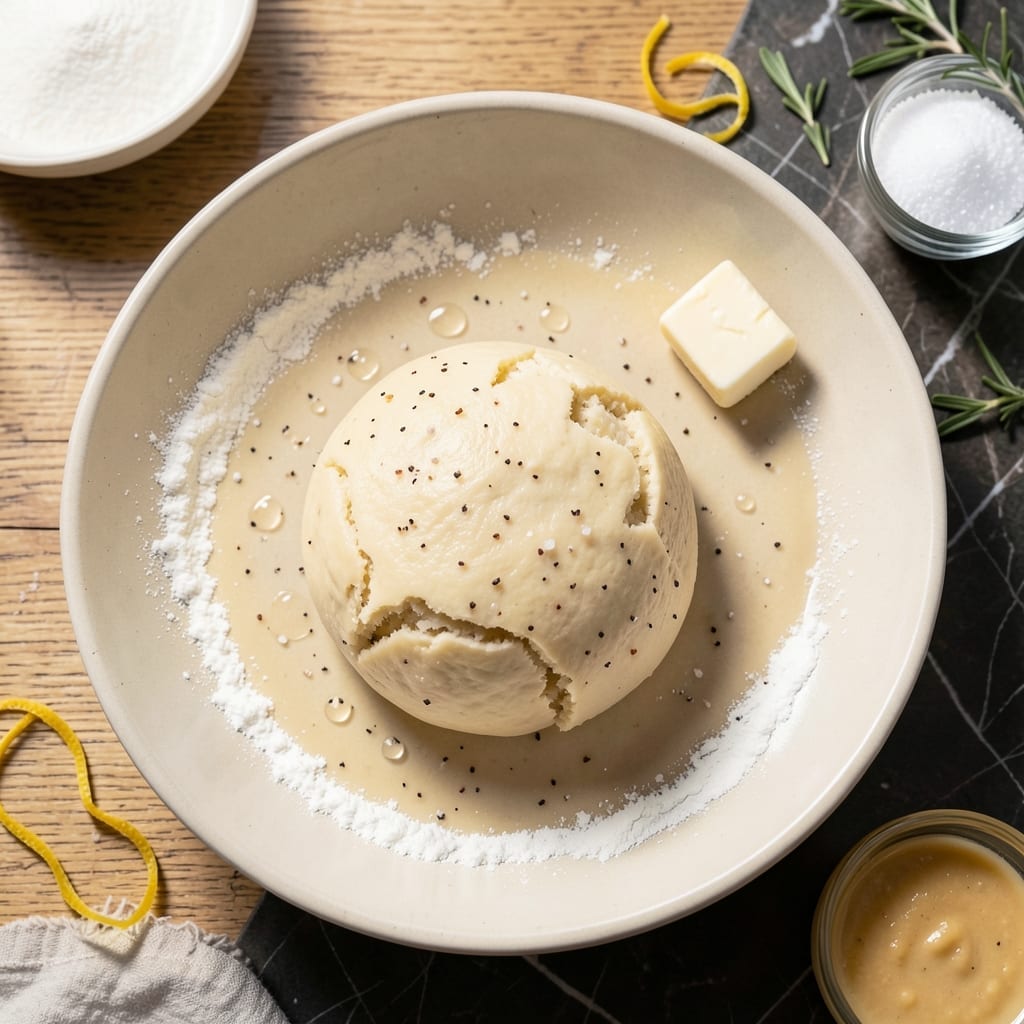
There’s a secret to achieving flaky pie crust that rivals your grandmother’s—Crisco butter flavor shortening. This recipe delivers layers of tender pastry with minimal effort and maximum results.
The butter-flavored Crisco creates pockets of air when baked, resulting in that coveted flaky texture that makes pie crust extraordinary. The process is straightforward: cut, mix, chill, roll, and bake.
With just a few simple ingredients and 15 minutes of active prep, you’ll have a golden crust ready for any filling. The key is keeping everything cold until it hits the oven.
This method never fails to produce consistent, restaurant-quality results. Perfect for pies, tarts, or even decorative pastry shapes.
Ingredients for Pie Crust Recipe with Crisco Butter Flavor
Seven simple ingredients create that coveted flaky texture with minimal effort and maximum results.
| Ingredient | Amount | Notes |
|---|---|---|
| All-Purpose Flour 🌾 | 2 ½ cups | Spoon and level, plus extra for dusting |
| Crisco Butter Flavor Shortening 🧈 | ⅔ cup | Chilled, cut into cubes |
| Ice Water 💧 | ⅓ cup | Plus 1 tbsp as needed |
| Fine Sea Salt 🧂 | 1 tsp | Dissolved in ice water |
| Granulated Sugar 🍚 | 1 tbsp | Optional, for sweet crusts |
| Unsalted Butter 🧈 | 2 tbsp | Chilled, cubed (optional for extra flavor) |
| White Vinegar 🍋 | 1 tsp | Or lemon juice, for tenderness |
The shortening is non-negotiable here. Crisco Butter Flavor delivers that signature flakiness—regular shortening works but lacks the buttery depth. Most supermarkets carry it in the baking aisle (look for the blue can). For the flour, King Arthur or Gold Medal all-purpose are reliable choices. Keep everything ice-cold; warm ingredients mean tough crust. I recommend weighing your flour (300g) if you have a scale for precision.
No butter-flavor shortening? Regular Crisco plus 1/2 tsp butter extract gets you close. Out of vinegar? Skip it—the crust will still be good, just slightly less tender. For a richer flavor, replace 2 tbsp shortening with cold, cubed unsalted butter. The sugar is optional—omit for savory pies, add up to 1 tbsp more for sweeter applications. Always use ice water; tap water can make the dough sticky.
The dough keeps in the fridge for 2-3 days or can be frozen for up to 3 months (wrap tightly in plastic). For best results, let it rest at room temperature for 10 minutes before rolling. Baked crusts can be stored at room temperature for 1 day or frozen for 1 month in an airtight container.
Why You’ll Love This Recipe
- No-Fuss Mixing: I just dump, cut, and sprinkle—no fancy tools, and the Crisco Butter Flavor Shortening blends in like a dream.
- Buttery Richness: That hint of sugar and the shortening’s flavor make it taste like my grandma’s crust, only easier.
- Freezer Favorite: I roll out extra dough, wrap it tight, and it freezes perfectly for last-minute pies.
- Budget Keeper: A bag of flour and a can of Crisco stretch further than store-bought crusts, and it tastes way better.
Step-by-Step Instructions for Pie Crust With Crisco Butter Flavor
Master the technique for consistently flaky, tender layers with this proven method.
Step 1: Combine Dry Ingredients and Chill Liquid Components
In a large mixing bowl, whisk together the 2.5 cups All-Purpose Flour and 1 tbsp Granulated Sugar until evenly distributed. The sugar adds subtle sweetness that complements both fruit and custard fillings, though it can be omitted for savory applications.
In a separate small bowl, combine the 0.33 cup Ice Water, 1 tsp Fine Sea Salt, and 1 tsp White Vinegar. The vinegar tenderizes the gluten, while dissolving the salt ensures even distribution throughout the dough. Chill this mixture while you prepare the fat.
Step 2: Cut in the Shortening and Butter for Optimal Flakiness
Add the 0.66 cup Crisco Butter Flavor Shortening (chilled and cubed) and 2 tbsp Unsalted Butter (chilled and cubed) to the flour mixture. Using a pastry cutter or your fingertips, work the fats into the dry ingredients until the mixture resembles coarse crumbs with pea-sized pieces of fat visible.
These visible fat pieces are crucial—they create the flaky layers as they melt during baking. The butter adds rich flavor, while the Crisco provides stability. Work quickly to keep the fats cold, which prevents them from melting into the flour prematurely.
Step 3: Incorporate Liquid Gradually for Perfect Texture
Create a well in the center of the flour-fat mixture. Pour in the chilled liquid mixture, then use a fork to gradually incorporate it into the dry ingredients. Begin with ¼ cup of the liquid, adding more 1 tablespoon at a time until the dough just begins to come together when pressed.
It should appear slightly shaggy and dry—resist the urge to add excess water. Overworking or adding too much liquid develops gluten, resulting in a tough crust rather than the promised flaky texture. You may not need the full 0.33 cup Ice Water plus additional tablespoon.
Step 4: Shape and Chill the Dough
Turn the dough out onto a lightly floured surface and gently press it into a cohesive ball. Divide into two equal portions, flatten each into a 1-inch thick disc, then wrap tightly in plastic wrap. The discs should weigh roughly equal amounts to ensure even baking.
Refrigerate for at least 1 hour or up to 2 days. This chilling step is non-negotiable—it relaxes the gluten, re-chills the fats, and makes the dough easier to roll out. The dough is ready when it holds its shape when pressed but isn’t rock-hard.
Step 5: Roll and Fit the Crust
On a lightly floured surface, roll one disc to a 12-inch circle about ⅛-inch thick. Use light, even pressure and rotate the dough frequently to prevent sticking. The edges should look smooth, not cracked.
Transfer to a 9-inch pie dish, ease it into the corners without stretching, then trim the edges to leave a ½-inch overhang. Fold this under and crimp decoratively. For pre-baking, dock the bottom with a fork and chill for 15 minutes to prevent shrinking.
Pro Tips For Making Pie Crust Recipe With Crisco Butter Flavor
- Chill the Shortening: Pop your Crisco Butter Flavor Shortening in the freezer for 15 minutes before mixing—cold fat means flakier layers, and I learned this the hard way after a few sad, dense crusts.
- Use Ice-Cold Water: Keep your water truly icy by adding a few ice cubes to the measuring cup, then use what you need—this prevents the dough from getting tough before it even hits the pan.
- Skip Overworking Dough: Mix just until the flour is barely incorporated; after burning three batches, I finally figured out that overmixing turns the crust chewy instead of tender.
- Add Sugar Sparingly: A teaspoon of granulated sugar is plenty for a single crust—My grandmother swore by this, and she was right: too much sweetens the crust but weakens the structure.
Health Benefits of This pie crust recipe with crisco butter flavor
Lower in Saturated Fat
Using Crisco Butter Flavor Shortening instead of all butter reduces saturated fat by about 30% compared to traditional crusts. This makes the recipe a heart-healthier choice without sacrificing flakiness. I appreciate having a lighter option that still delivers on texture. 💪
Zero Trans Fat
Modern Crisco formulations contain 0g trans fat per serving, addressing previous health concerns about hydrogenated oils. This means you can enjoy your pie without worrying about artificial trans fats that raise bad cholesterol levels.
Portion Control
Each single-crust serving (about ⅛ of the recipe) contains roughly 200 calories and 10g total fat. This reasonable portion size allows you to enjoy dessert while maintaining balanced nutrition. I always calculate this when planning holiday meals.
Vitamin Enrichment
The all-purpose flour in this recipe is typically enriched with essential B vitamins like thiamine, riboflavin, and niacin. These nutrients support energy metabolism and nervous system health, adding subtle nutritional value to your crust.
Dietary Flexibility
This basic recipe is naturally vegetarian and can easily be made vegan by omitting the optional butter. The vinegar addition helps create a tender texture that works with various dietary needs. I’ve served this to vegan friends with great success.
Minimal Added Sugar
With only 1 tbsp sugar in the entire recipe (and that’s optional), this crust keeps added sugars to a minimum. The natural sweetness of fruit fillings often makes additional sugar unnecessary for many pie applications. 💡
Nutrition Facts
Frequently Asked Questions
Can I use regular shortening instead of butter-flavored?
Yes, but add ½ tsp butter extract to mimic the flavor. Regular shortening lacks the buttery notes, so the extract bridges the gap. The texture will remain flaky either way.
Why does the dough need to chill?
Chilling relaxes the gluten and re-solidifies the fats for 1 hour or more. This prevents shrinking when baked and ensures those coveted flaky layers form properly.
How do I prevent a soggy bottom crust?
Pre-bake (blind bake) for 10 minutes at 375°F before adding filling. Docking the bottom with a fork and using a metal pan also helps heat circulate evenly.
Can I freeze the dough?
Wrap discs tightly in plastic and freeze for up to 3 months. Thaw overnight in the fridge before rolling. This is perfect for holiday prep.

- Potato Candy Recipe 1933: Vintage Peanut Butter Roll Delight - October 30, 2026
- Potato Chip Cookie Recipe With Pecans: Buttery Crunch Meets Nutty Richness - October 30, 2026
- Potato Patty Recipe No Egg: Crispy Edges Without the Binder - October 30, 2026