
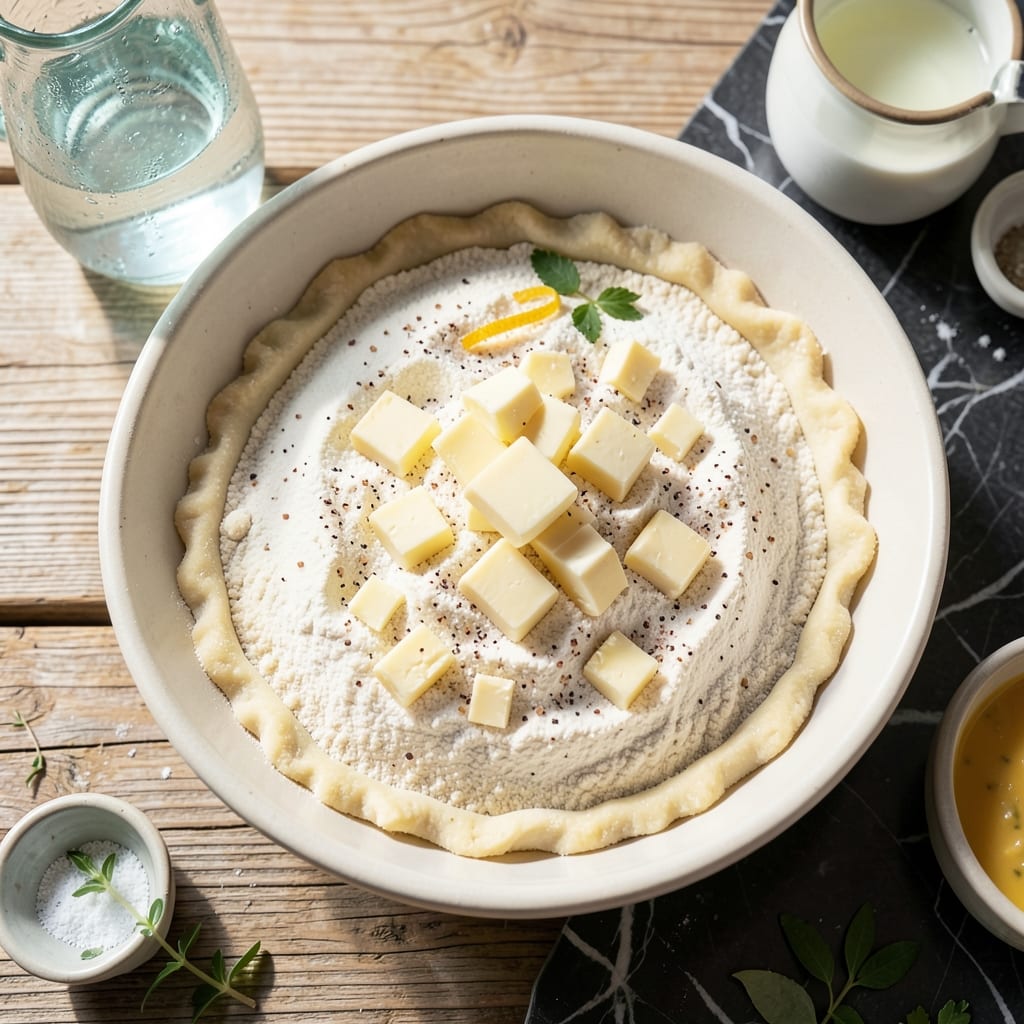
I learned the art of perfect pie crust in Nana Mae’s diner, where flaky layers were non-negotiable. This method delivers that same flaky texture with a golden finish every time.
The secret lies in cold salted butter and minimal handling. Work quickly to keep the butter from melting, creating those coveted layers as it bakes.
After a short rest in the refrigerator, the dough rolls out smoothly and bakes to a crisp, buttery perfection. The salted butter enhances flavor without needing extra seasoning.
This crust works for any pie filling and holds its shape beautifully. It’s the foundation of countless successful desserts from my kitchen.
Ingredients for Pie Crust Recipe with Salted Butter
Cold butter, minimal handling, and Nana Mae’s flaky layers start here.
| Ingredient | Amount | Notes |
|---|---|---|
| All-Purpose Flour 🌾 | 2 ½ cups | Plus extra for dusting |
| Salted Butter 🧈 | 1 cup | Cold, cubed (16 tbsp) |
| Ice Water 💧 | ½ cup | Plus 1-2 tbsp as needed |
| Granulated Sugar 🍚 | 1 tbsp | Optional, for sweet crusts |
| Fine Sea Salt 🧂 | ½ tsp | Omit if using salted butter |
| White Vinegar 🍋 | 1 tbsp | Or lemon juice for acidity |
The butter is everything here. Salted butter (I use Land O’Lakes or Kerrygold) must stay ice cold—right out of the fridge, cubed, and handled as little as possible. The flour? Standard all-purpose from King Arthur or store brand works. No need for fancy stuff. That flaky texture comes from cold fat creating steam pockets, so don’t let it soften. (I keep my butter in the freezer the night before if my kitchen runs warm.)
No salted butter? Use unsalted plus 1 tsp salt. Short on ice water? Regular cold water works in a pinch. The vinegar or lemon juice tenderizes the gluten—don’t skip it (worth the extra minute). Want extra flakiness? Replace 1/4 cup flour with cornstarch. For a richer crust, swap 2 tbsp water for heavy cream. (Frozen works in a pinch.)
Dough keeps wrapped tightly in the fridge for 2 days or freezes beautifully for 3 months. Let it warm slightly before rolling—cold dough cracks, warm dough sticks. Always rest it 30 minutes before baking for that golden finish.
Why You’ll Love This Recipe
- No-Fuss Mixing: I just pulse flour, cold salted butter, and ice water in the food processor—no hand-cramps from cutting in butter.
- Buttery Richness: The salted butter gives it that deep, toasty flavor without needing to measure extra salt.
- Pocket Change Cheap: All-purpose flour and store-brand butter keep this under $3 for two crusts—way cheaper than pre-made.
Step-by-Step Instructions for Pie Crust With Salted Butter
Here’s the method I use for foolproof, flaky layers every time.
Step 1: Cut Cold Butter Into Flour
In a large bowl, whisk together the 2.5 cups all-purpose flour, 1 tbsp granulated sugar, and 0.5 tsp fine sea salt. I always use salted butter here, so I reduce the added salt—this balance keeps the flavor perfect without being too salty.
Add the 1 cup cold, cubed salted butter to the flour mixture. Using a pastry cutter or your fingers, work the butter into the flour until the mixture resembles coarse crumbs with some pea-sized butter pieces remaining. You want visible chunks of butter—that’s what creates those flaky layers.
Step 2: Add Liquid and Form the Dough
Create a well in the center of the flour-butter mixture. Pour in the 0.5 cup ice water and 1 tbsp white vinegar. The vinegar tenderizes the gluten, which helps create a more delicate crust. Gently stir with a fork until the dough just begins to come together.
Turn the dough out onto a lightly floured surface. It’ll look shaggy—that’s exactly what you want. Knead it just 2-3 times until it forms a cohesive ball. Overworking the dough develops gluten, which makes the crust tough instead of tender and flaky.
Step 3: Chill the Dough Thoroughly
Divide the dough into two equal portions and shape each into a disk about 1-inch thick. Wrap each tightly in plastic wrap and refrigerate for at least 1 hour, or up to 2 days if you’re prepping ahead. Chilling relaxes the gluten and firms up the butter, which prevents shrinking during baking.
Real talk: if you try to roll out warm dough, it’ll stick and spring back. The cold butter also creates steam during baking, which separates the layers for that perfect flakiness. If your kitchen is warm, you might need to chill the dough between roll-outs too.
Step 4: Roll and Fit Into Pie Dish
On a lightly floured surface, roll one dough disk into a 12-inch circle, about ⅛-inch thick. Roll from the center outward, turning the dough occasionally to prevent sticking. If it cracks, just patch it with your fingers—it’ll bake together seamlessly.
Transfer the rolled dough to a 9-inch pie dish. Gently press it into the bottom and up the sides, being careful not to stretch it. Trim the edges, leaving a ½-inch overhang. Fold the overhang under itself and crimp decoratively. For a double crust, repeat with the second disk for the top.
Step 5: Blind Bake or Fill and Finish
For a single crust pie, prick the bottom all over with a fork (this prevents air bubbles). Line with parchment paper and fill with pie weights or dried beans. Bake at 375°F for 15 minutes, then remove the weights and bake for another 5-10 minutes until the edges are lightly golden.
For a filled pie, add your filling to the unbaked crust, top with the second dough round if using, and crimp the edges. Cut a few slits in the top crust to allow steam to escape. Bake according to your filling’s recipe until the crust is golden brown and the filling is bubbling.
Pro Tips For Making Pie Crust Recipe With Salted Butter
- Chill Your Butter: Cut the salted butter into 1/2-inch cubes and refrigerate for 15 minutes before mixing—this keeps it cold enough to create flaky layers in your crust.
- Use Ice Water: Fill a glass with water and ice cubes, then measure the water from this for your dough; the colder the water, the less it will soften the butter.
- Don’t Overwork Dough: Mix just until the dough comes together; overworking it develops gluten, which makes the crust tough instead of tender.
- Rest Before Rolling: Let the dough rest in the fridge for at least 30 minutes before rolling—this relaxes the gluten and prevents shrinking during baking.
Dietary Considerations for This pie crust recipe with salted butter
Gluten-Free Adaptation
For a gluten-free version, replace all-purpose flour with 2.5 cups gluten-free 1:1 baking flour like King Arthur’s Measure for Measure. Add 1 tsp xanthan gum if your blend doesn’t include it. The dough will be stickier, so roll between parchment paper.
Vegan Option
Swap salted butter for 1 cup cold vegan butter like Miyoko’s or Earth Balance. Use ice-cold coconut oil (solid state) as another option. Ensure all ingredients are plant-based, and add 1 tsp apple cider vinegar for structure.
Dairy-Free Version
Use dairy-free butter with salt already added. I recommend Country Crock Plant Butter for best flavor. The texture will be slightly different but still flaky. Keep everything ice-cold to prevent spreading.
Lower Sodium
If watching sodium, use unsalted butter and add only ¼ tsp fine sea salt. The crust will still have flavor from the butter’s natural richness. Taste before baking to adjust if needed. 💡
Nut-Free Assurance
This recipe is naturally nut-free, but always check your flour and butter labels. Some brands process in facilities with tree nuts. For extra safety, Bob’s Red Mill 1:1 Gluten-Free Flour is a dedicated facility option.
Sugar-Free
Omit the 1 tbsp granulated sugar entirely for savory pies. The crust will still brown beautifully from the butter’s milk solids. For sweet pies, use 1 tbsp monk fruit sweetener as a 1:1 substitute.
Nutrition Facts
Frequently Asked Questions
Why use salted butter instead of unsalted?
Salted butter adds subtle seasoning throughout the crust, enhancing flavor without extra steps. It creates a balanced taste that complements both sweet and savory fillings beautifully.
How do I prevent a tough crust?
Handle the dough minimally and keep ingredients ice-cold. Overworking develops gluten, making it tough. Use 2-3 quick kneads maximum and chill for 1 hour before rolling.
Can I make this ahead of time?
Yes! Wrap tightly and refrigerate for up to 2 days or freeze for 3 months. Thaw overnight in the fridge before using. This actually improves flavor and texture.
What if my dough cracks while rolling?
Don’t worry—just patch it with your fingers! The butter’s cold temperature will help it seal during baking. Press gently and continue rolling from the center outward.

- Potato Candy Recipe 1933: Vintage Peanut Butter Roll Delight - October 30, 2026
- Potato Chip Cookie Recipe With Pecans: Buttery Crunch Meets Nutty Richness - October 30, 2026
- Potato Patty Recipe No Egg: Crispy Edges Without the Binder - October 30, 2026