
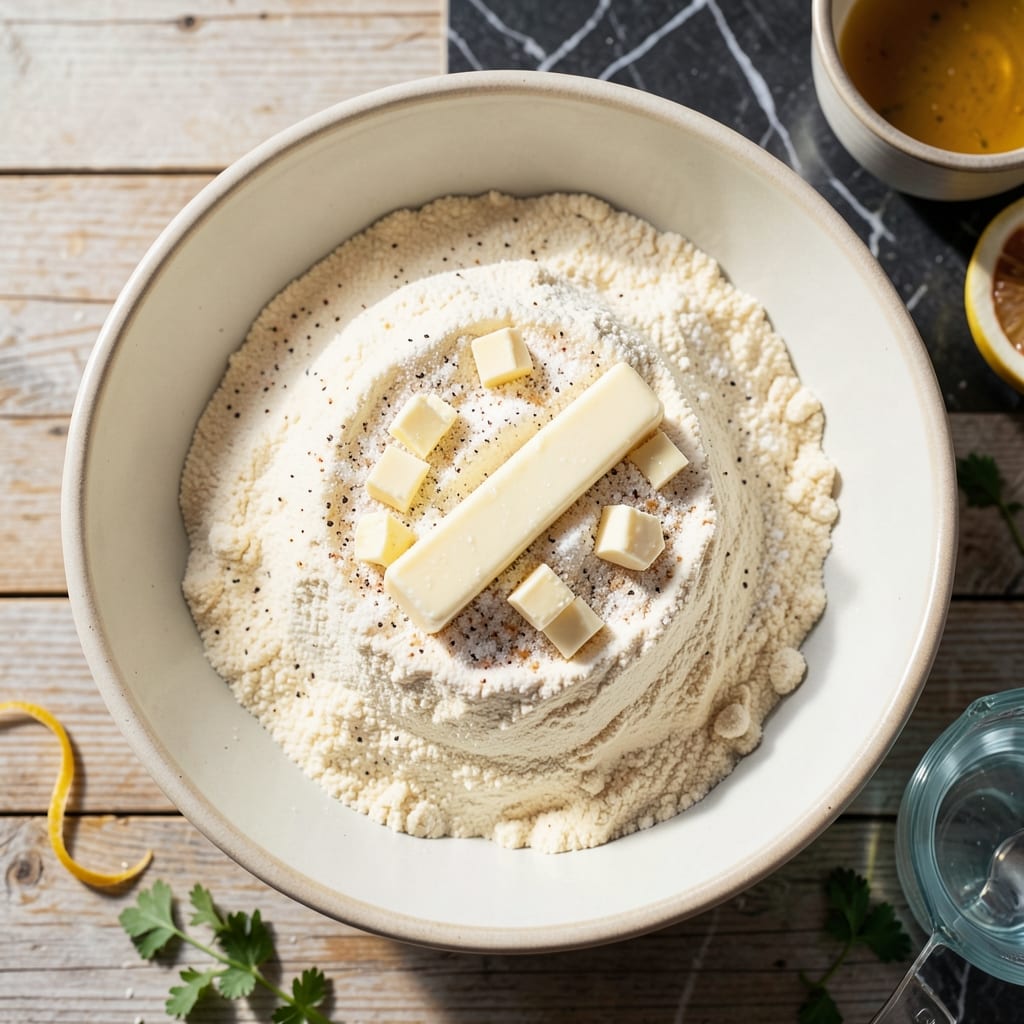
There’s a science to perfect pie dough, and this recipe delivers the flaky, tender foundation your pumpkin pie deserves. I learned the importance of cold ingredients and minimal handling from Nana Mae’s diner kitchen, where every crust had to hold up to rich fillings.
The key is using ice-cold butter and water, which creates those coveted flaky layers when baked. This method ensures a sturdy yet delicate crust that won’t turn soggy under spiced pumpkin filling. David always tests my crusts for the perfect crimp.
What you’ll achieve is a golden, buttery base that complements rather than competes with the filling. The dough comes together in 10 minutes with just a few simple ingredients, yet the results taste like you spent hours perfecting it.
This crust bakes to a perfect golden brown at 375°F, creating the ideal vessel for that spiced pumpkin centerpiece.
Ingredients for Pie Dough Recipe for Pumpkin Pie
Six simple ingredients transform into the flakiest, most buttery pie crust you’ve ever made.
| Ingredient | Amount | Notes |
|---|---|---|
| All-Purpose Flour 🌾 | 2 ½ cups | Spoon and level method |
| Unsalted Butter 🧈 | 1 cup | Ice-cold, cubed into small pieces |
| Ice Water 💧 | ½ cup | Plus extra as needed |
| Granulated Sugar 🍚 | 1 tbsp | Balances the salt |
| Salt 🧂 | 1 tsp | Fine sea salt or kosher |
| Apple Cider Vinegar 🍏 | 1 tbsp | Helps tenderize the dough |
The butter is non-negotiable here. Ice-cold unsalted is the only way to get those flaky layers—Land O’Lakes or Kerrygold are my go-tos. Keep it in the freezer until you’re ready to use it, and cube it small so it distributes evenly. The flour should be all-purpose, nothing fancy (King Arthur if you want to splurge). Cold hands help too—run yours under ice water if your kitchen’s warm.
No apple cider vinegar? White vinegar or lemon juice works just as well. Out of unsalted butter? Use salted but skip the added salt in the dough. Need a flakier crust? Freeze the butter and flour together for 10 minutes before mixing. The sugar is optional, but it adds a subtle sweetness that pairs perfectly with pumpkin pie filling.
Dough keeps wrapped in plastic for 2 days in the fridge or 3 months frozen. Let it sit at room temp for 10 minutes before rolling. Bake extra crusts blind for future pies—they freeze beautifully too.
Why You’ll Love This Recipe
- No-Fuss Mixing: I just dump flour, cold butter, and ice water in a bowl—no fancy equipment, no stress.
- Buttery Heaven: That flaky, golden crust from real butter makes every bite of pumpkin pie taste like a hug.
- Holiday Hero: I use this for Thanksgiving, Christmas, or just because it’s Tuesday and I crave pie.
- Pantry Staples: Honestly, I always have flour, butter, and salt on hand, so I can make this anytime.
Step-by-Step Instructions for Pie Dough for Pumpkin Pie
This method delivers perfect flakiness every time—cold ingredients and gentle handling are the secrets.
Step 1: Mix Dry Ingredients and Chill
In a large bowl, whisk together the 2.5 cups All-Purpose Flour, 1 tbsp Granulated Sugar, and 1 tsp Salt until evenly combined. The sugar isn’t just for sweetness—it helps with browning and balances the salt beautifully. Place this mixture in the freezer for 10 minutes to chill.
Chilling the flour prevents the 1 cup Unsalted Butter from melting too quickly when you add it, which is crucial for creating those coveted flaky layers. I always use the spoon and level method for measuring the flour to avoid compacting it, which would make the dough tough.
Step 2: Cut in the Cold Butter
Add the 1 cup Unsalted Butter (already cubed into small, ½-inch pieces) to the chilled flour mixture. Using a pastry cutter or your fingertips, work the butter into the flour until the mixture resembles coarse crumbs with pea-sized butter pieces visible throughout.
Here’s the thing—you want to see those butter pieces. They create pockets that will melt during baking, forming the flaky layers that make this crust exceptional. Work quickly to keep the butter as cold as possible. If your kitchen is warm, pop the bowl back in the freezer for 2-3 minutes to rechill.
Step 3: Add Liquid Ingredients Gradually
Make a well in the center of the butter-flour mixture. Add the 1 tbsp Apple Cider Vinegar and ½ cup Ice Water to the well. Using a fork, gently toss the mixture from the bottom up, gradually incorporating the liquid until the dough just begins to come together.
The vinegar tenderizes the dough by weakening some of the gluten bonds, ensuring a more delicate crust. Start with the full ½ cup of water, but add more 1 tablespoon at a time only if the dough seems too dry. It should hold together when pressed but not be sticky. Too much water = tough crust.
Step 4: Shape and Rest the Dough
Turn the dough out onto a lightly floured surface and gently press it into a rough rectangle about 1 inch thick. Fold it in half, then in half again to create layers—this is called “fracage” and reinforces the flakiness. Wrap the dough tightly in plastic wrap and refrigerate for at least 1 hour or up to 2 days.
This resting period allows the gluten to relax and the butter to firm up, making the dough easier to roll out. I’ve found that dividing the dough into two equal portions at this stage works perfectly for a standard 9-inch pie dish with some extra for decorative edges. Don’t skip the resting time—it’s what separates good crust from exceptional crust.
Pro Tips For Making Pie Dough Recipe For Pumpkin Pie
- Keep Butter Ice Cold: Cube the butter and chill it for 15 minutes before mixing—I learned this the hard way after my early crusts turned out greasy instead of flaky.
- Use Ice Cubes Only: Measure the water first, then add ice cubes to it; this guarantees it stays cold while you’re working, which is non-negotiable for tender dough.
- Skip Overworking Dough: Stop mixing the second the dough comes together, even if it looks shaggy; overworking melts the butter and ruins the layers.
- Rest Before Rolling: Let the dough rest in the fridge for at least 30 minutes—it relaxes the gluten and makes rolling out for the pumpkin pie pan a breeze.
Pro Cooking Tips for pie dough recipe for pumpkin pie
Butter Temperature Control
Keep your 1 cup Unsalted Butter ice-cold until the last moment—I freeze mine for 15 minutes before cubing. The colder the butter, the better the flaky layers. David swears by his marble cutting board for this because it stays cold longer than wood. 🔥
Flour Handling Technique
Use the spoon and level method for your 2.5 cups All-Purpose Flour to avoid packing it down. Compacted flour creates tough dough. I learned this the hard way in Nana Mae’s diner kitchen. Measure twice if you’re unsure.
Liquid Addition Strategy
Add your ½ cup Ice Water gradually—start with ¼ cup, then add more 1 tbsp at a time. The dough should just hold together when pressed. Too much water ruins the flakiness. I test the consistency with my fingers.
Resting Time Importance
Never skip the 1-hour rest in the fridge. This lets the gluten relax and the butter firm up. I often make my dough the night before—it actually improves the texture. Wrap it tightly in plastic to prevent drying.
Rolling Perfect Circles
Roll your dough on a lightly floured surface, turning it ¼ turn after each roll to maintain an even circle. Use a 9-inch pie dish as your guide. Roll from the center outward, not back and forth. This prevents tough spots.
Blind Baking Tip
For extra crispness, blind bake your crust at 375°F for 15 minutes with pie weights. This prevents sogginess when adding wet fillings. I use dried beans as weights—they work just as well as fancy ceramic ones. 💡
Nutrition Facts
Frequently Asked Questions
Why do I need ice-cold butter?
Cold butter creates flaky layers by melting slowly during baking, forming pockets of air. If it warms up, the dough becomes tough instead of tender and crisp. Keep it in the freezer until ready to use.
Can I make the dough ahead of time?
The dough keeps wrapped in plastic for 2 days in the fridge or 3 months frozen. Let it sit at room temperature for 10 minutes before rolling for best results.
What if my crust turns out tough?
Overworking the dough or using too much water causes toughness. Handle gently, add liquid gradually, and ensure your butter stays cold throughout the process.

- Potato Candy Recipe 1933: Vintage Peanut Butter Roll Delight - October 30, 2026
- Potato Chip Cookie Recipe With Pecans: Buttery Crunch Meets Nutty Richness - October 30, 2026
- Potato Patty Recipe No Egg: Crispy Edges Without the Binder - October 30, 2026