
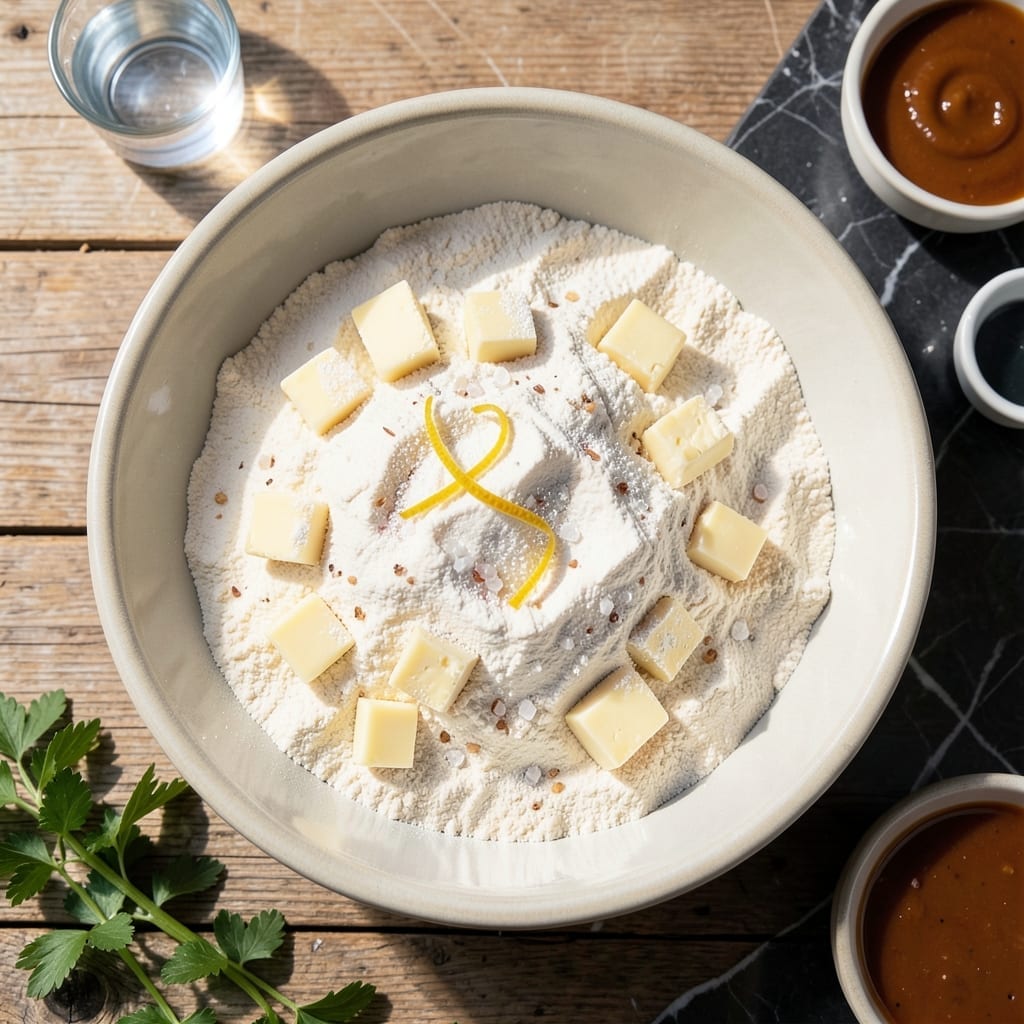
Mastering homemade pie pastry is simpler than you think, and the results are infinitely better than store-bought. This method yields flaky, buttery layers that form the perfect foundation for any pie.
The secret lies in keeping ingredients cold and handling the dough minimally. With just a few basic ingredients and the right technique, you’ll create a pastry that’s tender yet sturdy enough to hold any filling.
What you’ll achieve is a golden crust that shatters at the touch, with distinct layers that separate beautifully when baked. The texture comes from properly incorporating cold butter into the flour before adding just enough water.
Whether for fruit pies or savory quiches, this pastry delivers consistent, professional results every time. The process takes less than 30 minutes of active preparation.
Ingredients for Pie Pastry Recipe by Hand
Six ingredients transform into the perfect foundation for any pie with flaky, buttery layers.
| Ingredient | Amount | Notes |
|---|---|---|
| All-Purpose Flour 🌾 | 2 ½ cups | Unbleached preferred, spoon and level |
| Unsalted Butter 🧈 | 1 cup | Cold, cut into 1/2-inch cubes |
| Fine Sea Salt 🧂 | 1 tsp | Diamond Crystal preferred |
| Granulated Sugar 🍚 | 1 tbsp | Optional for sweet pies |
| Ice Water 💧 | ½ cup | Plus 1 tbsp as needed |
| White Vinegar 🍋 | 1 tbsp | Or lemon juice for tenderness |
The butter is non-negotiable—cold and high-fat is the golden rule. European-style unsalted butter (like Plugrá or Kerrygold) yields superior flakiness due to its higher fat content. The flour should be unbleached all-purpose; avoid cake flour or bread flour, as their protein content will alter the texture. Keep everything chilled, including your mixing bowl and pastry cutter. Professional kitchens often chill their equipment beforehand to maintain consistency.
No unsalted butter? Use salted butter but reduce the added salt to 1/4 tsp. Short on all-purpose flour? A mix of half all-purpose and half pastry flour works in a pinch. The vinegar can be apple cider vinegar if that’s what you have. For a richer flavor, substitute 1 tbsp sour cream for an equal amount of ice water. Avoid warm water at all costs—it will melt the butter and ruin the layers.
The dough can rest in the refrigerator for up to 2 days or freeze for 3 months. Wrap it tightly in plastic wrap and place it in a resealable bag for extra protection. Let it warm slightly at room temperature before rolling to prevent cracking. Pre-shaped dough disks make rolling out easier and more consistent for any pie.
Why You’ll Love This Recipe
- No Fancy Tools: I just need my hands, a bowl, and those 5 ingredients—no food processor or rolling pin required.
- Buttery Layers: The cold butter and ice water create that flaky, melt-in-your-mouth texture I can’t get from store-bought crusts.
- Endless Possibilities: Sweet pies, savory quiches, even hand pies—this pastry works for all my baking moods.
- Pantry Staples: Flour, butter, salt, sugar, water. Honestly, I always have these on hand, so pie night can happen anytime.
Step-by-Step Instructions for Pie Pastry by Hand
Master the art of flaky layers with this precise hand-mixing technique for perfect results.
Step 1: Combine Dry Ingredients
In a large mixing bowl, whisk together the 2.5 cups All-Purpose Flour, 1 tsp Fine Sea Salt, and 1 tbsp Granulated Sugar until evenly distributed. This ensures the leavening and seasoning are consistent throughout your pastry.
The sugar is optional but recommended for sweet pies—it adds subtle sweetness and helps with browning. Use a fine-mesh whisk to break up any lumps in the flour for a smooth, uniform base.
Step 2: Cut in Cold Butter
Add the 1 cup Unsalted Butter, cut into ½-inch cubes, to the flour mixture. Using your fingertips, a pastry blender, or two forks, work the butter into the flour until the mixture resembles coarse crumbs with pea-sized butter pieces visible.
This is the most critical step—keep the butter cold and avoid overworking it. The visible butter chunks create the flaky layers when baked. If the butter starts to soften, chill the mixture for 10 minutes before continuing.
Step 3: Add Liquid and Form Dough
Combine the 0.5 cup Ice Water and 1 tbsp White Vinegar in a small bowl. The vinegar tenderizes the gluten for a more delicate crust. Create a well in the center of the flour-butter mixture and gradually pour in the liquid.
Using a fork, gently mix until the dough just comes together—it will look shaggy but should hold when pressed. Avoid overmixing; too much handling develops gluten, resulting in a tough pastry. If the dough feels dry, add up to 1 tbsp additional ice water, one teaspoon at a time.
Step 4: Chill and Rest the Dough
Turn the dough onto a lightly floured surface and gently shape it into a smooth ball. Divide it into two equal portions, flatten into discs, and wrap each tightly in plastic wrap. Refrigerate for at least 1 hour or up to 2 days.
This resting period allows the gluten to relax and the butter to rechill, making the dough easier to roll out. The discs also chill more evenly than a single ball, preventing cracks when rolling. For best results, let the dough sit at room temperature for 10 minutes before rolling to soften slightly.
Pro Tips For Making Pie Pastry Recipe By Hand
- Chill the Butter: Keep your butter ice-cold until the very last moment—cut it into small cubes and pop it back in the fridge between steps. I learned this the hard way after ending up with a tough, greasy crust more than once.
- Use Ice Water: Fill a glass with ice cubes and water, then measure from that—this keeps the water frigid as you work. Sounds fussy, but it actually changes the outcome by preventing the dough from developing gluten too early.
- Skip Overworking: Mix just until the dough comes together, even if it looks shaggy. After burning three batches to crispy sadness, I finally figured out that overworking = tough pastry.
- Rest the Dough: Give it a solid 30-60 minutes in the fridge before rolling—this relaxes the gluten and makes it easier to handle. My grandmother swore by this, and she was right: it rolls out smoother and holds its shape better.
Health Benefits of This pie pastry recipe by hand
Lower in Sugar
This pastry contains just 1 tbsp Granulated Sugar per batch, making it a low-sugar option compared to store-bought versions. The sugar is optional, so you can omit it entirely for savory pies, reducing sugar content to nearly zero. I often skip it for quiches and pot pies. 💪
Healthy Fats Source
The 1 cup Unsalted Butter provides healthy fats that are essential for nutrient absorption and brain function. While butter is calorie-dense, these fats help create a satisfying, rich texture that prevents overeating. European-style butters like Plugrá have a higher fat content with less water.
Gluten Considerations
Made with 2.5 cups All-Purpose Flour, this pastry contains gluten, which gives it structure. For those with mild gluten sensitivity, using half all-purpose and half pastry flour can slightly reduce gluten content while maintaining texture. The resting period also helps relax the gluten for easier digestion.
Portion Control
Each batch makes 2 crusts, perfect for dividing a pie into 8-10 servings. This built-in portion control helps manage calorie intake. I find that homemade pies encourage mindful eating—you savor each bite more when you’ve made it yourself.
Nutrient Boosters
You can enhance the nutritional profile by adding 1 tbsp ground flaxseed or 2 tbsp whole wheat flour to the dry ingredients. These additions introduce fiber and nutrients without compromising the flaky texture. The White Vinegar also aids digestion by helping break down the gluten. ✨
Nutrition Facts
Frequently Asked Questions
Why does the butter need to stay cold?
Cold butter creates pockets in the dough that expand during baking, forming those coveted flaky layers. If it warms up, the butter blends into the flour, resulting in a dense crust instead of light, airy layers.
Can I use a food processor instead of my hands?
Yes, but pulse just until pea-sized crumbs form—overmixing will toughen the dough. The hand method gives you more control over texture, but a processor works in a pinch if you’re careful.
How do I fix a crust that shrinks when baking?
Shrinking usually means the dough wasn’t rested enough. Chill it for the full 1 hour and avoid stretching it when rolling. Docking the bottom with a fork before baking also helps prevent this.
What’s the best way to roll out the dough?
Lightly flour your surface and roll from the center outward in one direction. Rotate the dough 90° after each pass to maintain an even thickness. This prevents sticking and ensures uniform baking.

- Potato Candy Recipe 1933: Vintage Peanut Butter Roll Delight - October 30, 2026
- Potato Chip Cookie Recipe With Pecans: Buttery Crunch Meets Nutty Richness - October 30, 2026
- Potato Patty Recipe No Egg: Crispy Edges Without the Binder - October 30, 2026