
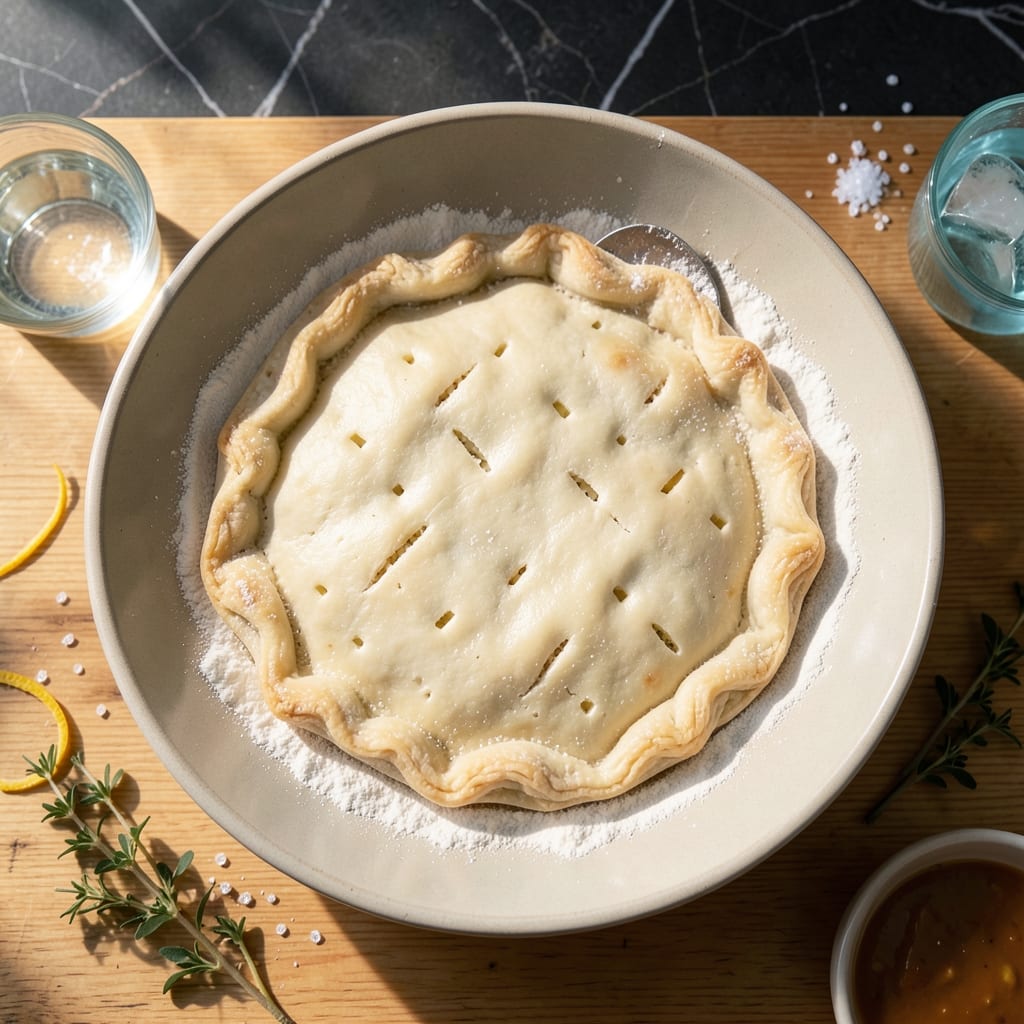
I’ve perfected this pastry recipe using self-rising flour to create flaky, tender layers with minimal effort. The key lies in keeping the ingredients cold and handling the dough as little as possible.
Self-rising flour eliminates the need for measuring baking powder, streamlining the process without sacrificing texture. A simple mix of flour, cold butter, and water forms a dough that rolls out smoothly.
After chilling, the pastry bakes into golden, flaky sheets that hold their shape beautifully. The result is a crust that’s light, crisp, and perfectly suited for sweet or savory pies.
This method proves that exceptional pastry doesn’t require complicated steps—just the right technique and a little patience.
Ingredients for Pie Pastry Recipe Self Rising Flour
Cold butter and self-rising flour create effortless, flaky pastry layers for pies.
| Ingredient | Amount | Notes |
|---|---|---|
| Self-Rising Flour 🌾 | 2 cups | All-purpose self-rising, sifted |
| Unsalted Butter 🧈 | 1 cup | Cold, cut into cubes |
| Ice Water 💧 | ¼ cup | Plus 1 tbsp as needed |
| Fine Sea Salt 🧂 | ½ tsp | Adjust to taste preference |
| Granulated Sugar 🍚 | 1 tsp | Optional for sweet pies |
| White Vinegar 💧 | 1 tsp | Or lemon juice, for tenderness |
| All-Purpose Flour 🌾 | ½ cup | For dusting work surface |
The butter must stay cold—cut it into cubes and chill until ready to use. Self-rising flour from King Arthur or Gold Medal gives the best rise and texture. If your kitchen runs warm, briefly chill the flour too. The vinegar adds tenderness without affecting flavor, a professional trick for better texture in pie crusts.
No self-rising flour? All-purpose flour plus 1 tsp baking powder and 0.25 tsp salt per cup. For a richer crust, substitute shortening for half the butter (though butter gives better flavor). The sugar is optional—omit entirely for savory pies. Don’t overwork the dough; visible butter flakes guarantee those coveted flaky layers.
Dough keeps wrapped in plastic for 2 days in the fridge or 1 month frozen. Let it sit at room temperature for 10 minutes before rolling to prevent cracking. Baked pastry freezes well for up to 3 months in airtight containers.
Why You’ll Love This Recipe
- No Fuss Mixing: I just dump the self-rising flour, cold butter, and a pinch of salt in the bowl—no extra leavening to measure.
- Buttery Layers: That flaky crust with the rich taste of unsalted butter and a hint of sugar? Pure comfort in every bite.
- Sweet or Savory: Honestly, this pastry works for apple pie one day and quiche the next—so versatile.
- Pantry Friendly: Between us, self-rising flour keeps it simple and budget-friendly, and I always have the rest on hand.
Step-by-Step Instructions for Pie Pastry with Self-Rising Flour
Master this technique and achieve perfectly flaky layers with minimal effort every time.
Step 1: Chill and Prepare the Butter
Cut the 1 cup Unsalted Butter into ½-inch cubes and place it in the freezer for 15 minutes. This step is non-negotiable—cold butter creates the steam that forms those coveted flaky layers in your crust.
While the butter chills, measure out the 2 cups Self-Rising Flour, 0.5 tsp Fine Sea Salt, 1 tsp Granulated Sugar, and 1 tsp White Vinegar. The vinegar tenderizes the dough, while the sugar adds subtle sweetness for pies with fruit fillings.
Step 2: Combine Dry Ingredients and Cold Butter
In a large mixing bowl, whisk together the 2 cups Self-Rising Flour, 0.5 tsp Fine Sea Salt, and 1 tsp Granulated Sugar until evenly distributed. The self-rising flour eliminates the need for additional leavening agents, simplifying the process without sacrificing texture.
Add the chilled 1 cup Unsalted Butter cubes to the flour mixture. Using a pastry cutter or your fingertips, work the butter into the flour until the mixture resembles coarse crumbs with a few pea-sized butter pieces remaining. These visible butter pieces will melt during baking, creating the flaky layers.
Step 3: Incorporate the Liquid Ingredients
In a small bowl, combine the 0.25 cup Ice Water and 1 tsp White Vinegar. Create a well in the center of the flour-butter mixture and pour in the liquid. Using a fork, gently stir the mixture until it just begins to come together.
The dough will appear shaggy and slightly dry—that’s exactly what you want. Avoid overmixing, as this develops gluten, which can make the crust tough instead of flaky.
Step 4: Chill and Rest the Dough
Turn the dough out onto a surface lightly dusted with 0.5 cup All-Purpose Flour. Shape it into a disk, wrap it in plastic wrap, and refrigerate for at least 1 hour (or up to 2 days). Chilling relaxes the gluten and firms up the butter, ensuring the crust holds its shape and bakes evenly.
If the dough feels too dry during shaping, add 1 tablespoon of Ice Water at a time until it holds together. Conversely, if it’s sticky, dust with a bit more All-Purpose Flour, but avoid adding too much, as excess flour can toughen the crust.
Step 5: Roll and Fit the Pastry
On a surface dusted with All-Purpose Flour, roll the chilled dough into a 12-inch circle, about ⅛-inch thick. Work quickly to prevent the butter from softening, and rotate the dough frequently to ensure even thickness.
Transfer the rolled dough to a pie dish, gently pressing it into the bottom and sides without stretching. Trim any excess dough, leaving a ½-inch overhang. Fold the overhang under and crimp the edges for a polished finish. Dock the bottom with a fork to prevent air pockets during baking.
Pro Tips For Making Pie Pastry Recipe Self Rising Flour
- Chill the Butter: Keep your unsalted butter ice cold until the very last moment—cut it into small cubes and pop it back in the fridge while prepping the rest. I learned this the hard way after my first few crusts turned out tough instead of flaky.
- Use Ice Water: Fill a glass with ice cubes and water, then measure from that—this keeps the water as cold as possible when mixing. Cold water prevents the butter from melting prematurely, which is non-negotiable for a tender crust.
- Skip Overworking: Mix just until the dough comes together, even if it looks a little shaggy. Overworking develops gluten, and that’s what makes pie crust tough—my grandmother swore by this, and she was right.
- Rest the Dough: Give it a solid 30 minutes in the fridge before rolling—this relaxes the gluten and makes it easier to handle. Sounds weird, but it works: the dough rolls out smoother and holds its shape better.
Storing and Reheating This Dish
Refrigerator Storage
Wrap your pastry dough tightly in plastic wrap or place in an airtight container. It keeps beautifully in the fridge for up to 2 days. I often prep mine the night before baking for a stress-free morning. ❄️
Freezer Storage
For longer storage, freeze the wrapped dough for up to 1 month. Use heavy-duty freezer bags for best protection. Label with the date—I always forget how long things have been in there!
Thawing Dough
Move dough from freezer to fridge and let it thaw overnight. For same-day use, thaw at room temperature for about 1 hour. Never microwave—it will melt the butter and ruin the flakiness.
Pre-Baked Crusts
Baked pie shells keep at room temperature for 2 days or freeze for 3 months. Store in airtight containers with parchment between layers to prevent sticking. This is perfect for make-ahead desserts.
Reheating Tips
Warm pre-baked crusts at 350°F for 5-10 minutes to restore crispness. For filled pies, reheat at 325°F for 15-20 minutes to avoid over-browning. 🔥
Nutrition Facts
Frequently Asked Questions
Why use self-rising flour for pie pastry?
It simplifies the process by eliminating separate leavening agents. The built-in baking powder creates lift while maintaining tender, flaky layers with less effort.
Can I substitute all-purpose flour?
Yes, replace each cup with 1 cup all-purpose flour plus 1½ tsp baking powder and ¼ tsp salt. Mix thoroughly before using to ensure even distribution.
How do I prevent a tough crust?
Handle the dough minimally and keep ingredients ice-cold. Overmixing develops gluten, which makes pastry tough instead of flaky.
What’s the ideal baking temperature?
Preheat your oven to 375°F for most pies. This ensures the butter melts quickly, creating steam for maximum flakiness.

- Potato Candy Recipe 1933: Vintage Peanut Butter Roll Delight - October 30, 2026
- Potato Chip Cookie Recipe With Pecans: Buttery Crunch Meets Nutty Richness - October 30, 2026
- Potato Patty Recipe No Egg: Crispy Edges Without the Binder - October 30, 2026