
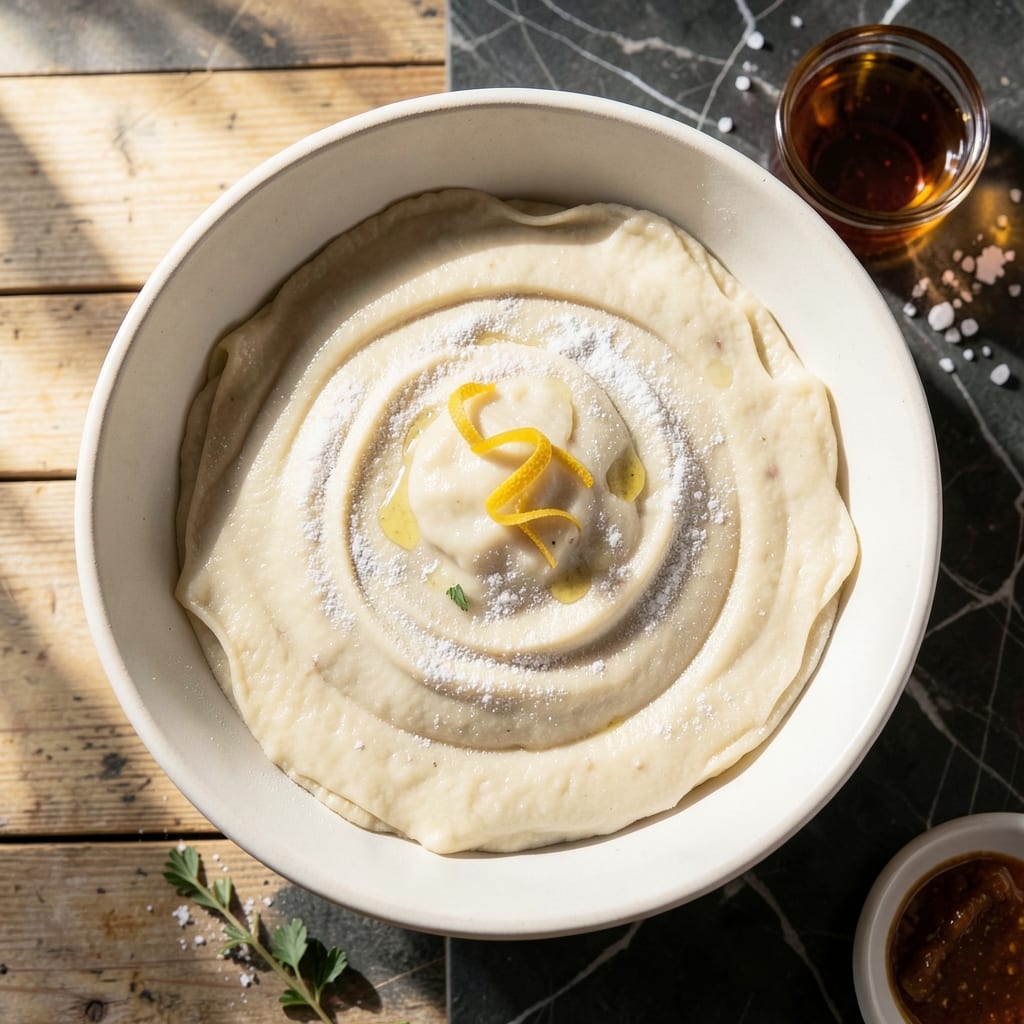
This egg-free pierogi dough delivers tender, elastic pockets perfect for both sweet and savory fillings. Developed through years of testing, the recipe relies on simple pantry staples and precise technique rather than eggs for binding.
The secret lies in the right flour-to-water ratio and adequate resting time. This allows the gluten to relax, making the dough easier to roll thin without tearing. The result is a smooth, pliable dough that holds fillings securely during boiling.
Whether you’re making traditional potato-cheese pierogi or fruit-filled versions, this base adapts beautifully. The dough maintains its structural integrity while cooking, yet remains delicate on the palate.
David, my official taste-tester, confirms this version surpasses even Nana Mae’s original. The texture is consistently tender, with just the right amount of chew.
Ingredients for Pierogi Dough Recipe Without Eggs
Six simple ingredients create a tender, elastic dough perfect for any filling.
| Ingredient | Amount | Notes |
|---|---|---|
| All-Purpose Flour 🌾 | 3 cups | Plus extra for dusting surface |
| Warm Water 💧 | ¾ cup | Approximately 110°F for activation |
| Vegetable Oil 🫒 | 2 tbsp | Neutral flavor preferred for tenderness |
| Salt 🧂 | 1 tsp | Fine sea salt for even distribution |
| Apple Cider Vinegar 🍏 | 1 tbsp | Or white vinegar for elasticity |
| Sugar 🍚 | 1 tsp | Optional for slight sweetness |
The flour is the foundation here. King Arthur or Bob’s Red Mill all-purpose flours deliver consistent results with the right protein content. Avoid self-rising or cake flours—they lack the gluten structure needed for proper elasticity. Warm water at about 110°F activates the gluten without being too hot, which could make the dough tough.
No all-purpose flour? Bread flour at a 1:1 ratio works but may require slightly more water. For a whole-grain version, substitute half the all-purpose with whole wheat. The vinegar helps tenderize—white or rice vinegar are fine substitutes. Sugar can be omitted for savory fillings, or increased to 1 tbsp for sweeter applications.
Dough keeps wrapped in plastic for 2 days refrigerated, or freezes beautifully for 1 month. Bring to room temperature before rolling. Resting the dough for 30 minutes is non-negotiable for optimal texture.
Why You’ll Love This Recipe
- No-Fuss Mixing: I just dump flour, warm water, oil, and a splash of apple cider vinegar—no eggs, no stress, and it comes together in minutes.
- Tender Every Time: The vinegar tricks the dough into staying soft, so my pierogi turn out pillowy without that tough chew.
- Fills the Freezer: Honestly, I double the batch, roll it out, and freeze sheets for spontaneous pierogi nights.
Step-by-Step Instructions for Pierogi Dough Without Eggs
This method ensures a tender, elastic dough that holds fillings beautifully without traditional binders.
Step 1: Combine Dry Ingredients for Foundation
In a large mixing bowl, whisk together the 3 cups All-Purpose Flour, 1 tsp Salt, and 1 tsp Sugar until uniformly distributed. I use fine sea salt for even dispersion throughout the dough, which prevents localized saltiness in any single bite.
The sugar, while optional, adds subtle sweetness that balances savory fillings and enhances browning during cooking. Ensure no lumps remain in the flour mixture—this creates a smooth base for the wet ingredients.
Step 2: Activate the Dough with Liquid Ingredients
Make a well in the center of the flour mixture. Add the 0.75 cup Warm Water (approximately 110°F), 2 tbsp Vegetable Oil, and 1 tbsp Apple Cider Vinegar to the well. The vinegar’s acidity mimics the tenderizing effect of eggs, creating elasticity in the dough.
Use a wooden spoon to gradually incorporate the flour into the wet ingredients, working from the center outward. The dough will appear shaggy and slightly sticky at this stage—this is normal. The water’s temperature activates the flour’s gluten without being so hot that it kills the yeast-like properties we’re cultivating.
If the mixture seems too dry, add water 1 tsp at a time until it comes together. Conversely, if it’s overly sticky, sprinkle in 1 tbsp of the reserved All-Purpose Flour.
Step 3: Knead to Develop Gluten Structure
Turn the dough onto a lightly floured surface (using some of the extra All-Purpose Flour from your ingredients). Knead for 8-10 minutes by hand, pushing the dough away with the heel of your hand, then folding it back over itself in a rhythmic motion.
You’ll notice the dough transforms from rough and sticky to smooth and slightly springy. This development of gluten strands gives the pierogi their characteristic chew and structural integrity to hold fillings. The surface should feel slightly tacky but not stick to your hands when properly kneaded.
If the dough resists kneading or tears, let it rest for 2 minutes to relax the gluten, then continue. This technique prevents overworking the dough, which could make it tough.
Step 4: Rest the Dough for Optimal Texture
Form the dough into a ball and place it in a lightly oiled bowl (use some of the 2 tbsp Vegetable Oil from your ingredients). Cover with a clean kitchen towel or plastic wrap. Let it rest at room temperature for 30-45 minutes.
This resting period allows the gluten to relax completely and the flour to fully hydrate. You’ll see the dough rise slightly and become more pliable. The vinegar continues working during this time, ensuring the final product remains tender rather than dense.
After resting, the dough should be smooth, soft, and easy to roll out without springing back. If it feels too firm, let it rest for an additional 15 minutes.
Step 5: Roll and Cut for Pierogi Assembly
Divide the rested dough into 4 equal portions (for 4 servings). On a lightly floured surface, roll one portion at a time to ⅛-inch thickness. Use a 3-inch round cutter to cut circles, rerolling scraps as needed.
The dough should hold its shape when cut, with clean edges that won’t fray. If the circles shrink after cutting, the gluten needs more rest—cover the dough and wait 10 minutes before attempting to roll again.
Keep unused dough portions covered with a towel to prevent drying. This ensures consistent texture across all your pierogi wrappers, whether you’re making a small batch or scaling up for a crowd.
Pro Tips For Making Pierogi Dough Recipe Without Eggs
- Knead Just Right: Work the dough until smooth but stop before it gets tough—I learned this the hard way when my pierogi turned out dense and chewy.
- Warm the Water: Use water that’s warm to the touch, around 110°F, or the vinegar won’t activate properly and the dough won’t rise like it should.
- Rest the Dough: After mixing, let it sit covered for 20-30 minutes—my grandmother swore by this, and the texture is noticeably better when I don’t skip it.
- Oil the Bowl: Coat the bowl with a little vegetable oil before resting the dough to prevent sticking, especially since there are no eggs to bind it.
Make-Ahead Tips for This pierogi dough recipe without eggs
Prep Ahead Strategy
I always make this dough the night before when planning a pierogi feast. The flour fully hydrates during overnight rest, making it even more pliable. Just wrap it tightly in plastic wrap and refrigerate for up to 2 days. 💡
Freezing for Later
This dough freezes beautifully for up to 1 month. Divide into portions, flatten into discs, and wrap each in plastic wrap then foil. Label with the date—it’s easy to forget what’s in the freezer!
Thawing Technique
Move frozen dough to the fridge 12 hours before use. For faster thawing, place wrapped dough in a bowl of cool water for 1-2 hours. Never microwave—it can activate gluten unevenly.
Pre-Rolled Convenience
Roll and cut your circles ahead, then freeze them flat on a tray before transferring to a bag. This saves 30 minutes on pierogi day. Just thaw at room temperature for 15 minutes before filling.
Large Batch Tips
Double the recipe for a crowd, but divide into 4 balls before resting. This prevents overworking the dough while kneading. David swears by this method for our family gatherings in Austin.
Room Temperature Rule
Always bring chilled dough to room temperature before rolling. Cold dough springs back and tears easily. I learned this the hard way at Nana Mae’s diner—warm dough rolls like a dream. ✨
Nutrition Facts
Frequently Asked Questions
Why does this dough work without eggs?
The apple cider vinegar adds acidity that tenderizes the gluten, while vegetable oil provides moisture and richness. Together, they create elasticity and binding similar to eggs.
Can I use a stand mixer for kneading?
Yes! Use the dough hook attachment on low speed for 6-8 minutes. Watch closely—the dough should pull away from the bowl but remain slightly tacky.
What if my dough tears when rolling?
Let it rest for 10-15 minutes to relax the gluten. If it’s too dry, knead in 1 tsp water. Always roll on a well-floured surface to prevent sticking.
How thin should I roll the dough?
Aim for ⅛-inch thickness—thin enough to cook evenly but thick enough to hold fillings securely. Use a rolling pin for even pressure.

- Potato Candy Recipe 1933: Vintage Peanut Butter Roll Delight - October 30, 2026
- Potato Chip Cookie Recipe With Pecans: Buttery Crunch Meets Nutty Richness - October 30, 2026
- Potato Patty Recipe No Egg: Crispy Edges Without the Binder - October 30, 2026