
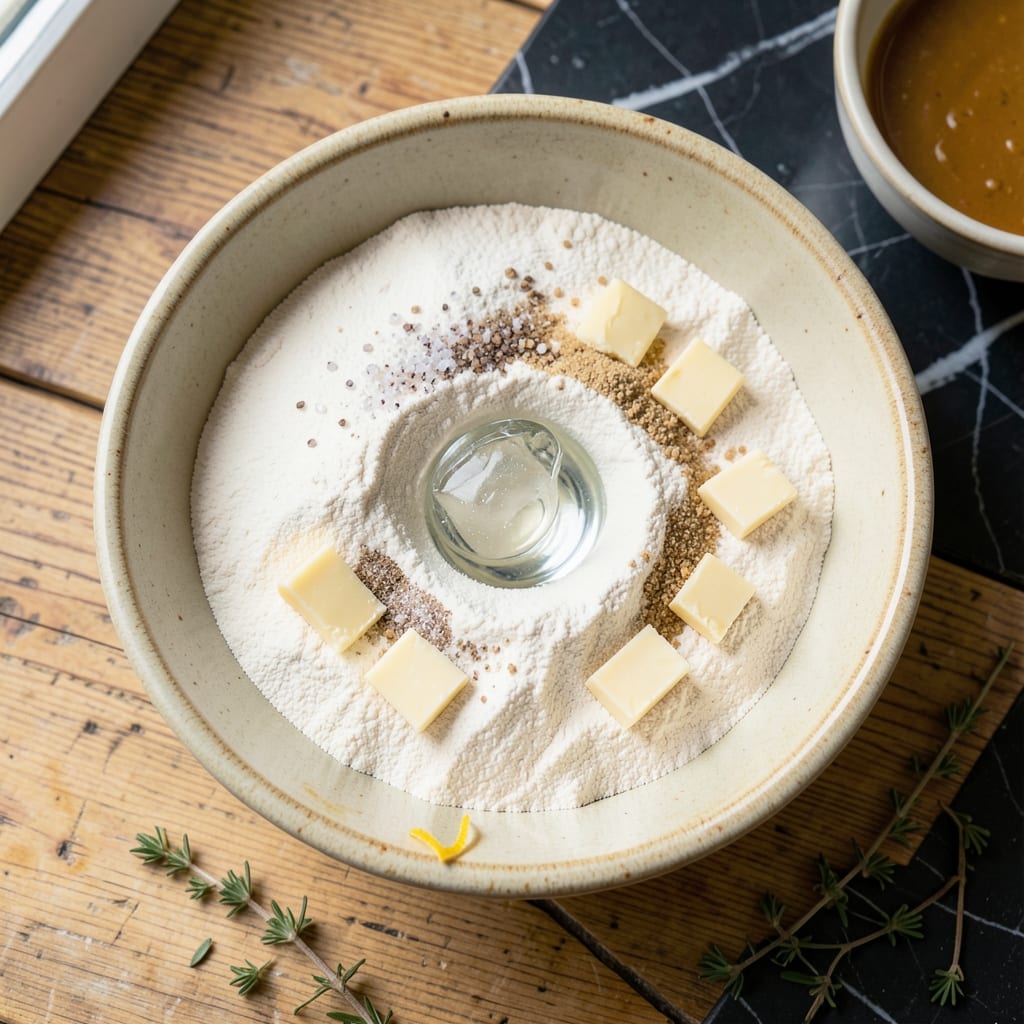
I used to think flaky pie crust required a food processor, but my hands work just as well. No special equipment needed—just cold butter, flour, and a little technique.
The trick is keeping everything ice cold and working quickly. Cut the butter into the flour until it resembles coarse crumbs, then add just enough water to bring it together. Flaky layers come from visible butter flecks in the dough.
After a short rest in the fridge, the dough rolls out smooth and bakes up golden. It’s foolproof, and the texture? Absolutely perfect.
Works for sweet or savory pies. This method never lets me down.
Ingredients for Pie Crust Recipe No Food Processor
Cold butter, flour, and a bowl. That is all you need for perfect flaky layers.
| Ingredient | Amount | Notes |
|---|---|---|
| All-Purpose Flour 🌾 | 2 ½ cups | Spoon and level for accuracy |
| Unsalted Butter 🧈 | 1 cup | Very cold, cubed into small pieces |
| Ice Water 💧 | ½ cup | Plus 1 tbsp as needed |
| Salt 🧂 | 1 tsp | Fine sea salt preferred |
| Granulated Sugar 🍚 | 1 tbsp | Optional for sweet crusts |
| White Vinegar 🍋 | 1 tbsp | Or lemon juice for tenderness |
The butter is everything here. Use European-style if you can find it—higher fat content means flakier crust. Most grocery stores carry Plugra or Kerrygold in the dairy case (look for the 82% fat label). Keep it ice cold until the moment you use it. If your kitchen is warm, freeze the cubed butter for 10 minutes before cutting it in. The flour? Any all-purpose works, but King Arthur is my go-to for consistency.
No unsalted butter? Salted works in a pinch—just skip the added salt. Short on ice water? Vodka at half the amount makes an even flakier crust (the alcohol evaporates, leaving pockets). For a richer flavor, swap 1 tbsp of water for milk (any kind, including plant-based). The vinegar tenderizes—don’t skip it, but lemon juice works too if that’s what you’ve got.
Dough keeps wrapped tightly in plastic for 2 days in the fridge, or freeze for 3 months. Let it sit at room temperature for 10 minutes before rolling. Baked crusts hold at room temperature for 1 day, but they’re best eaten fresh (the flakiness is unbeatable).
Why You’ll Love This Recipe
- No Tools Needed: I can make flaky crust with just my hands and a bowl—no bulky gadgets required.
- Buttery Perfection: Cold butter and a pinch of sugar give it that rich, tender crunch I crave.
- Holiday Hero: It’s my go-to for Thanksgiving pies and last-minute potlucks alike.
Step-by-Step Instructions for Pie Crust Without a Food Processor
Here’s the method that delivers perfectly flaky layers using just your hands and a bowl.
Step 1: Combine Dry Ingredients and Cut in the Butter
In a large bowl, whisk together the 2.5 cups All-Purpose Flour, 1 tsp Salt, and 1 tbsp Granulated Sugar until evenly distributed. This ensures every bite of your crust has balanced flavor.
Add the 1 cup Unsalted Butter (very cold and cubed into small pieces). Using your fingers, work the butter into the flour by pressing and rubbing until the mixture resembles coarse crumbs with pea-sized butter pieces visible. You should see flecks of butter throughout—this is what creates those coveted flaky layers.
Step 2: Add Liquid Ingredients to Form the Dough
Create a well in the center of the flour mixture. Pour in the 0.5 cup Ice Water and 1 tbsp White Vinegar. The vinegar tenderizes the gluten, making your crust more forgiving and easier to work with.
Using a fork, gently stir the mixture, gradually incorporating the dry ingredients into the wet until it just starts to come together. Stop as soon as the dough begins to clump—overmixing will develop gluten and make your crust tough instead of tender.
Step 3: Knead and Shape the Dough
Turn the dough out onto a lightly floured surface. Gently press it together into a rough rectangle, being careful not to overwork it. You should see visible streaks of butter in the dough—this is the secret to flakiness.
Fold the dough in thirds like a letter, then rotate it 90 degrees and fold again. This laminating process creates layers. Repeat this fold and turn process 3-4 times total, then shape into a disk. The edges might crack slightly—that’s normal and won’t affect the final result.
Step 4: Chill the Dough Before Rolling
Wrap the dough disk tightly in plastic wrap and refrigerate for at least 1 hour. This chilling step is non-negotiable—it relaxes the gluten and rechills the butter, preventing the crust from shrinking during baking.
For best results, I recommend chilling for up to 24 hours. If you’re in a hurry, you can freeze the dough for 20 minutes, but don’t skip the chilling entirely. The dough should feel firm but not rock-hard when you’re ready to roll it out.
Step 5: Roll and Shape for Your Pie
On a lightly floured surface, roll the chilled dough into a 12-inch circle about ⅛-inch thick. If the dough cracks as you roll, press it back together—it’s more forgiving than you think. For a perfect transfer, roll the dough loosely around your rolling pin, then unroll it over your pie dish.
Gently press the dough into the bottom and sides of the dish without stretching it. Trim the edges, leaving a slight overhang. For a decorative finish, fold the overhang under and crimp with your fingers or a fork. Your crust is now ready for filling and baking to golden perfection.
Pro Tips For Making Pie Crust Recipe No Food Processor
- Chill the Butter: Cut your butter into small cubes and refrigerate for at least 20 minutes before mixing—this keeps it from melting into the flour, which is what gives you that flaky texture.
- Use Ice Water: Fill a glass with water, add ice cubes, and let it sit for 5 minutes before using; cold water prevents the dough from becoming tough as you work it.
- Don’t Overwork It: Mix just until the dough comes together; I learned this the hard way after my first few crusts turned out dense and chewy instead of light and flaky.
- Rest the Dough: Wrap it in plastic and let it chill in the fridge for at least 30 minutes—this makes rolling it out way easier and prevents shrinking during baking.
Creative Variations of These Flavors
Sweet Cinnamon Twist
Add 2 tbsp brown sugar and 1 tsp cinnamon to the flour mix before cutting in the butter. This creates a lightly spiced crust perfect for apple or pecan pie. I love how the cinnamon aroma fills the kitchen while it bakes. 🌟
Savory Herb Crust
Mix in 1 tbsp dried herbs (thyme, rosemary, or sage) with the flour. This pairs beautifully with chicken pot pie or quiche. I often use fresh herbs from my foraging trips—just double the amount.
Cheese Lovers Version
Reduce flour to 2¼ cups and add ½ cup grated Parmesan or sharp cheddar. The cheese adds a rich, savory depth that’s amazing with tomato or spinach fillings. Works best for savory applications.
Whole Wheat Option
Replace 1 cup all-purpose flour with whole wheat flour. The dough will be slightly denser but adds nutty flavor. I recommend adding 1 extra tbsp ice water to compensate for the absorption. 💛
Gluten-Free Adaptation
Use a 1:1 gluten-free flour blend (like King Arthur’s) and add 1 tsp xanthan gum. The texture will differ slightly but still produces a flaky result. Let the dough rest 30 minutes longer before rolling.
Spiced Pumpkin Crust
Add 1 tsp pumpkin pie spice and 2 tbsp cooked pumpkin puree to the dough. Reduce water to ⅓ cup. Perfect for fall pies. The orange hue is stunning against any filling.
Nutrition Facts
Frequently Asked Questions
Why is cold butter important for the dough?
Cold butter creates steam during baking, which makes those flaky layers. If it melts too soon, the crust loses its texture. Keep your butter ice-cold until you’re ready to use it.
Can I use margarine instead of butter?
Margarine works but won’t give the same rich flavor or flakiness. If you must substitute, use a high-fat margarine and ensure it’s very cold. Butter is always the best choice here.
How do I prevent the crust from shrinking?
Chill the dough for at least 1 hour before rolling. This relaxes the gluten and prevents shrinking. Also, avoid stretching the dough when fitting it into the pan.
What if my dough cracks while rolling?
Press the cracks back together with your fingers. A little water can help seal them. Small cracks won’t affect the final result, so don’t stress.

- Potato Candy Recipe 1933: Vintage Peanut Butter Roll Delight - October 30, 2026
- Potato Chip Cookie Recipe With Pecans: Buttery Crunch Meets Nutty Richness - October 30, 2026
- Potato Patty Recipe No Egg: Crispy Edges Without the Binder - October 30, 2026