
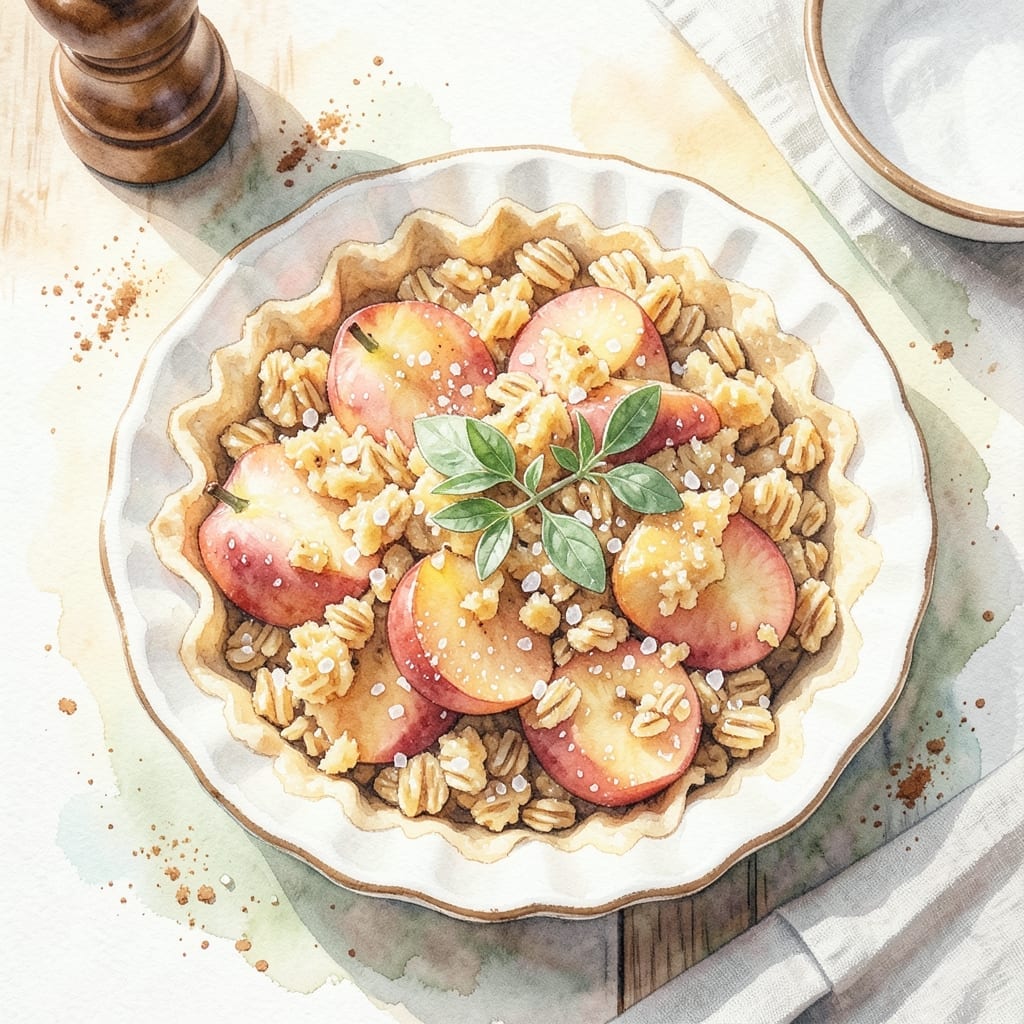
This apple crisp delivers a buttery oat topping over warm, spiced apples with minimal effort. I developed this version to capture that classic comfort dessert taste while keeping the process simple.
The secret lies in the balance between tender apples and a crisp, golden oat topping. Using Pillsbury dough as a base ensures consistent results every time, while the oats add that signature texture we all love.
You’ll end up with a dessert that’s warm, fragrant, and perfectly sweet—ideal for serving with vanilla ice cream. The apples soften beautifully under the crisp topping, creating a perfect contrast in every bite.
This recipe works for both casual weeknights and special occasions. The aroma alone makes it worth the effort.
Ingredients for Pillsbury Apple Crisp Recipe with Oats
Pantry staples and fresh apples come together for this comforting dessert with minimal fuss.
| Ingredient | Amount | Notes |
|---|---|---|
| Pillsbury Refrigerated Pie Crust 🥧 | 1 package | Regular or deep dish, thawed |
| Old-Fashioned Rolled Oats 🌾 | 1 ½ cups | Uncooked, not instant |
| Granulated Sugar 🍚 | ¾ cup | Divided for filling and topping |
| Brown Sugar 🟤 | ¾ cup | Packed, for topping |
| All-Purpose Flour 🌾 | ¾ cup | For thickening filling |
| Ground Cinnamon 🌿 | 1 ½ tsp | For spiced apple filling |
| Ground Nutmeg 🌰 | ¼ tsp | Freshly ground preferred |
| Unsalted Butter 🧈 | ¾ cup | Cold, cubed for topping |
| Apples 🍏 | 6 whole | Peeled, cored, sliced (Granny Smith or Honeycrisp) |
| Lemon Juice 🍋 | 1 tbsp | Freshly squeezed |
| Vanilla Extract 💧 | 1 tsp | Pure for best flavor |
| Salt 🧂 | ¼ tsp | Fine sea salt |
The Pillsbury crust is the shortcut that makes this foolproof—grab it from the refrigerated section at any grocery store. For the oats, old-fashioned rolled give the best texture (steel-cut are too chewy, instant too mushy). I always use Granny Smith apples for their tartness, but Honeycrisp or Braeburn work too. The butter needs to be cold, so keep it in the fridge until you’re ready to mix the topping.
No pie crust on hand? Crushed graham crackers or even shortbread cookies make a great base. Swap the oats for quick oats in a pinch (texture will be slightly softer). Out of brown sugar? Use all white sugar plus 1 tbsp molasses. For extra spice, add a pinch of cloves or allspice to the filling. The apples can be any variety—just pick ones that hold their shape.
Assemble and bake immediately, or prep the topping ahead and refrigerate for up to 24 hours. Leftovers keep 3-4 days at room temperature (the topping softens in the fridge). Best served warm with vanilla ice cream on top.
Why You’ll Love This Recipe
- No-Fuss Base: The refrigerated pie crust means I skip the pastry stress entirely—just unroll and go.
- Buttery Oat Magic: That combo of brown sugar and oats bakes into a crunchy, caramelized topping that’s honestly hard to resist.
- Crowd-Pleaser Ready: I’ve served this at potlucks and weeknight dinners alike, and it disappears every time.
- Stays Fresh: Leftovers? No problem. It tastes just as good the next day, if it even lasts that long.
Step-by-Step Instructions for Pillsbury Apple Crisp With Oats
Here’s how to build that buttery oat topping over perfectly spiced apples.
Step 1: Prepare and Season the Apples
Peel, core, and slice the 6 whole Apples into ¼-inch thick slices. I like to keep the slices uniform so they cook evenly. As you work, place the apple slices in a large bowl and immediately toss them with the 1 tbsp Lemon Juice—this prevents browning.
Add the 0.75 cup Granulated Sugar, 1.5 tsp Ground Cinnamon, and 0.25 tsp Ground Nutmeg to the apples. Stir gently to coat every slice evenly. Then sprinkle over the 0.75 cup All-Purpose Flour and toss once more—this will thicken the juices as it bakes, creating that perfect syrupy filling underneath the crisp topping.
Step 2: Press Pie Crust into the Baking Dish
Unroll the 1 package Pillsbury Refrigerated Pie Crust and press it evenly into a 9×13-inch baking dish, covering the bottom completely. Use your fingers to press the seams together if using multiple crusts. Trim any excess dough hanging over the edges and discard.
The crust serves as a buttery base that will crisp up beautifully while baking. I like to poke a few holes in the bottom with a fork to allow steam to escape, which helps prevent sogginess. This step ensures your apple crisp has a solid, flaky foundation rather than just a loose filling.
Step 3: Layer the Apple Filling
Arrange the seasoned apple slices evenly over the pie crust in the baking dish. Press down lightly to compact them slightly—this helps the filling hold together and prevents large air gaps. Pour any accumulated juices from the bowl over the apples; this adds moisture and extra flavor.
Drizzle the 1 tsp Vanilla Extract evenly over the apples. The vanilla enhances the natural sweetness of the fruit and adds depth to the spiced filling. At this point, your dish should look overflowing—that’s perfect, as the apples will soften and shrink during baking.
Step 4: Make and Add the Oat Topping
In a separate bowl, combine the 1.5 cups Old-Fashioned Rolled Oats, 0.75 cup Brown Sugar, 0.75 cup All-Purpose Flour, and 0.25 tsp Salt. Stir until evenly mixed. The oats provide the signature crisp texture, while the brown sugar adds a molasses-like richness.
Cut the 0.75 cup Unsalted Butter into small cubes and add it to the oat mixture. Use your fingers to work the butter into the dry ingredients until the mixture resembles coarse crumbs with some pea-sized clumps. This ensures the topping will crisp up beautifully. Sprinkle this mixture evenly over the apples, pressing down gently to help it adhere.
Step 5: Bake to Golden Perfection
Bake at 375°F for 40-45 minutes until the topping is deep golden brown and the filling is bubbling around the edges. I start checking at 35 minutes—if the topping is browning too quickly, tent the dish loosely with foil.
Let it cool for 15 minutes before serving. This allows the filling to set slightly, making it easier to serve neat portions. The crust should be golden and crisp, the apples tender but not mushy, and the oat topping perfectly crunchy with a buttery, caramelized flavor.
Pro Tips For Making Pillsbury Apple Crisp Recipe With Oats
- Pre-bake the crust: Roll out the Pillsbury pie crust and blind-bake it for 8-10 minutes at 375°F before adding filling. I learned this the hard way—without it, the bottom stays soggy under the apples.
- Toast the oats: Spread the rolled oats on a sheet pan and toast at 350°F for 5-7 minutes until golden. Sounds weird, but it works: this adds a nutty depth to the topping that raw oats just can’t match.
- Skip packed brown sugar: Measure brown sugar loosely, not packed—using packed makes the topping too dense and chewy instead of crisp. After burning three batches, I finally figured out this was the culprit.
- Chill before slicing: Let the apple crisp cool for at least 20 minutes after baking. My grandmother swore by this, and she was right: it sets the filling so it doesn’t run all over the plate.
Make-Ahead Tips for pillsbury apple crisp recipe with oats
Prep the Topping Ahead
You can mix the oat topping up to 24 hours in advance and store it in an airtight container in the fridge. This saves time on baking day. Just let it sit at room temperature for 30 minutes before sprinkling over the apples. 💡
Assemble Fully in Advance
For complete make-ahead convenience, assemble the entire crisp (crust, filling, and topping) in your baking dish, cover tightly with foil, and refrigerate for up to 12 hours. Bake as directed, adding 5-10 minutes to the cooking time since it’ll start cold.
Freeze for Later
This dessert freezes beautifully for up to 3 months. Assemble and bake as usual, then let cool completely before wrapping the dish tightly in foil and plastic wrap. To serve, thaw overnight in the fridge and warm at 350°F for 15-20 minutes. ❄️
Crisp Topping Fix
If reheating makes the topping soft, broil for 2-3 minutes at the end to restore that buttery crunch. Watch closely to avoid burning. I always set a timer to prevent over-browning.
Portion and Store
For easy serving, cut into squares before storing. Keep leftovers at room temperature for up to 2 days or in the fridge for 4 days. The topping softens in the fridge, but the flavor stays delicious.
Nutrition Facts
Frequently Asked Questions
Can I use quick oats instead of old-fashioned?
Yes, but texture will be slightly softer. Old-fashioned oats give the best crispness, while quick oats absorb moisture faster. For the closest result, toast quick oats in a dry pan for 2-3 minutes before mixing.
Why is my topping not crispy?
This usually happens if the butter was too warm when mixed or the crisp wasn’t baked long enough. For extra crunch, broil for 1-2 minutes at the end, watching closely.
How do I know when it’s done?
The topping should be deep golden brown and the filling bubbling at the edges. A toothpick inserted should meet little resistance in the apples. Let it rest 15 minutes before serving.

- BBQ Sausage Recipe Oven: Smoky Depth Without the Grill - September 28, 2026
- BBQ Chicken Bowl Recipe Rice: Smoky Sweetness Over Fluffy Grains - September 28, 2026
- Beef Cutlet Recipe Ideas: Crispy Breaded Patties With Bold Seasonings - September 28, 2026