
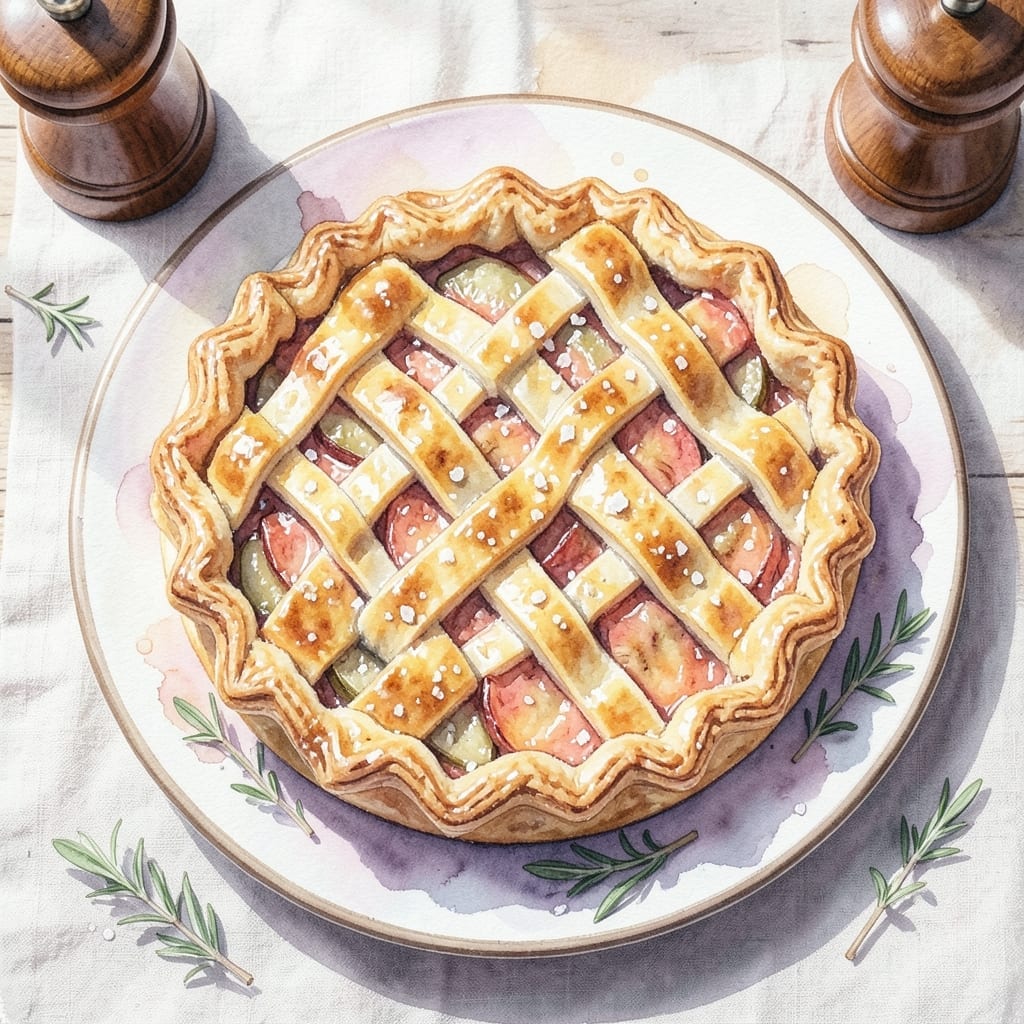
There’s nothing quite like the aroma of a freshly baked apple pie filling your kitchen. This recipe uses a time-saving shortcut without compromising on that flaky, golden crust everyone loves.
Pillsbury dough provides the perfect base, while my cinnamon-kissed apple filling delivers that classic homemade taste. The key is layering the apples just right for even baking and that signature tender-yet-firm texture.
You’ll end up with a pie that looks and tastes like it came from a bakery, complete with a lattice top or full crust. The filling bubbles through the vents, creating that irresistible caramelized apple scent.
Serve warm with vanilla ice cream for the ultimate comfort dessert. Here’s how to make it happen.
Ingredients for Pillsbury Apple Pie Recipe Video
Short list. Big comfort. Pillsbury crust plus fresh apples make this dessert irresistible.
| Ingredient | Amount | Notes |
|---|---|---|
| Pillsbury Refrigerated Pie Crust 🥧 | 2 sheets | Thawed per package instructions |
| Granny Smith Apples 🍏 | 6 whole | Peeled, cored, thinly sliced |
| Granulated Sugar 🍚 | ¾ cup | Plus 1 tbsp for sprinkling |
| Light Brown Sugar 🟤 | ½ cup | Packed for filling |
| Ground Cinnamon 🌿 | 1 ½ tsp | For warm spice flavor |
| All-Purpose Flour 🌾 | 2 tbsp | For thickening filling |
| Lemon Juice 🍋 | 1 tbsp | Freshly squeezed for brightness |
| Unsalted Butter 🧈 | 2 tbsp | Cubed for dotting filling |
| Vanilla Extract 💧 | 1 tsp | Pure for best flavor |
| Large Egg 🥚 | 1 whole | For egg wash crust |
| Coarse Sugar 🍚 | 1 tbsp | For crust topping |
The crust is the shortcut star here. Pillsbury refrigerated crust in the red box is what I always grab—it’s flaky, reliable, and saves hours. Most grocery stores stock it near the biscuits. For the apples, Granny Smiths hold their shape best (that tartness cuts the sweetness perfectly). If you’re picking from a farm stand, go for firm ones with vibrant green color.
No Granny Smiths? Honeycrisp or Braeburn work too—just skip the extra sugar since they’re sweeter. Brown sugar can be swapped for white if that’s all you’ve got (texture will differ slightly). The cinnamon is non-negotiable though—it’s what makes this taste like classic apple pie. For the butter, salted works in a pinch (just ease up on any added salt).
Assemble the pie right before baking—prevents soggy crust. Leftovers keep 3-4 days at room temp (covered). For make-ahead, bake and freeze the whole pie—reheat at 350°F for 20 minutes.
Why You’ll Love This Recipe
- No-Fuss Crust: The Pillsbury crust rolls out in seconds—no mixing, no chilling, just peel and press.
- Sweet-Tart Magic: Granny Smiths hold their shape and that cinnamon-brown sugar combo? Ridiculously good.
- Crowd Pleaser: I’ve served this at potlucks and weeknight desserts alike and always come home with an empty dish.
- Stays Fresh: Honestly, it tastes just as good the next day, if there’s any left by then.
Step-by-Step Instructions for Flaky Apple Pie With Cinnamon Apples
Here’s my tested method for achieving that perfect flaky crust with a sweet, spiced apple filling.
Step 1: Prepare the Pie Crust
Unroll the 2 sheets Pillsbury Refrigerated Pie Crust according to package instructions. I let mine sit at room temperature for 15 minutes to make them easier to handle. Press one sheet into a 9-inch pie dish, ensuring it covers the bottom and sides completely without stretching.
Trim any excess dough hanging over the edge, leaving about ½ inch overhang. This creates a nice base for crimping later. Reserve the second sheet for the top crust—keep it covered until ready to use.
Step 2: Mix the Apple Filling
In a large bowl, combine the 6 whole Granny Smith Apples (peeled, cored, and thinly sliced) with the 0.75 cup Granulated Sugar, 0.5 cup Light Brown Sugar, 1.5 tsp Ground Cinnamon, 2 tbsp All-Purpose Flour, 1 tbsp Lemon Juice, and 1 tsp Vanilla Extract. Toss gently until the apples are evenly coated.
The flour helps thicken the juices as the pie bakes, while the lemon juice keeps the apples from browning too quickly. You’ll notice the mixture becomes slightly syrupy—that’s exactly what you want for a perfect filling.
Step 3: Assemble the Pie
Pour the apple filling into the prepared crust, mounding slightly in the center. Dot the top with the 2 tbsp Unsalted Butter (cubed) to add richness as it bakes. This little step makes a big difference in flavor.
Unroll the second sheet of pie crust and place it over the filling. Trim the edges, leaving ½ inch overhang, then fold the bottom crust edges over the top crust and crimp with your fingers or a fork to seal. Cut 4-5 slits in the top crust to allow steam to escape.
Step 4: Bake to Golden Perfection
Preheat your oven to 375°F. Brush the top crust with a beaten 1 whole Large Egg (this gives it that beautiful shine), then sprinkle with the 1 tbsp Coarse Sugar for extra crunch and sweetness.
Bake for 45-50 minutes until the crust is golden brown and the filling is bubbling. I always place a baking sheet on the rack below to catch any drips. If the edges start browning too quickly, cover them with foil.
Let the pie cool for at least 2 hours before slicing. This gives the filling time to set—trust me, it’s worth the wait for that perfect slice.
Pro Tips For Making Pillsbury Apple Pie Recipe Video
- Chill the Crust: Let the Pillsbury pie crust sit in the fridge for 15-20 minutes before rolling it out—this prevents shrinking and makes it way easier to handle.
- Slice Apples Thin: Cut those Granny Smiths into 1/4-inch slices so they soften evenly in the oven; thicker pieces stay crunchy and undercooked.
- Pre-Bake the Bottom: Blind-bake the bottom crust for 8 minutes at 375°F before adding filling to avoid that dreaded soggy bottom.
- Mix Sugars First: Combine the granulated and light brown sugar with cinnamon in a bowl before tossing with apples—this guarantees even coating and no dry pockets.
Make-Ahead Tips for This Dish
Prep Ahead Option
You can peel and slice your 6 Granny Smith Apples up to 24 hours in advance. Toss them with the 1 tbsp Lemon Juice and store in an airtight container in the fridge. This prevents browning and saves time on baking day.
Pre-Assemble for Later
Assemble the entire pie (unbaked) and refrigerate for up to 12 hours before baking. Keep it covered tightly with plastic wrap to prevent the crust from drying out. I often do this the night before a holiday meal. ❄️
Freeze Before Baking
For longer storage, assemble the pie and freeze it unbaked for up to 2 months. Wrap it tightly in plastic wrap, then in aluminum foil. When ready to bake, thaw overnight in the fridge before baking as directed.
Bake and Freeze
Bake the pie completely, then let it cool to room temperature. Wrap it tightly in plastic wrap and aluminum foil, and freeze for up to 3 months. This is perfect for unexpected guests.
Reheating Tips
To reheat a frozen baked pie, preheat your oven to 350°F. Bake the frozen pie for 20-25 minutes until warmed through. For a refrigerated pie, bake at 350°F for 10-15 minutes. 🔥
Crust Protection
If reheating a fully baked pie, cover the edges with foil to prevent over-browning. I also brush the crust with a little milk before reheating to restore that fresh-baked shine and crispness.
Nutrition Facts
Frequently Asked Questions
Can I use a different type of apple?
Yes! Honeycrisp or Braeburn work well too. Just reduce sugar slightly since they’re sweeter than Granny Smith.
How do I prevent a soggy bottom crust?
Prevent sogginess by sprinkling 1 tbsp flour in the pie dish before adding the crust. Also, bake on the lower third rack at 375°F.
Can I make this without an egg wash?
Brush with 2 tbsp milk or cream instead for a golden finish. It won’t be as shiny but still delicious.
Why did my filling turn out runny?
This usually means the apples released too much juice. Next time, toss slices with 1 extra tbsp flour before assembling.

- BBQ Sausage Recipe Oven: Smoky Depth Without the Grill - September 28, 2026
- BBQ Chicken Bowl Recipe Rice: Smoky Sweetness Over Fluffy Grains - September 28, 2026
- Beef Cutlet Recipe Ideas: Crispy Breaded Patties With Bold Seasonings - September 28, 2026