
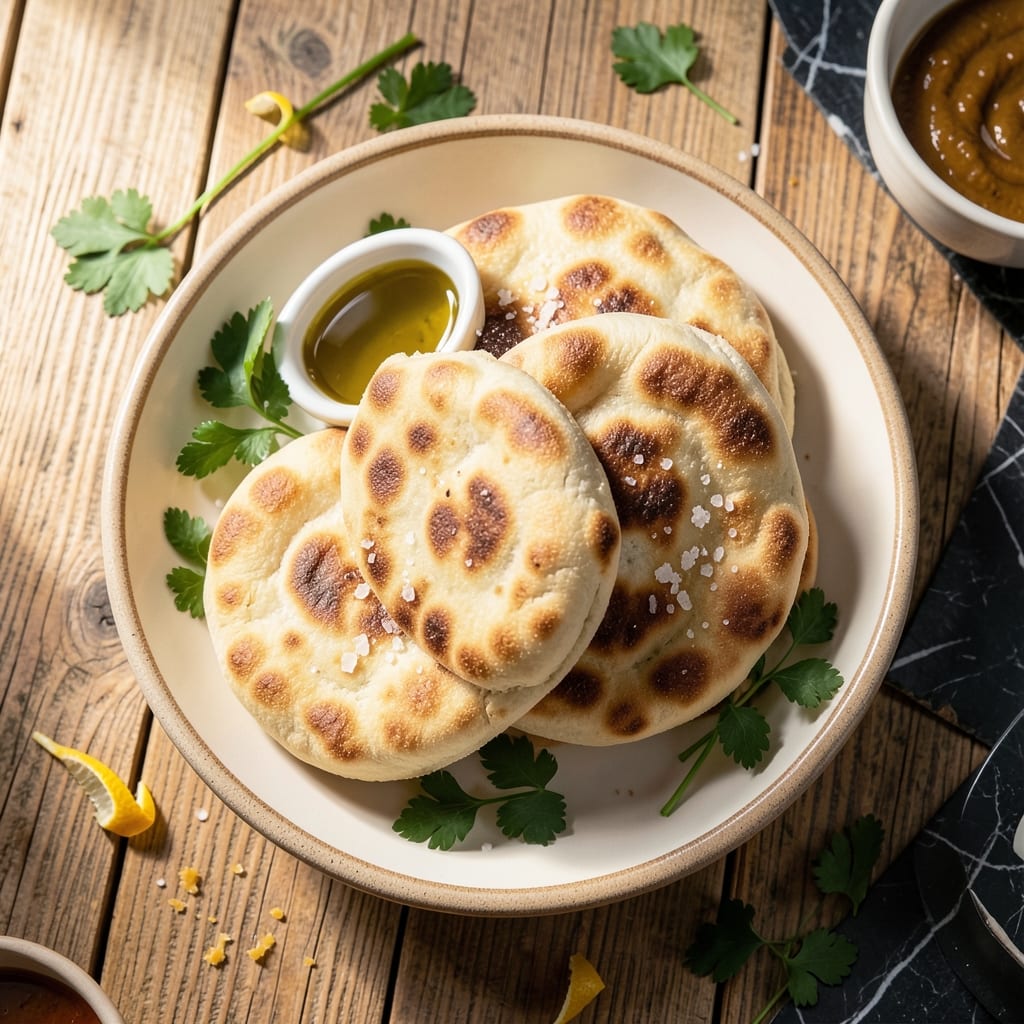
There’s nothing like the smell of freshly baked bread filling your kitchen, and this Turkish pita recipe delivers that experience with minimal effort. The dough comes together quickly with simple ingredients you likely already have on hand.
What makes this version special is the precise balance of flour, water, and yeast that creates a soft, elastic dough. A 90-minute rise allows the flavors to develop fully, while a hot oven ensures the bread puffs up beautifully to form those signature pockets.
You’ll end up with warm, pillowy pita bread that’s perfect for stuffing with your favorite fillings or serving alongside dips. The texture is tender yet sturdy enough to hold up to hearty sandwich ingredients without falling apart.
The best part is watching them transform in the oven, rising like little balloons before your eyes. This recipe makes bread making approachable for anyone.
Ingredients for Pita Bread Recipe Turkish
Simple pantry ingredients transform into warm, pillowy bread with ease.
| Ingredient | Amount | Notes |
|---|---|---|
| All-Purpose Flour 🌾 | 3 ½ cups | Plus extra for dusting |
| Warm Water 💧 | 1 ¼ cups | About 110°F, not hot |
| Active Dry Yeast 🍞 | 2 ¼ tsp | One 0.25-oz packet plus extra |
| Granulated Sugar 🍚 | 1 tsp | Feeds the yeast |
| Salt 🧂 | 1 ½ tsp | Fine sea or kosher |
| Olive Oil 🫒 | 2 tbsp | Extra-virgin for flavor |
| Vegan Butter 🧈 | 1 tbsp | Optional, for brushing |
| Cornmeal 🌽 | ¼ cup | For dusting baking sheet |
The flour is the foundation here—King Arthur or Gold Medal work great. Water temperature matters: too hot kills the yeast, too cold slows the rise. I use a kitchen thermometer (worth the 10 bucks at Target or Walmart) but you can test it with your wrist—should feel warm, not scalding. Yeast from a jar lasts longer than packets, and it’s cheaper per batch.
No all-purpose flour? Bread flour at half the amount (but it’ll be chewier). Out of olive oil? Any neutral oil like vegetable or avocado works. Skip the vegan butter if you don’t have it—the pitas will still puff. Sugar can be swapped for maple syrup or agave (use a bit more since liquids are less concentrated).
The dough rises fastest in a warm spot—75-80°F is ideal. I turn my oven on low, then off, and let it rise inside. Baked pitas keep 2-3 days in a bread bag. Freeze extras for up to 1 month (reheat in a dry skillet).
Why You’ll Love This Recipe
- Minimal Effort: I mix the flour, water, yeast, and sugar, let it rise, then bake—no fancy techniques needed.
- Warm and Fluffy: That first bite of soft, pillowy pita fresh from the oven? Pure comfort.
- Endless Pairings: I stuff them with falafel, hummus, or even use them as a wrap for leftovers.
- Budget Friendly: Five basic ingredients I always have on hand, and it costs pennies compared to store-bought.
Step-by-Step Instructions for Turkish Pita Bread
Here’s the method. Simple, hands-on, and guaranteed to make perfect pillowy pockets.
Step 1: Activate the Yeast and Start the Dough
In a large bowl, whisk together the 1.25 cups Warm Water, 1 tsp Granulated Sugar, and 2.25 tsp Active Dry Yeast. Let it sit for 5-10 minutes until the mixture becomes frothy and bubbly—this confirms your yeast is alive and ready to work.
Once the yeast is activated, stir in the 2 tbsp Olive Oil and 1.5 tsp Salt. Gradually add the 3.5 cups All-Purpose Flour, one cup at a time, mixing until a shaggy dough forms. This gradual approach prevents lumps and ensures even hydration.
Step 2: Knead Until Smooth and Elastic
Turn the dough out onto a lightly floured surface and knead for 8-10 minutes by hand. You’ll feel the dough transform from sticky to smooth and slightly tacky. If it sticks to your hands, add 1-2 tablespoons of extra flour, but don’t overdo it—too much flour makes for dense pita.
I like to use the heel of my hand to push the dough away, then fold it back over itself. Repeat this motion until the dough springs back when gently pressed. This develops the gluten, which gives your pita its characteristic chew and ability to puff beautifully in the oven.
Step 3: Let the Dough Rise Until Doubled
Lightly oil the bowl, place the dough back inside, and cover it with a clean kitchen towel. Let it rise in a warm, draft-free spot for 1-2 hours or until it has doubled in size. In cooler kitchens, this might take a bit longer—just watch for the dough to puff up like a marshmallow.
To test if it’s ready, poke the dough gently with your finger. If the indentation remains, it needs more time. If it springs back slowly but leaves a slight impression, it’s perfect. This rise is crucial for achieving that airy, pocket-filled texture.
Step 4: Shape and Second Rise
Punch down the dough to release the air, then divide it into 8 equal portions. Roll each piece into a ball and place them on a surface dusted with the 0.25 cup Cornmeal to prevent sticking. Cover with a towel and let them rest for 20-30 minutes.
During this second rise, the dough balls will puff up slightly. Preheat your oven to 475°F during this time so it’s fully hot when you’re ready to bake. The cornmeal not only prevents sticking but also adds a subtle texture to the bottom of your pita.
Step 5: Bake Until Puffed and Golden
Roll each dough ball into a ¼-inch thick circle, about 6 inches in diameter. Place them on a baking sheet dusted with more cornmeal. Bake in the preheated oven for 3-5 minutes until they puff up like balloons and turn light golden brown in spots.
Resist the urge to open the oven door—this can cause the pitas to deflate. Once baked, transfer them to a clean towel and cover to keep them soft. If you like, brush the tops with melted 1 tbsp Vegan Butter for extra richness. Serve warm for the best texture and flavor.
Pro Tips For Making Pita Bread Recipe Turkish
- Check Yeast First: I learned this the hard way—always bloom your active dry yeast in the warm water with sugar for 5-10 minutes before adding flour. If it doesn’t get foamy, your pitas won’t rise.
- Knead Until Smooth: Don’t rush the kneading; aim for 8-10 minutes by hand or 5-6 in a mixer until the dough is silky. Under-kneaded dough makes tough, dense pitas.
- Rest Longer Than You Think: After shaping, let the dough balls rest for at least 30 minutes under a damp towel—this relaxes the gluten so they roll out thin without shrinking back.
- Crank the Heat: Your skillet or griddle needs to be screaming hot, almost smoking, to get that signature puff and blister. Medium heat just won’t cut it.
Essential Equipment for Perfect Results
Baking Sheet Essentials
Invest in a heavy-duty baking sheet—I swear by Nordic Ware half-sheets. Their 18-gauge aluminum distributes heat evenly, preventing hot spots that can burn your pitas. Dark pans absorb more heat, so adjust baking time by 1-2 minutes if using one. 🌡️
Rolling Pin Choice
A French tapered rolling pin gives you precise control for rolling consistent ¼-inch thick circles. For beginners, a pin with handled grips from OXO works well. Dust it with flour between rolls to prevent sticking.
Oven Thermometer
Home ovens often run 25-50°F off their set temperature. A 10-dollar oven thermometer from Taylor Precision ensures your 475°F is accurate. This saves batches from under- or over-baking. Honestly, it changed my baking game.
Dough Scraper
A bench scraper helps divide dough into 8 equal portions and clean your work surface. The Ateco 1303 is my go-to—its stainless steel blade cuts through sticky dough without bending. Also doubles as a perfect 6-inch measuring guide for rolling.
Cooling Rack
Transfer baked pitas to a wire cooling rack to prevent steam from making them soggy. A 3-tier rack from Wilton saves counter space. Cover with a towel to keep warm until serving.
Kitchen Scale
For consistent results, weigh your 3.5 cups All-Purpose Flour—it should be about 420 grams. The Escali Primo scale measures in 0.1-gram increments and has a handy tare function. Precise measurements eliminate guesswork. ✨
Nutrition Facts
Frequently Asked Questions
Why didn’t my pitas puff up in the oven?
This usually happens if the oven isn’t hot enough. Ensure it’s preheated to 475°F. Also, avoid opening the door during baking as it can cause temperature drops. Roll the dough to ¼-inch thickness for best results.
Can I make the dough ahead of time?
Yes! Prepare the dough, let it rise, then store it in the fridge for up to 24 hours. Punch it down and shape as usual, but add 10-15 minutes to the second rise since it’ll be cold.
What’s the best way to store leftover pitas?
Keep them in an airtight container at room temperature for 2-3 days. For longer storage, freeze for up to 1 month. Reheat in a dry skillet or oven to restore softness.
Can I use whole wheat flour instead?
You can substitute up to 50% whole wheat flour, but the texture will be denser. Add 1-2 tablespoons extra water as whole wheat absorbs more liquid. The flavor will be nuttier.

- Potato Candy Recipe 1933: Vintage Peanut Butter Roll Delight - October 30, 2026
- Potato Chip Cookie Recipe With Pecans: Buttery Crunch Meets Nutty Richness - October 30, 2026
- Potato Patty Recipe No Egg: Crispy Edges Without the Binder - October 30, 2026