
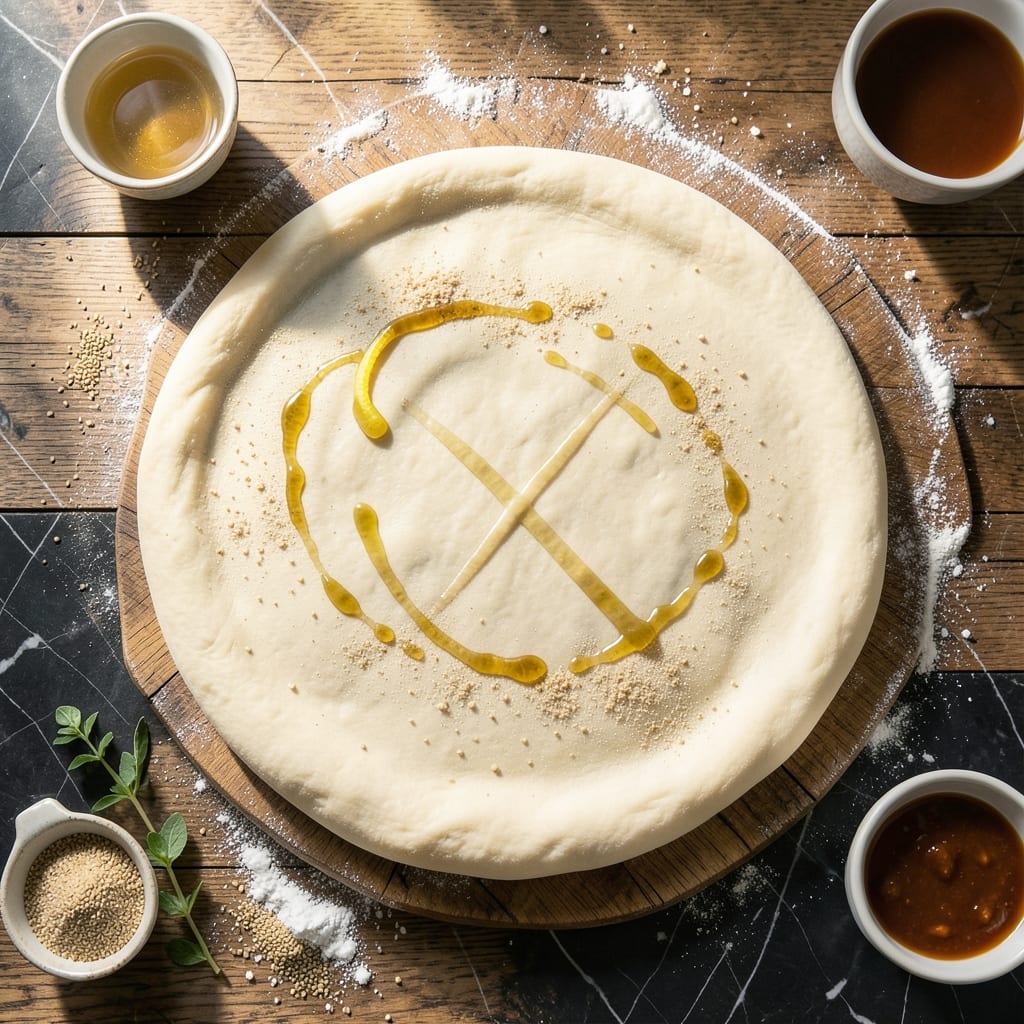
There’s nothing like the satisfaction of pulling a homemade pizza from your own oven with a perfectly golden crust. I learned the foundation of great pizza from my grandmother in Sicily, where the dough was always the star.
This recipe delivers a soft, chewy base that bakes up with just the right amount of crispness. The yeast does most of the work, transforming simple ingredients into something extraordinary with just a little time and patience.
What you’ll achieve is a dough that stretches beautifully, holds toppings without sagging, and bakes to a perfect golden brown. It’s the kind of homemade foundation that makes every pizza night special.
No special equipment needed—just your hands, a bowl, and a little love for the process.
Ingredients for Pizza Base Recipe with Yeast
These simple, quality ingredients make a dough that bakes up golden and chewy every time.
| Ingredient | Amount | Notes |
|---|---|---|
| Bread Flour 🌾 | 3 ½ cups | High-protein for chewy texture |
| Active Dry Yeast 🍞 | 2 ¼ tsp | One standard packet works |
| Granulated Sugar 🍚 | 1 tsp | Feeds the yeast |
| Kosher Salt 🧂 | 1 ½ tsp | Diamond Crystal preferred |
| Extra-Virgin Olive Oil 🫒 | 2 tbsp | For dough and bowl |
| Warm Water 💧 | 1 ¼ cups | 105-110°F for yeast activation |
| Semolina Flour 🌾 | ¼ cup | For dusting work surface |
| All-Purpose Flour 🌾 | ½ cup | For adjusting dough consistency |
| Cornmeal 🌽 | 2 tbsp | For pizza peel dusting |
| Honey 🍯 | ½ tsp | Optional for yeast boost |
The flour matters here—bread flour gives that signature chew, but King Arthur all-purpose works in a pinch. I grab mine from Whole Foods bulk bins (cheaper and fresher). Yeast is non-negotiable: check the date, and if it’s past expiration, toss it. The olive oil should be something you’d actually drizzle on finished pizza—California Olive Ranch is my go-to.
No bread flour? Replace up to half with all-purpose but don’t skip it entirely. Warm water too hot? Let it sit a minute—110°F max. Out of semolina? Cornmeal works for dusting. The honey is optional but helps the yeast along (vegetarians can use it—this recipe is meat-free). If your dough feels sticky, resist adding too much extra flour.
Dough rises best in a warm spot—turn your oven light on. Keeps in the fridge for 2 days or freezes beautifully for 1 month. Portion into balls before storing for easy pizza nights later.
Why You’ll Love This Recipe
- One Bowl Wonder: I just dump the flour, yeast, sugar, salt, and olive oil in a bowl and let the magic happen—no fancy tools required.
- Chewy Perfection: The yeast gives it that airy, elastic bite while the olive oil adds a subtle richness that store-bought bases can’t touch.
- Freezer Friendly: I make a double batch, freeze the extras, and pull one out whenever cravings hit—hot pizza in 10 minutes flat.
- Budget Stretch: A few cents’ worth of flour and yeast turns into multiple meals, and honestly, it tastes better than takeout.
Step-by-Step Instructions for Pizza Base With Yeast
Master these simple techniques and you’ll create a soft, chewy foundation that rivals any pizzeria.
Step 1: Activate the Yeast Properly
In a small bowl, combine the 2.25 tsp Active Dry Yeast, 1 tsp Granulated Sugar, and 0.5 tsp Honey with the 1.25 cups Warm Water. The water should feel warm to the touch but not hot—105-110°F is ideal. Stir gently and let sit for 5-10 minutes until the mixture becomes frothy and cloudy.
This proofing step confirms your yeast is alive and active. If you don’t see bubbles forming, your yeast may be expired or the water was too hot. The sugar and honey give the yeast an immediate food source to kickstart fermentation.
Step 2: Create and Knead the Dough
In a large mixing bowl, combine the 3.5 cups Bread Flour and 1.5 tsp Kosher Salt. Make a well in the center and pour in the proofed yeast mixture along with the 2 tbsp Extra-Virgin Olive Oil. Using a wooden spoon, mix until a shaggy dough forms.
Turn the dough onto a surface dusted with 0.25 cup Semolina Flour. Knead for 8-10 minutes until smooth and elastic. The dough should spring back when pressed lightly. If it feels too sticky, gradually incorporate up to 0.5 cup All-Purpose Flour—but resist adding too much, as this can make your crust dense.
Step 3: First Rise for Optimal Flavor Development
Lightly oil a clean bowl with some of the Extra-Virgin Olive Oil. Place the dough in the bowl, turning to coat all sides. Cover with a damp towel or plastic wrap and let rise in a warm, draft-free place for 1-2 hours or until doubled in size.
I like to place my bowl in an oven that’s been turned off but still retains some warmth from recent use. The dough is ready when it holds an indentation when pressed gently with your finger. This first rise develops the gluten structure and creates those beautiful air pockets in your finished crust.
Step 4: Shape and Second Rise
Punch down the risen dough to release excess air. Divide into 4 equal portions for individual pizzas or leave whole for a large base. On a surface dusted with Semolina Flour, shape each portion into a ball, then use your hands or a rolling pin to form your desired thickness.
Transfer the shaped dough to a surface dusted with 2 tbsp Cornmeal to prevent sticking. Cover and let rest for 30-45 minutes for a second rise. This final rest relaxes the gluten, making it easier to stretch and preventing the dough from shrinking during baking.
Step 5: Pre-Bake for the Perfect Foundation
Preheat your oven to its highest setting, typically 500-550°F, with a pizza stone or inverted baking sheet inside. When ready to bake, transfer your shaped dough to the hot surface. For a crispier crust, pre-bake the base alone for 3-5 minutes before adding toppings.
Look for the edges to just begin turning light golden brown and the surface to appear slightly dry. This pre-baking step ensures your crust cooks through completely without becoming soggy from moist toppings. The cornmeal adds a delightful crunch and prevents sticking.
Pro Tips For Making Pizza Base Recipe With Yeast
- Proof the Yeast: Dissolve the yeast and sugar in warm water (around 110°F) and let it sit for 5-10 minutes until foamy. I learned this the hard way—skipping this step can leave you with a dense, flat base.
- Use Bread Flour: Swap all-purpose for bread flour if you want a chewier, more elastic crust. The higher protein content actually changes the outcome, giving you that classic pizza texture.
- Don’t Rush the Rise: Let the dough rise until doubled, which usually takes 1-2 hours at room temperature. After burning three batches by rushing, I finally figured out patience is the thing that matters most here.
- Oil the Bowl: Coat the rising bowl with about 1 tablespoon of olive oil to prevent sticking and make the dough easier to handle. Sounds weird, but it works—your future self will thank you when cleanup is a breeze.
Essential Equipment for Great pizza base recipe with yeast
Mixing Bowls
A large, sturdy mixing bowl is essential for combining your dough ingredients. I prefer stainless steel for its durability and ease of cleaning. The 5-quart size from Cuisinart gives plenty of room for the dough to rise without overflowing. It’s what I learned with in my grandmother’s kitchen. 💪
Kneading Surface
You’ll need a clean, flat surface for kneading your dough. A wooden cutting board or marble pastry slab works beautifully. I dust mine with semolina flour to prevent sticking. The texture helps grip the dough, making kneading easier and more effective.
Measuring Tools
Precise measurements matter in pizza dough. I use OXO Good Grips measuring cups and spoons for accuracy. For water temperature, a digital instant-read thermometer ensures your water is between 105-110°F. This small investment prevents yeast-killing mistakes.
Dough Scraper
A bench scraper is my secret weapon for handling sticky dough. The Ateco 4-inch model helps divide dough portions cleanly and lifts dough off the counter without tearing. I also use it to clean my work surface between batches.
It’s one of those simple tools that makes the process so much smoother.
Pizza Stone
For that authentic pizzeria crispness, a pizza stone is worth every penny. I recommend the Old Stone Oven rectangular stone, which fits most home ovens. Preheat it for at least 30 minutes before baking to achieve that perfect golden crust.
Rolling Pin
A wooden rolling pin helps achieve even thickness. I prefer the French-style tapered pin without handles for better control. Lightly dust it with semolina flour to prevent sticking as you shape your dough. 🌟
Nutrition Facts
Frequently Asked Questions
Why use bread flour instead of all-purpose?
Bread flour has higher protein content, creating more gluten for a chewier texture. All-purpose works in a pinch but may yield a slightly denser crust. The difference is noticeable in the final bite.
How can I tell when the dough has risen enough?
It should double in size and hold an indentation when pressed lightly with your finger. This usually takes 1-2 hours in a warm spot. Don’t rush this step for best flavor development.
Can I make the dough ahead of time?
Store covered in the fridge for up to 2 days. Let it come to room temperature before shaping. For longer storage, freeze dough balls for up to 1 month.
What if my yeast isn’t bubbling?
Check the water temperature—it should be 105-110°F. If too hot, it kills the yeast. Expired yeast or cold water can also prevent activation. Always test your yeast first.

- Potato Candy Recipe 1933: Vintage Peanut Butter Roll Delight - October 30, 2026
- Potato Chip Cookie Recipe With Pecans: Buttery Crunch Meets Nutty Richness - October 30, 2026
- Potato Patty Recipe No Egg: Crispy Edges Without the Binder - October 30, 2026