
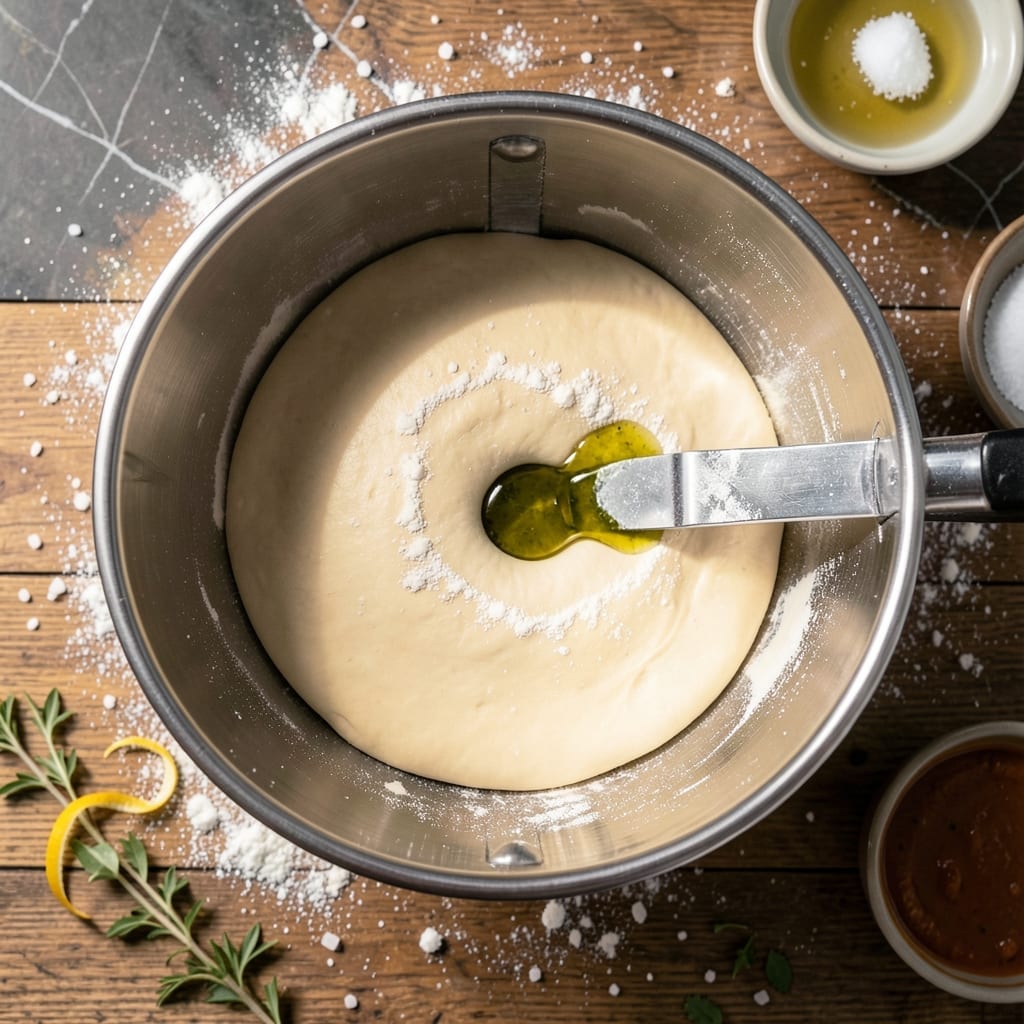
Homemade pizza dough doesn’t need to be complicated or time-consuming. This food processor method simplifies the process while delivering restaurant-quality results with minimal effort.
The key is using the processor’s power to combine and develop the dough in minutes rather than hours. No kneading, no messy countertops—just a smooth, elastic dough ready for shaping and baking.
After a short rest, the dough rises to create a crisp yet chewy crust that bakes up golden and flavorful. It’s the perfect base for any toppings you choose.
This technique ensures consistent texture every time, making it ideal for beginners and seasoned cooks alike.
Ingredients for Pizza Dough Recipe Made in Food Processor
Eight ingredients transform into restaurant-quality dough with your food processor’s help.
| Ingredient | Amount | Notes |
|---|---|---|
| All-Purpose Flour 🌾 | 3 ½ cups | Plus extra for dusting work surface |
| Instant Yeast 🍞 | 2 ¼ tsp | One envelope, active dry works too |
| Fine Sea Salt 🧂 | 2 tsp | Diamond Crystal preferred for consistency |
| Granulated Sugar 🍚 | 2 tsp | Balances yeast activity and flavor |
| Extra-Virgin Olive Oil 🫒 | 2 tbsp | Plus extra for greasing bowl |
| Warm Water 💧 | 1 ¼ cups | 110-115°F for optimal yeast activation |
| Semolina Flour 🌾 | ¼ cup | For dusting peel before shaping |
| Cornmeal 🌽 | 2 tbsp | Optional for crispier crust bottom |
The flour is foundational—King Arthur or Gold Medal all-purpose deliver consistent protein content (11-12%) for ideal texture. Instant yeast from SAF or Fleischmann’s dissolves effortlessly in warm water. For the olive oil, California Olive Ranch or Filippo Berio offer reliable quality at accessible price points. Fine sea salt ensures even distribution, crucial for flavor development throughout the dough.
No instant yeast? Active dry yeast requires proofing in warm water with sugar first. Swap semolina for bread flour if needed (texture remains similar). Vegetable oil can replace olive oil in a pinch, though flavor depth diminishes. For sweeter dough, increase sugar to 1 tbsp. The warm water must not exceed 120°F—use a thermometer for precision to avoid killing the yeast.
Store flour in airtight containers for 6-12 months. Yeast keeps in the freezer for up to 1 year (or refrigerator for 4 months). Prepared dough can rest overnight in the fridge for enhanced flavor development. Bring all ingredients to room temperature before processing for optimal gluten formation.
Why You’ll Love This Recipe
- No-Fuss Mixing: The food processor does all the kneading in seconds—no sticky counters or tired arms, just smooth dough ready for rising.
- Rich, Balanced Flavor: That touch of olive oil and sugar gives it a subtle sweetness and golden crust, while the sea salt keeps it perfectly savory.
- Weeknight Hero: I throw this together after work and we’re eating homemade pizza by 7. Yes, even on a Tuesday night.
- Budget Stretch: A few pantry staples and 10 minutes of active time yield enough dough for two pizzas—way cheaper than delivery.
Step-by-Step Instructions for Pizza Dough Made in Food Processor
This streamlined method delivers perfect dough with minimal effort and maximum consistency.
Step 1: Combine Dry Ingredients in Food Processor
Fit your food processor with the dough blade. Add the 3.5 cups All-Purpose Flour, 2.25 tsp Instant Yeast, 2 tsp Fine Sea Salt, and 2 tsp Granulated Sugar to the bowl. Pulse for 3-4 times until the mixture is uniformly combined.
You’ll see the dry ingredients transform from distinct components into a homogeneous blend. This ensures the yeast, salt, and sugar are evenly distributed throughout the flour, which is critical for consistent rising and flavor development.
Step 2: Add Wet Ingredients and Process
With the processor running, pour the 2 tbsp Extra-Virgin Olive Oil through the feed tube, followed by the 1.25 cups Warm Water in a steady stream. Process for 30-45 seconds until the mixture forms a rough, shaggy ball.
The dough should pull away from the sides of the bowl and form a cohesive mass around the blade. Stop the processor and let the dough rest for 2 minutes. This brief pause allows the flour to fully hydrate before the final mixing stage.
Step 3: Knead Briefly for Smooth Elastic Dough
Process the dough for another 20-30 seconds until it becomes smooth and elastic. The dough should be tacky but not sticky, and it should spring back slightly when pressed.
If the dough feels too wet, add all-purpose flour, 1 tablespoon at a time, and pulse to incorporate. Conversely, if it seems dry, add warm water, 1 tablespoon at a time. The texture should resemble soft Play-Doh when ready.
Step 4: First Rise in Greased Bowl
Lightly oil a large mixing bowl with extra-virgin olive oil. Transfer the dough to the bowl, turning it once to ensure it is fully coated in oil. Cover the bowl with a clean kitchen towel or plastic wrap.
Let the dough rise in a warm, draft-free area for 1-1.5 hours, or until it has doubled in volume. You’ll know it’s ready when the dough springs back slowly when gently pressed with your finger, leaving a slight indentation.
Step 5: Shape and Prepare for Second Rise
Turn the risen dough onto a surface lightly dusted with the 0.25 cup Semolina Flour. Divide the dough into 4 equal portions for individual pizzas. Shape each portion into a smooth ball by gently tucking the edges underneath.
Place the dough balls on a baking sheet dusted with the 2 tbsp Cornmeal to prevent sticking. Cover loosely and let them rise for another 30-45 minutes until puffy. The dough is now ready to be stretched and topped.
Pro Tips For Making Pizza Dough Recipe Made In Food Processor
- Pulse, Don’t Blend: Use short pulses in the food processor to combine the flour and wet ingredients—over-processing develops too much gluten, making the dough tough. I learned this the hard way after my first few pizzas came out chewy like breadsticks.
- Warm the Bowl: Before adding the olive oil and water, rinse your food processor bowl with warm water and dry it quickly. This keeps the yeast active and helps the dough rise more evenly.
- Skip Cold Flour: Let your all-purpose flour sit at room temperature for 30 minutes before starting. Cold flour can slow yeast activation, and your dough might not double properly.
- Oil the Blade: After the dough comes together, drizzle a teaspoon of olive oil around the blade before letting it rest in the processor. This prevents sticking and makes cleanup much easier—I stopped fighting with stuck dough years ago.
Flavor Customization for This Recipe
Herb-Infused Dough
Add 2 tbsp chopped fresh rosemary or 1 tbsp dried Italian seasoning to the dry ingredients before processing. The herbs release aromatic oils during mixing, infusing the dough with subtle earthy notes. I love how this elevates a simple Margherita pizza. 🌿
Garlic Lovers’ Twist
Mix 3 minced garlic cloves or 1 tbsp garlic powder into the flour before adding wet ingredients. The heat from processing mellows the garlic’s bite while distributing it evenly. This pairs wonderfully with tomato-based sauces.
Cheesy Crust
Incorporate ½ cup grated Parmesan or ¼ cup powdered Parmesan during the final 20-30 seconds of processing. The cheese melts into the dough, creating a rich, savory base. Use Kraft or BelGioioso for consistent results.
Spicy Kick
For heat, add 1 tsp red pepper flakes or ½ tsp cayenne to the dry mix. The spice subtly builds as the dough bakes, complementing bold toppings like pepperoni or sausage. Adjust to taste—I prefer a milder kick. 🔥
Sweet Dough
Increase the granulated sugar to 3 tbsp for a lightly sweetened base, ideal for dessert pizzas. This works well with cinnamon sugar or Nutella toppings. The extra sugar also aids in browning.
Whole Wheat Blend
Replace 1 cup all-purpose flour with whole wheat flour for a nuttier, heartier crust. Add 1 extra tbsp water to compensate for the denser flour. The texture remains tender with a slight chew.
Nutrition Facts
Frequently Asked Questions
Do I need a special blade for the food processor?
Use the dough blade if your processor has one—it’s designed for kneading. If not, the standard blade works fine, though the dough may stick slightly more.
Why does the dough need to rest before the final knead?
The 2-minute rest lets the flour fully absorb the liquid, ensuring even hydration. This prevents dry spots and creates a smoother, more elastic texture.
Can I make this dough ahead of time?
After the first rise, refrigerate the dough in an airtight container for up to 48 hours. The cold ferment enhances flavor development.
What if my dough doesn’t double in size?
Check your yeast freshness and water temperature (110-115°F). If the room is cold, place the bowl near a warm spot (like an oven with the light on) to encourage rising.

- Potato Candy Recipe 1933: Vintage Peanut Butter Roll Delight - October 30, 2026
- Potato Chip Cookie Recipe With Pecans: Buttery Crunch Meets Nutty Richness - October 30, 2026
- Potato Patty Recipe No Egg: Crispy Edges Without the Binder - October 30, 2026