
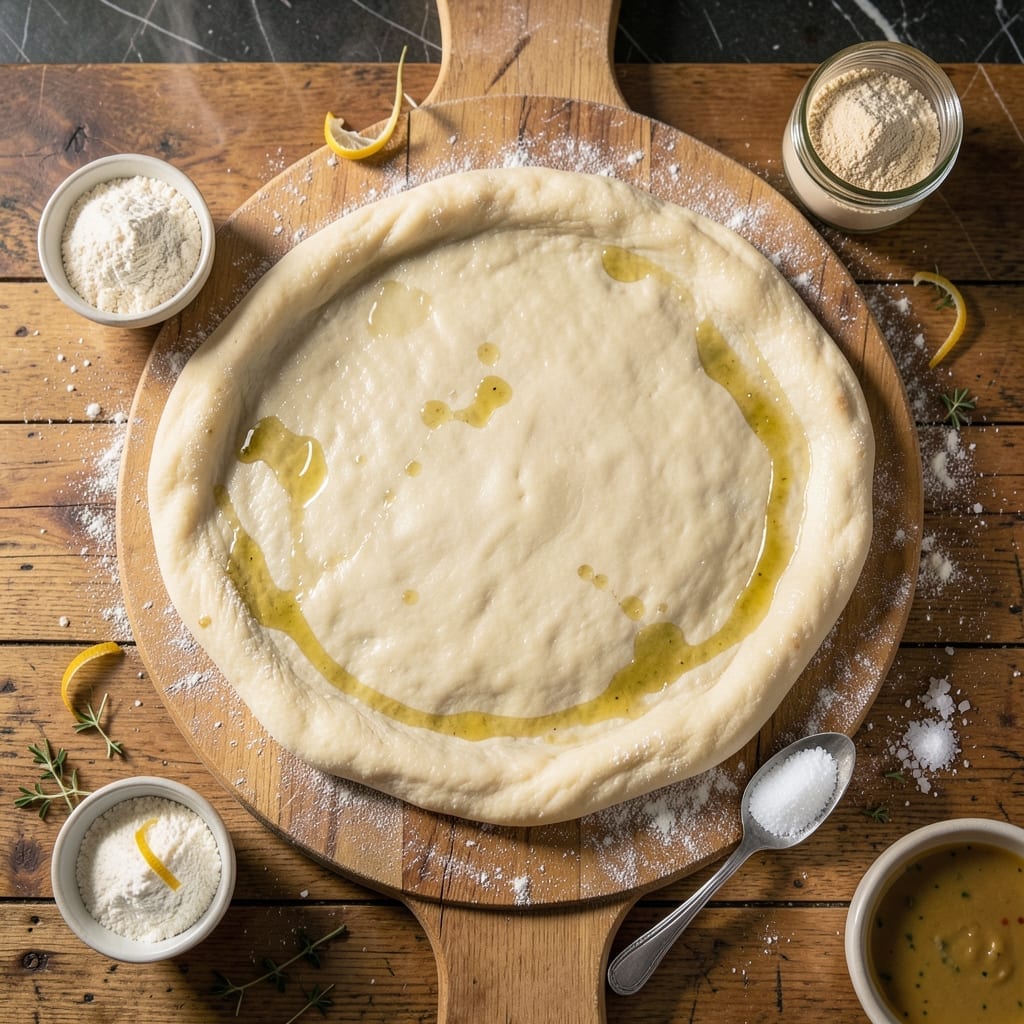
Achieving crispy, artisan-style pizza at home starts with mastering the dough and baking it on a stone. This method delivers the perfect balance of chewy interior and shatteringly thin crust that defines authentic pizzeria pies.
The key lies in a slow-fermented dough and a preheated pizza stone that mimics a professional brick oven. At 475°F, the stone radiates intense heat, creating that signature char and bubble on the crust while cooking the toppings to perfection.
I developed this technique after years of experimenting with hydration levels and baking times. The result is a crust that holds up to generous toppings without becoming soggy, with just the right amount of chew and crunch in every bite.
This approach requires patience but rewards with restaurant-quality results. The stone retains heat evenly, ensuring consistent baking from the first pie to the last.
Ingredients for Pizza Dough Recipe Stone Bake
Ten ingredients transform into restaurant-quality pizza dough ready for stone baking.
| Ingredient | Amount | Notes |
|---|---|---|
| Bread Flour 🌾 | 3 ½ cups | High-protein for chewy texture |
| Active Dry Yeast 🍞 | 2 ¼ tsp | One packet, proofed in warm water |
| Kosher Salt 🧂 | 2 tsp | Diamond Crystal preferred |
| Granulated Sugar 🍚 | 1 tsp | Feeds yeast for activation |
| Extra-Virgin Olive Oil 🫒 | 2 tbsp | For dough elasticity |
| Warm Water 💧 | 1 ½ cups | 110°F to 115°F |
| Semolina Flour 🌾 | ¼ cup | For dusting pizza peel |
| All-Purpose Flour 🌾 | ½ cup | For surface dusting |
| Cornmeal 🌽 | ¼ cup | Prevents sticking to stone |
| Honey 🍯 | 1 tsp | Optional, enhances yeast activity |
The flour is non-negotiable here. King Arthur Bread Flour delivers consistent protein content (12.7%) for that chewy interior. Bob’s Red Mill works too, but check the label—protein varies by batch. Yeast must be fresh; test it in warm water with sugar first. If it doesn’t foam within 5-10 minutes, start over. The olive oil should be high-quality extra-virgin—it’s a flavor carrier, not just a fat.
No bread flour? All-purpose plus 1 tbsp vital wheat gluten per cup mimics the protein. Out of semolina? Fine cornmeal does the same peel-dusting job. Honey can be swapped for sugar at a 1:1 ratio if avoiding bee products. The salt must be kosher or sea salt—iodized table salt tastes metallic in dough. For emergency rises, warm the oven to 200°F, turn it off, and let dough proof inside.
Dough keeps in the fridge for 3 days (flavor improves daily) or freezes for 3 months. Portion into balls before freezing—thaw overnight in the fridge. Stone-baked pizzas taste best fresh, but reheat slices on the stone at 400°F for 5 minutes to revive crispness.
Why You’ll Love This Recipe
- Five Ingredients Only: I love that this dough comes together with just bread flour, yeast, salt, sugar, and olive oil—no fancy shopping required.
- Crispy Stone-Baked Edge: That golden, slightly charred crust from the stone oven makes every bite feel like it’s straight from a pizzeria.
- Endless Topping Fun: Honestly, it’s my blank canvas for whatever I’m craving—margherita one night, loaded veggies the next.
- Makes Extra Dough: I always double the batch, bake one pizza now, and freeze the rest for a lazy night later.
Step-by-Step Instructions for Pizza Dough Stone Bake
Master these techniques for a perfectly crisp crust with professional artisan texture.
Step 1: Activate the Yeast and Mix the Dough
In a small bowl, combine the 1.5 cups warm water with the 2.25 tsp active dry yeast, 1 tsp granulated sugar, and 1 tsp honey. Let this sit for 5-10 minutes until the mixture becomes foamy and cloudy—this confirms the yeast is active and ready to work.
In a large mixing bowl, combine the 3.5 cups bread flour and 2 tsp kosher salt. Create a well in the center and pour in the yeast mixture along with the 2 tbsp extra-virgin olive oil. Use a wooden spoon to stir until a shaggy dough forms. The dough will be sticky at this stage, which is exactly what you want.
Step 2: Knead to Develop Gluten Structure
Turn the dough out onto a lightly floured surface—use some of the 0.5 cup all-purpose flour reserved for dusting. Knead the dough for 8-10 minutes by hand, pushing it away with the heel of your hand, folding it over, and rotating a quarter turn each time.
You’ll notice the dough transforms from sticky and rough to smooth and elastic. This process develops the gluten network that gives your crust its signature chew. The dough is ready when it springs back slowly when poked with a finger. If it’s too sticky, add a bit more all-purpose flour, but be sparing—too much will make the crust tough.
Step 3: First Rise for Flavor Development
Lightly oil a large bowl with some of the extra-virgin olive oil, place the dough inside, and turn it to coat all sides. Cover the bowl with a damp kitchen towel or plastic wrap and let it rise in a warm, draft-free area for 1.5 to 2 hours, or until doubled in size.
This first rise allows the yeast to ferment the sugars, creating air pockets that will give your crust its light, airy texture. The dough should look puffy and jiggle slightly when gently shaken. If your kitchen is cool, place the bowl near a warm spot (like on top of the refrigerator) to speed up the process.
Step 4: Shape and Second Rise for Perfect Texture
Punch down the dough to release the air, then divide it into 4 equal portions for individual pizzas. Shape each portion into a smooth ball by tucking the edges underneath and rolling it on the counter. Place the balls on a surface dusted with the 0.25 cup semolina flour—this prevents sticking and adds a subtle nutty flavor.
Cover the dough balls with a towel and let them rest for another 30-45 minutes. This second rise relaxes the gluten, making the dough easier to stretch without springing back. You’ll know they’re ready when they’ve puffed up slightly and feel soft to the touch.
Step 5: Prepare for Stone Baking and Final Stretch
Preheat your pizza stone in the oven at 500°F for at least 1 hour to ensure it’s thoroughly heated. Dust your pizza peel with the 0.25 cup cornmeal to prevent the dough from sticking when you transfer it to the stone.
Stretch one dough ball at a time on a lightly floured surface, working from the center outward while leaving a slightly thicker rim for the crust. The dough should be thin enough to see light through it when held up, but not so thin that it tears. Transfer the stretched dough to the cornmeal-dusted peel and add your toppings sparingly to avoid a soggy crust.
Pro Tips For Making Pizza Dough Recipe Stone Bake
- Proof in Warmth: Let the dough rise in a barely warm oven (80-85°F) with the light on—I learned this the hard way after too many cold-kitchen failures left me with dense crusts.
- Weigh the Flour: Skip the measuring cups and use a scale for the bread flour (about 13 oz per 3 cups). My grandmother swore by this, and she was right: it’s the only way to guarantee consistent texture.
- Skip the Rush: Resist the urge to punch down the dough too early—give it a full 1.5-2 hours to double in size, even if it looks ready sooner. Sounds weird, but it works: the extra time develops flavor you can taste.
- Oil the Stone: Brush your pizza stone with about 1 tablespoon of extra-virgin olive oil before stretching the dough on it. I was skeptical until I tried it, but it prevents sticking and adds a subtle crispness to the bottom crust.
Pro Cooking Tips for pizza dough recipe stone bake
Stone Preheating
Your pizza stone must be screaming hot—preheat it at 500°F for at least 1 hour. I place mine on the middle rack with the oven empty for even heat distribution. A properly heated stone ensures the crust starts cooking immediately, preventing sogginess.
Dough Stretching
Stretch the dough by hand, never with a rolling pin, to maintain air pockets. Start from the center, pushing outward while rotating the dough. Aim for ¼-inch thickness with a slightly thicker rim. If it resists, let it rest 5 minutes before trying again.
Peel Preparation
Dust your peel generously with cornmeal or semolina flour to prevent sticking. I use a wooden peel for its natural non-stick properties. Test by shaking the peel—if the dough slides easily, you’re ready to add toppings.
Topping Strategy
Less is more with stone-baked pizza. Use ½ cup sauce max and 1½ cups cheese per pie. Too many toppings create steam, which makes the crust soggy. Distribute toppings evenly to avoid uneven cooking.
Baking Technique
Slide the pizza onto the stone with a quick, confident motion. Bake for 8-10 minutes until the crust is golden and cheese bubbles. Rotate the pizza 180° halfway for even cooking. I check the underside with a metal spatula for doneness.
Cooling and Serving
Let the pizza rest on a wire rack for 2-3 minutes before slicing. This allows the cheese to set and crust to crisp further. Use a pizza wheel for clean cuts. Serve immediately for the best texture. 🔥
Nutrition Facts
Frequently Asked Questions
How long should I preheat the stone?
Preheat your stone at 500°F for at least 1 hour to ensure even heat distribution. This mimics a professional oven and prevents a soggy crust.
Why does my dough keep shrinking when I stretch it?
Let the dough rest 5 minutes if it resists stretching. This relaxes the gluten, making it easier to shape without springing back.
Can I use all-purpose flour instead of bread flour?
Yes, but add 1 tbsp vital wheat gluten per cup to match the protein content. Bread flour is ideal for that chewy texture.
What’s the best way to transfer pizza to the stone?
Dust your peel with cornmeal and shake the pizza gently to ensure it slides off easily. A quick, confident motion works best.

- Potato Candy Recipe 1933: Vintage Peanut Butter Roll Delight - October 30, 2026
- Potato Chip Cookie Recipe With Pecans: Buttery Crunch Meets Nutty Richness - October 30, 2026
- Potato Patty Recipe No Egg: Crispy Edges Without the Binder - October 30, 2026