
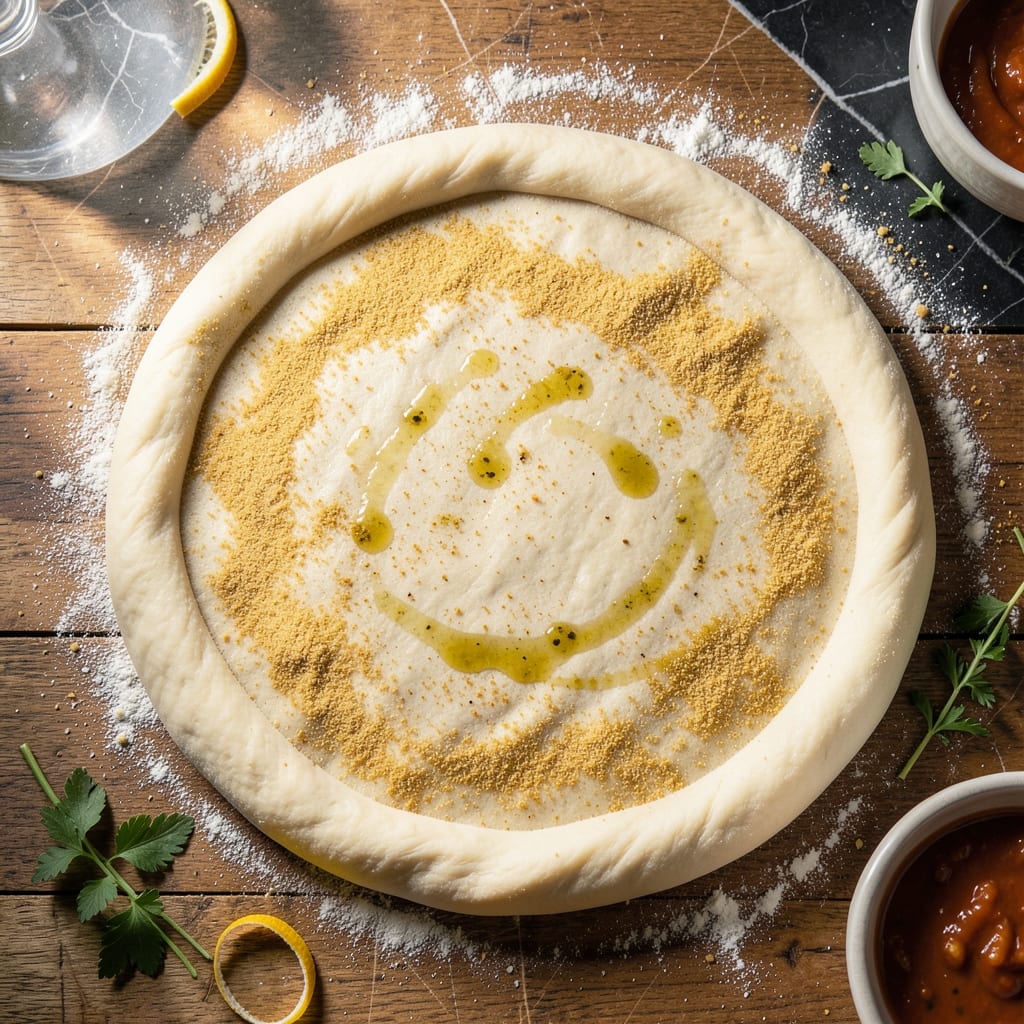
This semolina-based pizza dough delivers the crisp, chewy foundation that wood-fired pizzerias are known for. The coarse grind of semolina adds texture and a subtle nuttiness that elevates the crust above standard flour versions.
I developed this recipe after years of experimenting with different flours, seeking that perfect balance of snap and chew. The semolina creates a sturdy yet airy base that holds up to hearty toppings without turning soggy.
The dough comes together with a simple mix of ingredients and a 1-hour rise, making it practical for weeknight pizzas. It handles beautifully, rolling out thin without tearing, and bakes to a golden, crisp finish.
Whether using a pizza stone or a standard baking sheet, this dough consistently produces professional-quality results in a home kitchen.
Ingredients for Pizza Dough Recipe with Semolina Flour
A few pantry staples plus semolina create this restaurant-quality pizza dough base.
| Ingredient | Amount | Notes |
|---|---|---|
| Semolina Flour 🌾 | 1 cup | Coarse grind, not fine |
| Bread Flour 🌾 | 2 ½ cups | High-protein for structure |
| Active Dry Yeast 🍞 | 1 tsp | Instant yeast works too |
| Kosher Salt 🧂 | 1 ½ tsp | Diamond Crystal preferred |
| Granulated Sugar 🍚 | 1 tsp | Feeds the yeast |
| Extra-Virgin Olive Oil 🫒 | 2 tbsp | For richness and elasticity |
| Lukewarm Water 💧 | 1 ¼ cups | 110-115°F, not hot |
| Cornmeal 🌽 | ¼ cup | For dusting, prevents sticking |
| All-Purpose Flour 🌾 | ¼ cup | For dusting work surface |
| Honey 🍯 | ½ tsp | Optional, enhances browning |
The semolina is non-negotiable here. Bob’s Red Mill or Caputo brands offer the ideal coarse grind that delivers that signature texture and nutty depth. Bread flour provides the necessary gluten for structure—King Arthur is a reliable choice. Yeast freshness matters; check the expiration date, or test it in warm water with a pinch of sugar to confirm it’s active before committing to the full batch.
No bread flour? All-purpose flour plus vital wheat gluten (1 tbsp per cup of flour) can substitute, though the crust won’t be quite as chewy. Semolina can’t be swapped without losing the defining characteristic, but fine cornmeal at half the amount adds a similar grit. For a richer flavor, cold-pressed olive oil is worth the splurge—avoid anything labeled “light” or “refined.”
The dough balls freeze beautifully for up to 3 months—wrap each tightly in plastic, then store in a zip-top bag. Thaw overnight in the fridge. Prepared dough keeps in the refrigerator for 2-3 days, developing more flavor the longer it rests. Always bring to room temperature before shaping for best results.
Why You’ll Love This Recipe
- Five-Minute Mix: I just dump, stir, and let the yeast do its thing—no fancy steps, no stress.
- Crispy Chewy Magic: Semolina gives the crust this little bite, while bread flour keeps it light and airy.
- Freezer Friendly: I always double the batch and freeze half for those last-minute pizza cravings.
- Budget Stretch: A bag of semolina and bread flour costs pennies and makes enough dough for four pizzas.
Step-by-Step Instructions for Pizza Dough With Semolina Flour
Master the technique for a perfectly textured dough with wood-fired flavor and professional results.
Step 1: Activate the Yeast Mixture
In a small bowl, combine the 1.25 cups lukewarm water with the 1 tsp granulated sugar and 1 tsp active dry yeast. The water should be between 110-115°F—too hot will kill the yeast, too cold will slow activation.
Let the mixture sit undisturbed for 5-10 minutes until it becomes frothy and slightly domed. This visual confirmation ensures the yeast is alive and ready to leaven your dough. I always check for tiny bubbles forming at the surface—that’s your sign to proceed.
For enhanced browning, stir in the 0.5 tsp honey at this stage. The sugar caramelizes during baking, adding depth to the crust’s color and flavor.
Step 2: Combine Dry Ingredients and Create the Dough
In a large mixing bowl, whisk together the 1 cup semolina flour, 2.5 cups bread flour, and 1.5 tsp kosher salt. The semolina adds texture, while the high-protein bread flour provides the necessary structure for a chewy crumb.
Make a well in the center and pour in the yeast mixture and 2 tbsp extra-virgin olive oil. Using a wooden spoon or dough whisk, mix until a shaggy dough forms. The olive oil enriches the dough, contributing to its elasticity and flavor.
At this point, the dough should be sticky but cohesive. If it feels too wet, resist the urge to add more flour—trust the process, as the hydration will balance during kneading.
Step 3: Knead to Develop Gluten Structure
Turn the dough onto a surface lightly dusted with 0.25 cup all-purpose flour. Knead for 8-10 minutes by hand, using the heel of your hand to push the dough away, then fold it back over itself. The dough will transform from rough and sticky to smooth and elastic.
You’ll know the gluten has developed sufficiently when the dough passes the windowpane test: stretch a small piece thinly between your fingers—it should be translucent enough to see light through without tearing. This step is non-negotiable for achieving the right texture.
If the dough resists stretching or tears, continue kneading for another 2-3 minutes. The semolina’s coarse texture means it may take slightly longer to fully hydrate.
Step 4: First Rise for Flavor Development
Lightly oil a clean bowl with a small amount of the extra-virgin olive oil. Place the dough in the bowl, turning to coat all sides. Cover with a damp kitchen towel or plastic wrap.
Let the dough rise in a warm, draft-free place for 1 to 1.5 hours, or until it has doubled in volume. The ideal environment is around 75-80°F—I often use a turned-off oven with the light on to create this condition.
Press your finger gently into the risen dough. If the indentation remains, the dough is ready. If it springs back quickly, allow more time for rising.
Step 5: Divide, Shape, and Second Rise
Punch down the dough to release air, then turn it onto a surface dusted with 0.25 cup cornmeal. The cornmeal prevents sticking and adds a subtle crunch to the finished crust.
Divide the dough into 4 equal portions for individual pizzas. Shape each into a tight ball by tucking the edges under, then pinch the bottom to seal. This creates surface tension for an even rise.
Place the dough balls on a baking sheet dusted with more cornmeal. Cover loosely and let rest for 30-60 minutes until slightly puffed. They’re now ready to be stretched, topped, and baked into a crisp, chewy masterpiece.
Pro Tips For Making Pizza Dough Recipe With Semolina Flour
- Hydrate the Semolina: Mix the semolina flour with warm water first and let it sit for 10 minutes—it softens the gritty texture and prevents a dense crust.
- Proof in Warmth: Place your dough in a turned-off oven with a bowl of boiling water for the rise; semolina-heavy dough needs consistent warmth to double properly.
- Skip Cold Water: Active dry yeast wakes up faster in water around 110°F—any colder and your semolina dough may take forever to rise.
- Add Bread Flour Last: Start with semolina and just enough bread flour to bring the dough together, then adjust; too much bread flour upfront makes the crust tough instead of crisp.
Troubleshooting Perfect Results
Dough Too Dense
If your dough feels heavy and compact after rising, the yeast may have been inactive. Always check your yeast’s expiration date—I learned this the hard way after a failed batch. The water temperature should be 110-115°F; too hot kills the yeast, too cold slows activation. 🌡️
Tearing When Stretching
Tearing often means the gluten didn’t develop fully during kneading. The dough needs 8-10 minutes of hand-kneading to pass the windowpane test. If it still resists, let it rest for 15-20 minutes before trying again—this relaxes the gluten strands.
Dough Won’t Rise
Check your rising environment. The ideal temperature is 75-80°F. I use my oven with the light on for consistent warmth. If it’s too cold, the dough may take 2-3 hours to double. Also, ensure your bowl is large enough—dough needs room to expand.
Overly Sticky Dough
Semolina absorbs liquid differently than regular flour. If your dough is unmanageably sticky, add 1-2 tbsp bread flour at a time during kneading. Avoid adding too much at once, or you’ll end up with a tough crust. Trust the process—it should be slightly tacky.
Crust Too Thick
Thickness issues usually happen during shaping. Use your fingertips to press from the center outward, leaving a ½-inch border for the crust. If it springs back, let it rest for 5-10 minutes before trying again. My grandmother always said, “Patience makes the crust.”
Bland Flavor
Semolina’s nutty taste should shine, but if it’s lacking, try adding ½ tsp honey to the yeast mixture for depth. Also, a longer 2-hour rise develops more flavor. I’ve found that using cold-pressed olive oil instead of regular makes a noticeable difference.
Nutrition Facts
Frequently Asked Questions
Why use semolina instead of regular flour?
Semolina adds a coarse texture and nutty flavor that all-purpose flour can’t match. It creates a crispier, more durable crust that holds up to toppings better. The coarse grind also helps prevent sogginess under saucy toppings.
Can I make this dough ahead of time?
The dough balls freeze well for up to 3 months wrapped tightly. For shorter storage, keep in the fridge for 2-3 days—it actually develops more flavor the longer it rests. Always bring to room temperature before stretching.
What if my dough tears when stretching?
This usually means the gluten needs more development. Knead for the full 8-10 minutes until smooth. If it still resists, let it rest for 15-20 minutes to relax the gluten strands before trying again.

- Potato Candy Recipe 1933: Vintage Peanut Butter Roll Delight - October 30, 2026
- Potato Chip Cookie Recipe With Pecans: Buttery Crunch Meets Nutty Richness - October 30, 2026
- Potato Patty Recipe No Egg: Crispy Edges Without the Binder - October 30, 2026