
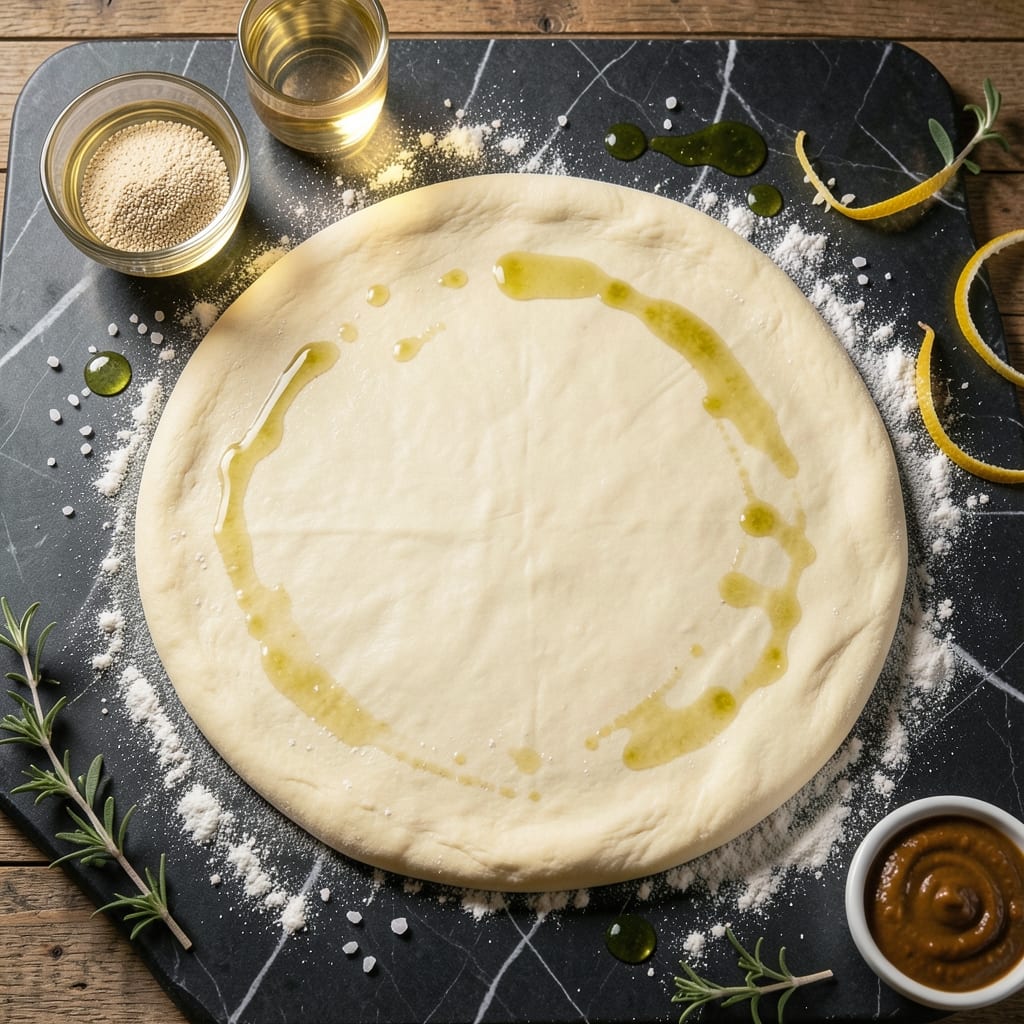
This recipe delivers a 12-inch pizza base with the ideal balance of chew and crisp. The dough develops flavor through a slow fermentation process that creates air pockets for a light, airy texture.
With just 5 basic ingredients and 24 hours of rise time, you’ll achieve a crust that bakes up golden with a satisfying bite. The key is using high-protein flour for structure and olive oil for tenderness.
After baking, the edge puffs into a golden rim while the center stays soft enough to fold. This method ensures consistent results, whether you’re making your first pizza or your hundredth.
Perfect for classic Margherita or loaded with your favorite toppings. The dough freezes well for future use.
Ingredients for Pizza Dough Recipe for 12 Inch Pizza
Five basic ingredients yield a perfect 12-inch pizza crust with chew and crisp.
| Ingredient | Amount | Notes |
|---|---|---|
| Bread Flour 🌾 | 3 ½ cups | High-protein for chewy texture |
| Active Dry Yeast 🍞 | ½ tsp | One packet, proofed in warm water |
| Sea Salt 🧂 | 1 ½ tsp | Fine grain for even distribution |
| Olive Oil 🫒 | 2 tbsp | Extra-virgin for richness |
| Warm Water 💧 | 1 ½ cups | 105-110°F for yeast activation |
The flour is non-negotiable here. King Arthur Bread Flour or Bob’s Red Mill give you the protein content needed for that chewy bite—look for at least 12% protein on the label (it’s usually printed near the nutrition info). I grab mine from Whole Foods in bulk, but any grocery store with a baking aisle will have options. Avoid all-purpose if you can; the lower protein means less structure and a floppier crust.
No bread flour? All-purpose plus 1 tbsp vital wheat gluten per cup gets you close. Out of olive oil? Avocado oil works, but lacks that fruity depth. The yeast can be instant or active dry—just adjust the proofing time (instant skips the bloom, active dry needs the warm water wake-up). Warm water too hot? It’ll kill the yeast (above 115°F is the danger zone).
Dough balls freeze beautifully for up to 3 months—just thaw overnight in the fridge. Once mixed, the dough keeps in the fridge for 3 days (it’ll keep fermenting, which is great for flavor). Bring to room temp before shaping for easiest handling.
Why You’ll Love This Recipe
- One Bowl Wonder: I just dump the bread flour, yeast, salt, olive oil, and warm water in a single bowl—no fancy equipment, no mess.
- Crisp Yet Chewy: That bread flour gives it the perfect bite, while the olive oil adds a subtle richness that makes it irresistible.
- Endless Toppings: I’ve used this dough for everything from classic margherita to loaded veggie—it holds up to any combination I throw at it.
- Budget Stretch: Honestly, making my own dough costs pennies compared to store-bought, and I get two pizzas out of one batch.
Step-by-Step Instructions for Pizza Dough for 12 Inch Pizza
This method guarantees a chewy, airy crust with that coveted golden edge every time.
Step 1: Activate the Yeast in Warm Water
Begin by combining the 0.5 tsp Active Dry Yeast with the 1.5 cups Warm Water in a large mixing bowl. The water should be 105-110°F—warm enough to activate the yeast but not so hot it kills it. Let this mixture sit for 5-7 minutes until it becomes frothy and slightly bubbly.
This proofing step is crucial. If the yeast doesn’t foam, it’s likely expired or the water was too hot or cold. You should see a distinct layer of bubbles forming on the surface, signaling that the yeast is alive and ready to work its magic in your dough.
Step 2: Combine Dry Ingredients and Wet Mixture
In a separate bowl, whisk together the 3.5 cups Bread Flour and 1.5 tsp Sea Salt. The bread flour’s higher protein content is what gives your crust that satisfying chew. Make a well in the center and pour in the yeast mixture along with the 2 tbsp Olive Oil.
Using a wooden spoon, gradually incorporate the flour into the wet ingredients until a shaggy dough forms. This initial mixing develops the gluten structure that will give your crust its strength and elasticity. Don’t worry about getting every last bit of flour—you’ll work it in during kneading.
Step 3: Knead Until Smooth and Elastic
Turn the dough out onto a lightly floured surface and begin kneading. Push the dough away with the heel of your hand, then fold it back over itself. Continue this motion for 8-10 minutes until the dough becomes smooth, elastic, and slightly tacky to the touch.
You’ll know it’s ready when you can stretch a small piece thin enough to see light through it without tearing—this is the “windowpane test.” The dough should spring back slowly when pressed with your finger. If it’s too sticky, add a dusting of flour; if too dry, wet your hands slightly.
Step 4: First Rise Until Doubled in Size
Shape the dough into a ball and place it in a lightly oiled bowl, turning to coat all sides. Cover with a damp kitchen towel or plastic wrap and let it rise in a warm, draft-free place for 1-2 hours or until doubled in volume.
The dough should look puffy and jiggle slightly when you gently shake the bowl. This first rise develops flavor and texture. If your kitchen is cool, you might need the full 2 hours. Don’t rush this step—patience here means better flavor and texture in your final crust.
Step 5: Shape, Second Rise, and Prepare for Baking
Punch down the risen dough to release the air, then turn it out onto a lightly floured surface. Divide the dough into 4 equal portions for 12-inch pizzas. Shape each portion into a ball and let them rest, covered, for 15-20 minutes.
After resting, gently stretch each ball into a 12-inch round on a floured surface. The dough should be thin in the center with a slightly thicker edge for the crust. Let the shaped dough rest for another 10 minutes before adding toppings and baking. This final rest relaxes the gluten, making the dough easier to shape and preventing it from shrinking during baking.
Pro Tips For Making Pizza Dough Recipe For 12 Inch Pizza
- Proof the Yeast: Always activate your dry yeast in warm water (105-110°F) with a pinch of sugar first—I learned this the hard way after a few flat, sad pizzas. If it doesn’t foam in 5-10 minutes, toss it and start over.
- Use Bread Flour: Skip all-purpose flour; bread flour’s higher protein content gives that chewy, elastic texture you want for a 12-inch crust. My grandmother swore by this, and she was right.
- Don’t Over-Knead: Mix just until the dough comes together, then let the gluten develop during the rise. Overworking it makes the crust tough—sounds weird, but it works.
- Oil the Bowl: Coat your rising bowl with about 1 tablespoon of olive oil before adding the dough to prevent sticking and make punching it down later a breeze. I was skeptical until I tried it.
Serving Suggestions for This Dish
Classic Presentation
For a traditional look, keep it simple with San Marzano tomato sauce, fresh mozzarella, and basil leaves. The golden edge will shine against these classic toppings. I always add a drizzle of extra-virgin olive oil right before serving for extra richness. 💛
Gourmet Toppings
Elevate your pizza with prosciutto, arugula, and shaved Parmigiano-Reggiano. Add these after baking to preserve their delicate textures. The salty prosciutto pairs beautifully with the chewy crust.
Family-Style Serving
Cut into 8 equal slices for easy sharing. Use a pizza wheel for clean cuts—I recommend the OXO Good Grips model. Serve on a wooden board for a rustic presentation that impresses guests.
Dipping Options
Offer garlic butter or balsamic reduction for dipping the crust. These add extra flavor dimensions that complement the pizza perfectly. I love the tangy contrast of balsamic with the rich dough.
Kid-Friendly Approach
For picky eaters, serve with toppings on the side. Let them customize their slice with shredded cheddar or pepperoni. This makes the meal interactive and fun for children.
Warm Serving Tip
Always serve immediately after baking for the best texture. If needed, reheat slices in a 400°F oven for 5-7 minutes to restore crispness. The crust will stay chewy while getting that fresh-baked feel. 🔥
Nutrition Facts
Frequently Asked Questions
Can I use all-purpose flour instead of bread flour?
Yes, but add 1 tbsp vital wheat gluten per cup to boost protein. The texture won’t be as chewy, but it’ll still work. Bread flour’s higher protein gives that ideal stretch and bite.
Why does my dough tear when stretching?
It likely needs more rest time. Let shaped dough relax for 10 minutes before stretching, and use your fingertips—not palms—to gently press it out. Cold dough resists stretching too.
How do I know when the dough is ready to bake?
After shaping, it should hold its 12-inch round without shrinking. Press a finger gently into the edge—if it springs back slowly, it’s ready. If it collapses, let it rest longer.
Can I make this dough ahead of time?
After kneading, refrigerate the dough in an airtight container for up to 3 days. The flavor deepens with time. Bring to room temp before shaping.

- Potato Candy Recipe 1933: Vintage Peanut Butter Roll Delight - October 30, 2026
- Potato Chip Cookie Recipe With Pecans: Buttery Crunch Meets Nutty Richness - October 30, 2026
- Potato Patty Recipe No Egg: Crispy Edges Without the Binder - October 30, 2026