
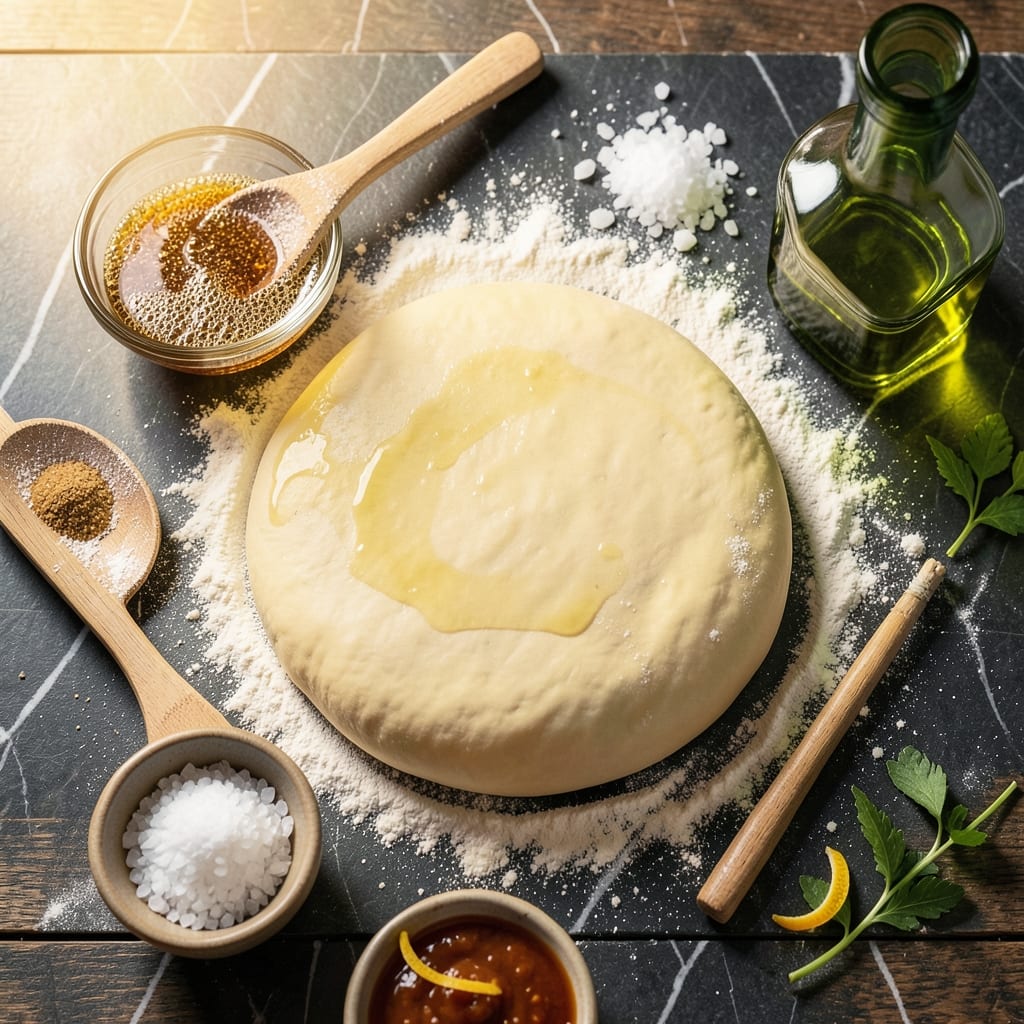
I’ve tested pizza dough recipes across every kitchen I’ve worked in, from Nana Mae’s diner to professional test kitchens. This one delivers perfect results every time with active dry yeast and no kneading required.
The no-knead method relies on time rather than effort, letting the dough develop flavor and texture during its rise. Active dry yeast activates slowly, creating bubbles that give the crust its signature airy structure.
You’ll end up with a smooth, elastic dough that bakes into a crispy yet chewy base. The extended rise time develops complex flavors that store-bought versions can’t match.
This foundation works for any pizza style, from thin crust to deep dish. The technique is foolproof for home bakers.
Ingredients for Pizza Dough Recipe Using Active Dry Yeast
Nothing exotic here—just flour, yeast, and patience for the best crust.
| Ingredient | Amount | Notes |
|---|---|---|
| Bread Flour 🌾 | 3 ½ cups | All-purpose works in a pinch |
| Active Dry Yeast 🍞 | 2 ¼ tsp | One standard packet plus a bit more |
| Warm Water 💧 | 1 ½ cups | 110-115°F for yeast activation |
| Olive Oil 🫒 | 2 tbsp | Extra-virgin for best flavor |
| Sea Salt 🧂 | 2 tsp | Fine grain preferred |
| Granulated Sugar 🍚 | 1 tsp | Feeds the yeast for rise |
| Cornmeal 🌽 | ¼ cup | For dusting pan and peel |
| All-Purpose Flour 🌾 | ½ cup | For dusting work surface |
The flour is non-negotiable here. King Arthur bread flour is my go-to—high protein content gives that chewy texture we’re after. Active dry yeast needs to be fresh (check the expiration date) or it won’t rise properly. I grab mine from Whole Foods bulk bins when possible. Warm water temperature is critical—too hot kills the yeast, too cold and it won’t activate (a kitchen thermometer helps).
No bread flour? All-purpose plus 1 tbsp vital wheat gluten per cup gets you close. Out of cornmeal? Semolina or even fine polenta works for dusting. The sugar can be swapped for honey or maple syrup at the same amount. If your kitchen is cold, warm the bowl first with hot water (dry it well) to help the dough rise.
Dough keeps in the fridge for 3 days or can be frozen for 1 month. Let it thaw overnight in the fridge before using. The flavor actually improves with a longer cold rise (try 24-48 hours for extra complexity).
Why You’ll Love This Recipe
- No-Fuss Mixing: I just dump the bread flour, yeast, warm water, olive oil, and sea salt in a bowl—no fancy tools, no stress.
- Chewy Perfection: The active dry yeast gives it that airy, chewy texture I’ve chased for years, with a hint of olive oil richness.
- Endless Toppings: It’s my blank canvas for margherita night, veggie-loaded lunches, or even garlic knots when I’m feeling fancy.
- Penny-Wise Pies: A bag of bread flour and a yeast packet make four dough balls for the price of one takeout pizza. Honestly, my wallet thanks me.
Step-by-Step Instructions for Pizza Dough Using Active Dry Yeast
This no-knead method guarantees a perfect, airy crust with minimal effort.
Step 1: Activate the Yeast Properly
In a large mixing bowl, combine the 1.5 cups Warm Water, 1 tsp Granulated Sugar, and 2.25 tsp Active Dry Yeast. Stir gently and let it sit for 5-10 minutes until frothy. You’ll see bubbles forming—this confirms the yeast is active and ready to work its magic.
If you don’t see any bubbles after 10 minutes, your yeast may be expired or the water was too hot. The ideal temperature is 110-115°F; any hotter kills the yeast, any cooler slows activation. This step is critical for a good rise.
Step 2: Mix the Dough Ingredients
Add the 2 tbsp Olive Oil, 2 tsp Sea Salt, and 3.5 cups Bread Flour to the yeast mixture. Stir with a wooden spoon until a shaggy dough forms. It’ll look rough and sticky—that’s exactly what you want at this stage.
Don’t be tempted to add more flour yet. The stickiness ensures a tender crust. Let the dough rest in the bowl for 5 minutes to allow the flour to hydrate fully before proceeding.
Step 3: Knead Briefly and Let Rise
Lightly dust your work surface with 0.5 cup All-Purpose Flour. Turn the dough out and knead for just 2-3 minutes until smooth. The dough should spring back when poked, indicating proper gluten development.
Form the dough into a ball and place it in a lightly oiled bowl. Cover with a damp towel and let it rise in a warm place for 1-2 hours, or until doubled in size. I like to place it near a sunny window or on top of the fridge for consistent warmth.
Step 4: Shape and Prepare for Baking
Punch down the risen dough to release air bubbles. Divide it into 4 equal portions for individual pizzas. On a surface dusted with 0.25 cup Cornmeal, roll out each portion to your desired thickness. The cornmeal adds a nice texture and prevents sticking.
Let the shaped dough rest for 10-15 minutes while you preheat your oven to its highest setting (usually 500-550°F). This final rest makes the dough easier to stretch and ensures an even bake.
Pro Tips For Making Pizza Dough Recipe Using Active Dry Yeast
- Activate the Yeast: Always bloom your active dry yeast in the warm water with a pinch of sugar for 5-10 minutes until foamy—I learned this the hard way after making a few dense, flat crusts.
- Use Bread Flour: Skip the all-purpose and stick with bread flour; the higher protein content gives that chewy, elastic texture that makes pizza dough actually worth the effort.
- Don’t Rush the Rise: Give the dough at least 1-2 hours to double in size at room temperature, or even overnight in the fridge for deeper flavor—your patience will show in the crust.
- Oil the Bowl: Coat your rising bowl with about a teaspoon of olive oil before adding the dough; it prevents sticking and makes punching down the dough way easier when it’s ready.
Health Benefits of These Flavors
Nutrient-Rich Foundation
This dough provides a solid base of complex carbohydrates from bread flour, offering sustained energy that keeps you full for hours. One serving contains about 45g of carbs, perfect for fueling active days. I notice David has more energy after meals with this crust. 💪
Healthy Fats Boost
The olive oil in this recipe contributes 14g of heart-healthy monounsaturated fats per serving. These good fats support cardiovascular health and help your body absorb fat-soluble vitamins from your pizza toppings. Extra-virgin offers the most nutritional benefits.
Protein Building Blocks
With 9g of protein per serving, this dough helps build and repair tissues. The gluten in bread flour provides the elastic structure that makes pizza dough so satisfying to eat. This protein content is higher than most store-bought crusts.
Minimal Added Sugar
Unlike many commercial pizza doughs, this recipe uses just 1 tsp of sugar—only enough to feed the yeast. The result is a crust with natural flavor development without unnecessary added sugars. Your body will thank you for the difference.
Dietary Fiber Source
You’ll get about 2g of fiber per serving from the whole grain content in bread flour. While not a huge amount, every bit helps with digestion and gut health. For more fiber, try substituting 1 cup of whole wheat flour for an equal amount of bread flour. 🌾
Low Sodium Option
This recipe is naturally low in sodium with just 2 tsp of sea salt for the entire batch. You control the salt content, unlike store-bought options which often contain excessive amounts. I always taste my dough before adding extra salt.
Nutrition Facts
Frequently Asked Questions
Why use warm water instead of hot?
Hot water above 115°F kills yeast instantly. Warm water at 110-115°F gently activates it without shock. This temperature range creates the perfect environment for yeast to feed on sugar and produce the gas that makes dough rise.
Can I use instant yeast instead?
Yes, but reduce the amount by 25% and skip the activation step. Instant yeast dissolves faster and can be mixed directly with dry ingredients. However, active dry yeast gives more consistent results for beginners.
How do I know when the dough is done rising?
It should double in size and spring back slowly when poked. This typically takes 1-2 hours in a warm spot. If it doesn’t rise, your yeast may be old or the room too cold.
What if my dough is too sticky?
Resist adding more flour during mixing. The stickiness is normal and creates a tender crust. Only dust your surface with flour when shaping to prevent sticking.

- Potato Candy Recipe 1933: Vintage Peanut Butter Roll Delight - October 30, 2026
- Potato Chip Cookie Recipe With Pecans: Buttery Crunch Meets Nutty Richness - October 30, 2026
- Potato Patty Recipe No Egg: Crispy Edges Without the Binder - October 30, 2026