
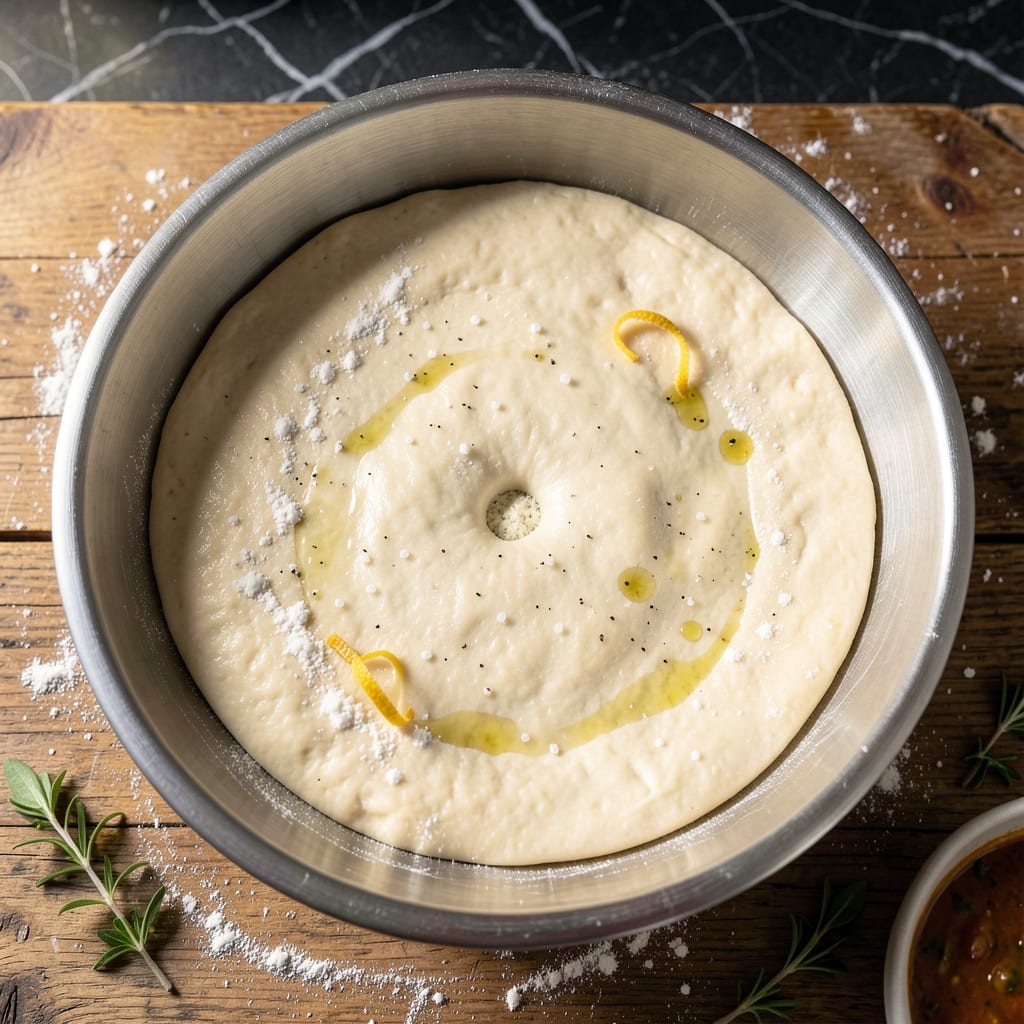
This 24-hour fermented pizza dough delivers depth of flavor that commercial versions simply can’t match. The extended rise time develops complex notes while maintaining a light, airy texture.
I perfected this method after years of testing, realizing that patience is the key to restaurant-quality results at home. The cold fermentation allows the yeast to work slowly, creating those signature air pockets.
The dough requires just four basic ingredients and minimal active time. What you get is a crisp yet chewy crust with a subtle tang that elevates every topping you choose.
This foundation transforms homemade pizza from good to extraordinary. The long fermentation also makes it easier to digest and gives it that characteristic chewy-crispy texture.
Ingredients for Pizza Dough Recipe Tasty
Four ingredients transform into restaurant-quality crust with time and patience.
| Ingredient | Amount | Notes |
|---|---|---|
| Bread Flour 🌾 | 3 ½ cups | High-protein for chewy texture |
| Active Dry Yeast 🍞 | ¼ tsp | Or instant yeast same amount |
| Kosher Salt 🧂 | 2 tsp | Diamond Crystal preferred |
| Lukewarm Water 💧 | 1 ½ cups | About 105-110°F |
| Extra-Virgin Olive Oil 🫒 | 2 tbsp | For bowl coating and flavor |
The flour is non-negotiable here. King Arthur Bread Flour is my go-to—high protein content develops that perfect chewy bite. Yeast freshness matters too; check the expiration date or do a quick bloom test in warm water with sugar. Diamond Crystal kosher salt (the coarse, flaky kind) dissolves evenly and seasons better than table salt.
No bread flour? All-purpose works in a pinch but expect a slightly less chewy crust. Swap active dry yeast for instant—same amount, no blooming needed. Out of olive oil? Any neutral oil (avocado, grapeseed) works for the bowl, but you’ll lose some flavor. The water temp is key—too hot kills the yeast, too cold slows fermentation.
Dough keeps in the fridge for up to 3 days (flavor improves daily) or freezes for 3 months. Portion into balls before freezing—thaw overnight in the fridge. Always use a lightly oiled container to prevent sticking during fermentation.
Why You’ll Love This Recipe
- No-Knead Magic: I just mix, let it rise, and the yeast does all the work—no fancy equipment needed.
- Crispy Chewy Bliss: That olive oil in the dough gives it the most satisfying crisp edge with a soft, pillowy center.
- Endless Topping Fun: Honestly, I’ve used this base for everything from classic margherita to breakfast pizza with eggs and bacon.
- Penny-Pincher Win: Bread flour and yeast cost peanuts, and one batch makes enough for two large pizzas or four personal ones.
Step-by-Step Instructions for Pizza Dough
This method delivers maximum flavor with minimal effort—just patience.
Step 1: Activate the Yeast and Mix the Dough
In a large mixing bowl, combine the 0.25 tsp Active Dry Yeast with the 1.5 cups Lukewarm Water and let it sit for 5-10 minutes until the mixture becomes slightly foamy. This confirms the yeast is active and ready to work its magic.
Add the 3.5 cups Bread Flour and 2 tsp Kosher Salt to the yeast mixture. Using a wooden spoon or your hands, mix until all the flour is hydrated and a shaggy dough forms. It will look rough at this stage—that’s normal.
Step 2: Knead Until Smooth and Elastic
Turn the dough out onto a clean, lightly floured surface and knead for 8-10 minutes by hand. Push the dough away with the heel of your hand, then fold it back over itself, rotating a quarter turn each time. The dough should become smooth, elastic, and slightly tacky but not sticky.
If the dough feels too sticky, add a teaspoon of flour at a time, but be sparing. Too much flour can make the dough tough. You’ll know it’s ready when it springs back slowly when poked with a finger.
Step 3: First Rise in an Oiled Bowl
Lightly coat a large bowl with 1 tbsp Extra-Virgin Olive Oil. Place the dough in the bowl and turn to coat it evenly with the oil. Cover the bowl with a damp kitchen towel or plastic wrap and let it rise at room temperature for 1-2 hours or until doubled in size.
This initial rise develops the gluten structure further and gives the yeast a chance to start fermenting the sugars in the flour. The dough should look puffy and jiggle slightly when gently shaken.
Step 4: Cold Ferment for Maximum Flavor
After the first rise, punch down the dough to release excess air. Cover the bowl again and refrigerate for 24 hours. This extended fermentation is the secret to a tasty, complex flavor profile with a light, airy texture.
The dough will rise slowly in the fridge, developing deep, tangy notes that short fermentation can’t achieve. Don’t skip this step—it’s what makes this dough truly special.
Step 5: Shape and Rest Before Use
Remove the dough from the fridge and let it sit at room temperature for 1 hour to take the chill off. This makes it easier to handle and stretch.
Divide the dough into 4 equal portions for individual pizzas. Gently shape each portion into a ball, then let them rest for another 30 minutes before stretching. Drizzle the remaining 1 tbsp Extra-Virgin Olive Oil over the dough balls to prevent drying. Your dough is now ready to be shaped, topped, and baked into the perfect pizza.
Pro Tips For Making Pizza Dough Recipe Tasty
- Proof Properly: Let the dough rise at room temperature for 1-2 hours, or until doubled—rushing this step with heat gives a dense, flavorless crust.
- Use Bread Flour: Swap all-purpose for bread flour; the higher protein content (12-14%) creates that chewy, stretchy texture you want.
- Salt the Yeast: Mix the kosher salt directly into the yeast and water first—this ensures even distribution and avoids salty pockets in your dough.
- Oil the Bowl: Coat the rising bowl with a tablespoon of olive oil before adding the dough—this prevents sticking and makes the final product more tender.
Essential Equipment for pizza dough recipe tasty
Mixing Bowls
I swear by my 12-quart Cambro round container for mixing and fermenting pizza dough. It’s durable, has measurement markings, and the lid creates a perfect seal for fermentation. A large stainless steel mixing bowl works too if you’re on a budget.
Digital Scale
Precision matters with pizza dough. My OXO Good Grips 11lb scale measures ingredients to the gram for consistent results every time. I keep it on my counter—it’s that essential.
Dough Scraper
A benzomatic dough scraper is my secret weapon for dividing and handling sticky dough. The flexible edge conforms to bowls and counters, making cleanup a breeze. I use mine daily. 💪
Stand Mixer
While hand-kneading builds character, my KitchenAid with dough hook saves time and effort. The 6-quart model handles this recipe perfectly. I inherited mine from my Cincinnati neighbor Mrs. Henderson.
Proofing Container
For the 24-hour cold ferment, I use glass locking containers from IKEA. They’re airtight and clear so I can monitor the rise. Any airtight container at least twice the dough volume works.
Pizza Peel
A wooden pizza peel makes transferring dough to hot stones effortless. I dust mine with semolina flour to prevent sticking. Look for one at least 14 inches wide for home ovens.
Nutrition Facts
Frequently Asked Questions
Why does the dough need 24 hours in the fridge?
The cold fermentation develops deep, complex flavors and creates air pockets for a light, chewy texture. It also makes the dough easier to digest.
Can I use all-purpose flour instead of bread flour?
Yes, but the crust will be slightly less chewy. Bread flour’s higher protein content creates that perfect elastic texture.
How do I know when the dough is done kneading?
It should feel smooth, elastic, and spring back slowly when poked. If it’s still sticky, add flour 1 tsp at a time.
Can I freeze the dough for later use?
Portion into balls, wrap tightly, and freeze for up to 3 months. Thaw overnight in the fridge before using.

- Potato Candy Recipe 1933: Vintage Peanut Butter Roll Delight - October 30, 2026
- Potato Chip Cookie Recipe With Pecans: Buttery Crunch Meets Nutty Richness - October 30, 2026
- Potato Patty Recipe No Egg: Crispy Edges Without the Binder - October 30, 2026