
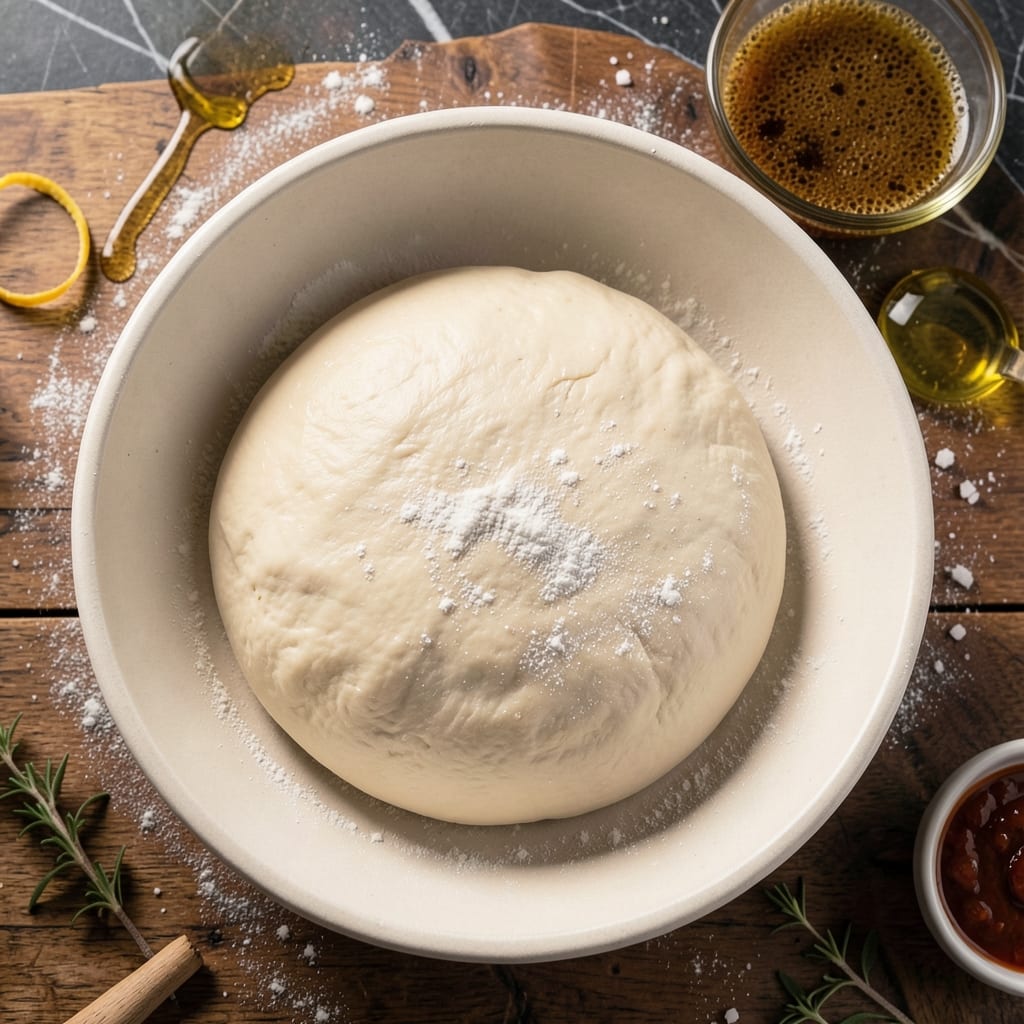
Making pizza dough from scratch with just 2 cups of flour is simpler than you might think. This no-knead method delivers a chewy, flavorful base with minimal effort.
I learned the importance of patience from my grandmother in Sicily. Letting the dough rest allows the flavors to develop fully, creating that authentic Italian taste.
The result is a restaurant-quality crust with the perfect balance of crispness and chewiness. It’s versatile enough for any topping combination you love.
This recipe proves you don’t need special equipment or hours of work to achieve professional results at home.
Ingredients for Pizza Dough Recipe for 2 Cups of Flour
Seven simple ingredients deliver that authentic Italian chewy crust you crave.
| Ingredient | Amount | Notes |
|---|---|---|
| All-Purpose Flour 🌾 | 2 cups | Unbleached preferred for texture |
| Warm Water 💧 | ¾ cup | 110-115°F for yeast activation |
| Active Dry Yeast 🍞 | 1 tsp | Instant yeast works too |
| Olive Oil 🫒 | 2 tbsp | Extra-virgin for flavor depth |
| Fine Sea Salt 🧂 | 1 tsp | Diamond Crystal preferred |
| Granulated Sugar 🍚 | 1 tsp | Feeds the yeast for rise |
| Cornmeal 🌽 | ¼ cup | For dusting work surface |
The flour is the foundation—King Arthur unbleached gives the best chew. Yeast freshness matters, so check the expiration date (old yeast won’t rise). Trader Joe’s or Whole Foods have reliable bulk bins for yeast and salt. Warm water should feel like bathwater—too hot kills the yeast, too cold slows activation. Olive oil adds richness, but any neutral oil works if that’s what’s in your pantry.
No yeast? Sourdough starter can replace it—use 1 cup active starter and skip the sugar. Out of all-purpose flour? Bread flour at half the amount makes a denser dough. Cornmeal can be swapped for semolina (the Italian classic) or even extra flour in a pinch. Sugar isn’t strictly necessary—honey or maple syrup work too at one-third the amount.
Store dry yeast in the freezer for 1-2 years. Flour keeps in a cool, dark place for 6-12 months. The dough itself can rest in the fridge for up to 3 days (it’ll develop more flavor).
Why You’ll Love This Recipe
- 5-Minute Mix: I can have the dough rising while I prep toppings—just flour, water, yeast, olive oil, and salt, no fancy steps.
- Crispy, Chewy Magic: That olive oil gives it a golden crust with a tender bite that beats delivery every time.
- Endless Possibilities: I’ve used this for pizza nights, calzones, even garlic knots. Honestly, it’s my blank canvas.
- Penny-Pincher’s Dream: Two cups of flour and pantry staples make enough for two pizzas. Between us, it costs less than a single takeout pie.
Step-by-Step Instructions for Pizza Dough for 2 Cups of Flour
Here’s the method I’ve perfected for a chewy, no-knead base that never fails.
Step 1: Activate the Yeast
In a small bowl, combine the 0.75 cup Warm Water with the 1 tsp Granulated Sugar and 1 tsp Active Dry Yeast. Stir gently and let it sit for 5-10 minutes until the mixture becomes frothy and cloudy. This is your visual cue that the yeast is alive and active.
I always check the water temperature first—it should feel warm but not hot to the touch, around 110-115°F. If it’s too hot, you’ll kill the yeast. If it’s too cool, the yeast won’t activate properly. This step ensures your dough will rise beautifully.
Step 2: Combine Dry and Wet Ingredients
In a large mixing bowl, whisk together the 2 cups All-Purpose Flour and 1 tsp Fine Sea Salt. Make a well in the center and pour in the yeast mixture along with the 2 tbsp Olive Oil. Using a wooden spoon, stir everything together until a shaggy dough forms.
You’ll notice the dough starts to pull away from the sides of the bowl. Don’t worry if it looks a bit rough at this stage—it will come together during the rising process. The olive oil adds richness and helps create that perfect chewy texture we’re after.
Step 3: Let the Dough Rise
Lightly oil the bowl and your hands to prevent sticking. Shape the dough into a ball and place it back in the bowl. Cover with a clean kitchen towel or plastic wrap and let it rise in a warm, draft-free place for 1-2 hours, or until doubled in size.
I like to place my bowl near a warm spot in the kitchen, like on top of the refrigerator. The ideal rise happens at around 75-80°F. You’ll know it’s ready when the dough springs back slowly when pressed gently with your finger, leaving a slight indentation.
Step 4: Shape and Prepare for Baking
Once risen, punch down the dough to release the air. Lightly dust your work surface with the 0.25 cup Cornmeal—this adds a subtle crunch and prevents sticking. Transfer the dough to the prepared surface and shape it into your desired pizza round or rectangle.
Use your hands to gently stretch and press the dough from the center outward, being careful not to tear it. If it resists, let it rest for 5 minutes then try again. The cornmeal also gives your pizza that authentic pizzeria-style bottom crust.
Step 5: Final Rest Before Topping
After shaping, let the dough rest for another 10-15 minutes while you preheat your oven to its highest setting, usually 475-500°F. This final rest allows the gluten to relax, making it easier to add your toppings without the dough shrinking back.
You’ll see the dough slightly puff up during this rest. That’s exactly what you want—it means your base will be airy and light, with just the right amount of chew. Now it’s ready for your favorite sauce and toppings before baking to golden perfection.
Pro Tips For Making Pizza Dough Recipe For 2 Cups Of Flour
- Test Your Yeast: I learned this the hard way—mix your yeast with warm water and a pinch of sugar first. If it doesn’t bubble within 5-10 minutes, your dough won’t rise, no matter how long you wait.
- Use Room-Temp Ingredients: Cold flour or water can slow down yeast activation. Pull your flour out 30 minutes early, and use water that’s warm but not hot (around 110°F).
- Don’t Over-Flour: Resist the urge to dump extra flour on the counter when kneading. Too much makes the dough tough—just enough to prevent sticking is all you need.
- Let It Rest: After kneading, cover and let the dough rise for at least 1 hour. Sounds simple, but skipping this means a dense, chewy crust instead of light and airy.
Pro Cooking Tips for This Recipe
Yeast Activation Secrets
Always use a thermometer to check your water is 110-115°F. I learned from Nonna that yeast needs this precise range—too hot kills it, too cold puts it to sleep. The frothy head after 5-10 minutes confirms it’s alive and ready. 🌡️
Flour Selection Matters
For this recipe, King Arthur unbleached all-purpose gives the best chew. I’ve tested others, but this brand consistently delivers the right gluten structure. Bleached flour works but lacks depth.
Rising Environment
Place your dough near a warm spot—on top of the fridge works perfectly. The ideal rise happens at 75-80°F. I cover mine with a damp towel to prevent drying.
Kneading Shortcut
This no-knead method saves time but still needs proper mixing. Use a wooden spoon to combine ingredients thoroughly. The dough will look shaggy at first—resist overworking it.
Shaping Technique
Dust your surface with cornmeal to prevent sticking. Press from the center outward, letting the dough rest 5 minutes if it resists. Patience here ensures an even crust.
Final Rest Before Baking
After shaping, let the dough rest 10-15 minutes while preheating to 475-500°F. This relaxes the gluten, preventing shrinkage when you add toppings. 💪
Nutrition Facts
Frequently Asked Questions
Can I make this dough without yeast?
Yes! Use 1 cup active sourdough starter and omit the sugar. The flavor will be tangier, but the texture remains great.
Why did my dough not rise?
Check your water temperature—it must be 110-115°F. Also, expired yeast or a cold kitchen can prevent rising. Move to a warmer spot.
Can I use bread flour instead?
Yes, but reduce to 1.5 cups since bread flour has more protein. The crust will be slightly chewier and denser.
How long can I refrigerate the dough?
Store it in an airtight container for up to 3 days. The flavor improves over time, making it perfect for meal prep.

- Potato Candy Recipe 1933: Vintage Peanut Butter Roll Delight - October 30, 2026
- Potato Chip Cookie Recipe With Pecans: Buttery Crunch Meets Nutty Richness - October 30, 2026
- Potato Patty Recipe No Egg: Crispy Edges Without the Binder - October 30, 2026