
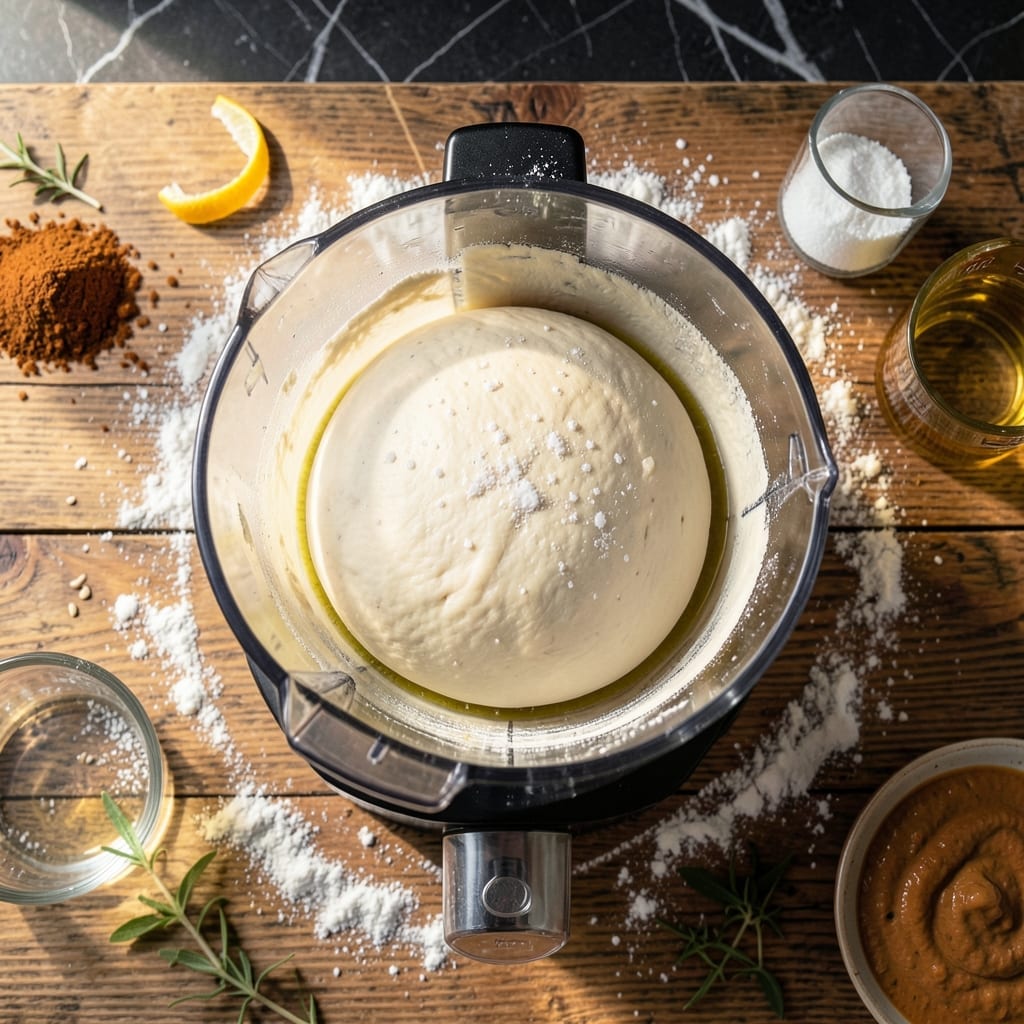
Homemade pizza dough doesn’t have to be intimidating, and this method proves it. A food processor handles the kneading with precision, ensuring a smooth, elastic dough every time—no sticky hands or tired arms.
The machine’s blade quickly combines flour, yeast, and water, developing gluten in minutes. This creates a dough that’s perfect for stretching thin or leaving thick, depending on your preference.
After a short rest, the dough rises into a soft, pillowy base ready for your favorite toppings. The result is a crust with just the right chew and crispness.
With this technique, you’ll achieve consistent, professional-quality dough with minimal effort.
Ingredients for Pizza Dough Recipe Using Food Processor
Seven simple ingredients transform into restaurant-quality crust with your food processor.
| Ingredient | Amount | Notes |
|---|---|---|
| Bread Flour 🌾 | 3 ½ cups | High-protein for chewy texture |
| Active Dry Yeast 🍞 | 2 ¼ tsp | One packet, proofed in warm water |
| Warm Water 💧 | 1 ¼ cups | 110°F for yeast activation |
| Olive Oil 🫒 | 2 tbsp | Extra-virgin for rich flavor |
| Fine Sea Salt 🧂 | 1 ½ tsp | Enhances gluten development |
| Granulated Sugar 🍬 | 1 tsp | Feeds the yeast for rise |
| All-Purpose Flour 🌾 | ½ cup | For dusting work surface |
The flour makes all the difference here. King Arthur Bread Flour is my go-to—consistent protein content for that perfect chew. Yeast freshness matters more than brand; just check the expiration date and store it in the freezer after opening. Warm water temp is critical—110°F is the sweet spot (too hot kills yeast, too cool won’t activate it). I use a kitchen thermometer for accuracy (worth the extra minute).
No bread flour? All-purpose works in a pinch but add 1 tbsp vital wheat gluten per cup to boost protein. Short on yeast? Instant yeast at half the amount works without proofing. Sugar can be swapped for honey or omitted entirely if you’re patient (rise time doubles). The olive oil adds richness—use the good stuff, not the spray kind.
Dough keeps 2 days refrigerated in a greased bowl (flavor improves!). Freezes beautifully for 3 months—portion into balls, wrap tight, thaw overnight in the fridge. Always bring to room temp before stretching for best results.
Why You’ll Love This Recipe
- Effortless Mixing: I toss everything in the food processor and let it do the kneading—no sticky counters or sore arms.
- Chewy Perfection: The bread flour and olive oil combo gives that ideal crisp-yet-tender crust every time.
- Endless Toppings: Honestly, this dough handles thick veggie loads or just cheese with equal grace.
- Penny-Wise Feast: Five simple pantry staples stretch to feed a crowd for less than takeout.
Step-by-Step Instructions for Pizza Dough Using Food Processor
Here’s the method I use for foolproof dough with minimal effort and maximum flavor.
Step 1: Activate the Yeast
In the bowl of your food processor, combine the 1.25 cups warm water with the 1 tsp granulated sugar and 2.25 tsp active dry yeast. Let it sit for 5-7 minutes until the mixture becomes frothy and cloudy.
This step ensures your yeast is alive and active. If it doesn’t bubble, your water might have been too hot or too cold—110°F is the sweet spot. The sugar gives the yeast a quick energy boost to get started.
Step 2: Pulse in Dry Ingredients
Add the 3.5 cups bread flour and 1.5 tsp fine sea salt to the processor bowl. Secure the lid and pulse 5-6 times in 1-second bursts to combine the ingredients.
You’ll see the mixture transform from a shaggy mess to a coarse, crumbly texture. The bread flour’s high protein content develops the gluten that gives your crust that perfect chewy bite. Don’t over-process at this stage—just get everything evenly distributed.
Step 3: Incorporate the Olive Oil
With the processor running, pour the 2 tbsp olive oil through the feed tube in a slow, steady stream. Let it process for 20-30 seconds until the dough forms a single ball that pulls away from the sides of the bowl.
The olive oil adds richness and helps create a tender crumb. If the dough seems too sticky, add 1 tbsp of the 0.5 cup all-purpose flour reserved for dusting, but don’t overdo it—the dough should be slightly tacky to the touch.
Step 4: Knead Briefly in the Processor
Continue processing for another 30-45 seconds until the dough is smooth and elastic. You’ll notice it becomes more supple and less rough as the gluten develops.
This is where the food processor shines—it kneads the dough in a fraction of the time it would take by hand. The dough should be soft but not sticky, and when you press it with your finger, it should spring back slowly.
Step 5: First Rise and Shape
Transfer the dough to a lightly oiled bowl, cover with a damp towel, and let it rise in a warm place for 1-2 hours or until doubled in size. The 0.5 cup all-purpose flour comes in handy for dusting your work surface when you’re ready to shape the dough.
Punch down the risen dough and divide it into portions. For a perfect crust, shape each portion on a surface dusted with some of the all-purpose flour, then let it rest for 15-20 minutes before stretching. This relaxation time makes the dough easier to shape without springing back.
Pro Tips For Making Pizza Dough Recipe Using Food Processor
- Pulse, Don’t Blend: Use short pulses in the food processor to combine ingredients—overworking the dough develops too much gluten, making it tough instead of chewy.
- Check Yeast Freshness: Always proof your active dry yeast in warm water first; if it doesn’t foam within 5 minutes, it’s dead and your dough won’t rise.
- Skip Ice-Cold Water: Warm water (around 110°F) activates the yeast properly—cold water slows fermentation, and too hot kills it entirely.
- Rest Before Shaping: Let the dough sit for 10 minutes after processing—it relaxes the gluten, making it easier to stretch without snapping back.
Regional Styles of This Recipe
New York Style
This variation produces a thin, foldable crust with crisp edges. Use high-gluten flour (like King Arthur Sirius) and extend the food processor kneading to 60 seconds for maximum chew. The dough should be stretched 12-14 inches thin. 🗺️
Neapolitan Tradition
For authentic Neapolitan, reduce bread flour to 3 cups and add ½ cup tipo 00 flour. Process just until combined—30 seconds max—for a softer, more delicate crust. Let it rise at room temp for 8-12 hours for that signature airy texture.
Chicago Deep Dish
Increase olive oil to 3 tbsp and add 1 tbsp cornmeal to the processor. The richer dough handles the deep pan and heavy toppings. Press it into a 12-inch pan and up the sides—no stretching needed here.
Sicilian Thick Crust
Use 4 cups bread flour and reduce water to 1 cup for a thicker, more bread-like base. After processing, let it rise in the pan for 1 hour before adding toppings. The food processor ensures even density throughout.
Gluten-Free Option
Swap bread flour for 2 cups gluten-free all-purpose blend plus 1 tsp xanthan gum. Process with the blade for 90 seconds—gluten-free dough needs more time to develop structure. Let it rest 20 minutes before shaping.
Nutrition Facts
Frequently Asked Questions
How long should I knead the dough in the processor?
Knead for 30-45 seconds after the dough forms a ball. The processor develops gluten quickly, so over-kneading can make the dough tough. Stop when it’s smooth and elastic to the touch.
Can I use all-purpose flour instead of bread flour?
Yes, but add 1 tbsp vital wheat gluten per cup of all-purpose flour to boost protein. Bread flour creates a chewier crust, but this substitution works in a pinch.
What if my dough doesn’t rise?
Check your yeast freshness and water temperature first. If the water was too hot (above 110°F), it may have killed the yeast. Also ensure your rising spot is warm and draft-free.
Can I make the dough ahead of time?
Refrigerate for up to 2 days in a greased bowl. For longer storage, freeze dough balls for up to 3 months. Thaw overnight in the fridge before using.

- Potato Candy Recipe 1933: Vintage Peanut Butter Roll Delight - October 30, 2026
- Potato Chip Cookie Recipe With Pecans: Buttery Crunch Meets Nutty Richness - October 30, 2026
- Potato Patty Recipe No Egg: Crispy Edges Without the Binder - October 30, 2026