
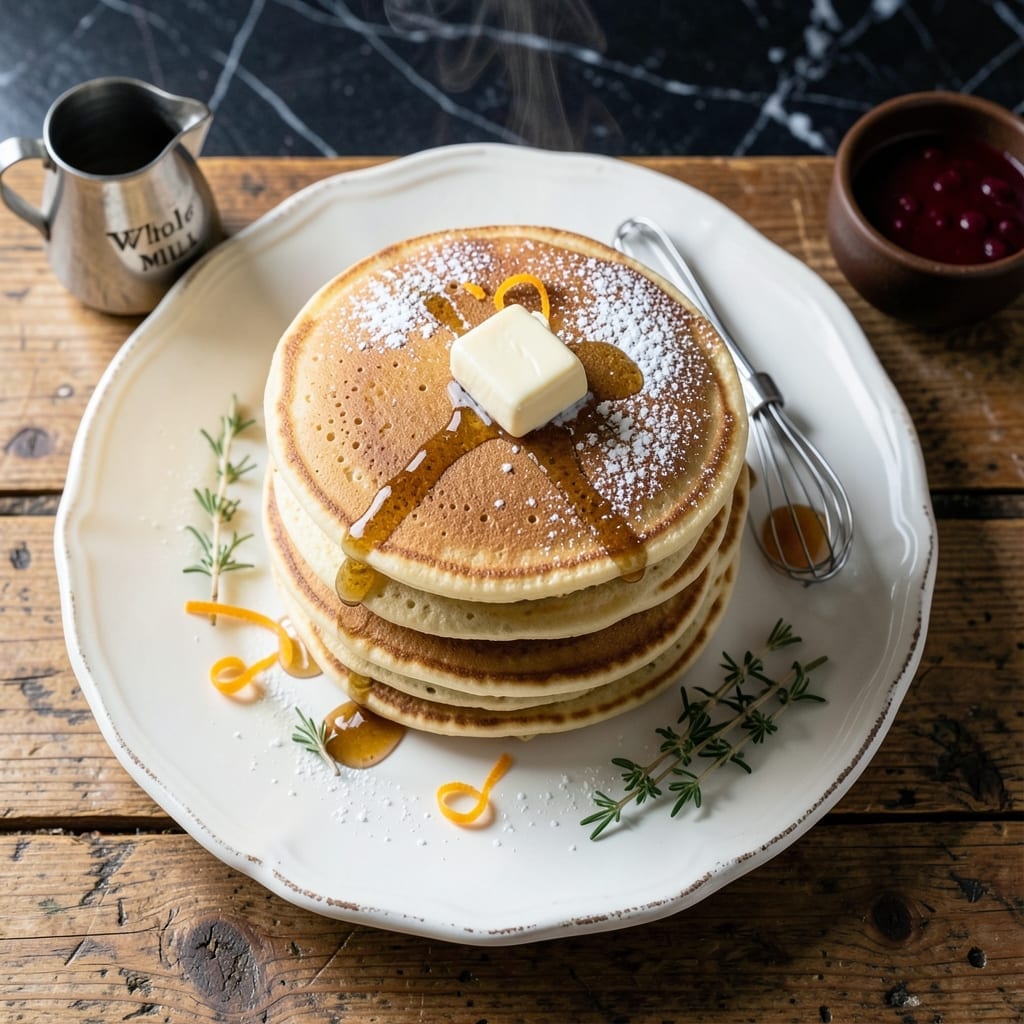
There’s nothing quite like the simplicity of classic pancakes done right. This recipe delivers light, airy results every time with minimal effort.
What makes this version special is its straightforward approach—no fancy ingredients or complicated techniques. Just basic pantry staples and a few minutes of your time. The batter comes together in one bowl with no resting required.
You’ll end up with golden pancakes that are tender inside with slightly crisp edges. They’re the perfect blank canvas for your favorite toppings, from fresh fruit to maple syrup.
Breakfast doesn’t get more comforting than this. Here’s how to make them perfectly.
Ingredients for Plain Pancakes Recipe Simple
Pantry raid time. A handful of basics makes these golden, fluffy pancakes.
| Ingredient | Amount | Notes |
|---|---|---|
| All-Purpose Flour 🌾 | 2 cups | Sifted for lighter texture |
| Baking Powder 🧂 | 2 tsp | Ensures fluffy rise |
| Granulated Sugar 🍚 | 2 tbsp | Balances flavor subtly |
| Salt 🧂 | ½ tsp | Fine grain preferred |
| Large Eggs 🥚 | 2 whole | Room temperature for best volume |
| Whole Milk 🥛 | 1 ½ cups | 2% or whole for richness |
| Unsalted Butter 🧈 | 3 tbsp | Melted and slightly cooled |
| Vanilla Extract 💧 | 1 tsp | Pure for best flavor |
| Vegetable Oil 🫒 | 1 tbsp | For greasing pan |
The flour is the foundation here—King Arthur or Gold Medal are my go-tos for consistent results. Baking powder loses potency over time, so check the expiration date (old cans won’t give you that lift). Room temperature eggs whip up lighter, so pull them out 30 minutes before mixing. For the milk, whole milk gives the richest texture, but 2% works fine in a pinch.
No buttermilk? Milk plus 1 tbsp vinegar or lemon juice (let sit 5 minutes) mimics it perfectly. Swap vanilla for almond extract if you want a different twist. Out of all-purpose flour? Cake flour plus 2 tbsp cornstarch per cup gets you close. The sugar can be reduced to 1 tbsp if you prefer less sweetness—just add a pinch more salt to balance.
Batter keeps in the fridge for 12-24 hours—give it a stir before using. Cooked pancakes freeze beautifully: stack with parchment, then bag for up to 2 months. Reheat in toaster or microwave (cover with a damp towel to prevent drying).
Why You’ll Love This Recipe
- Five-Minute Mix: I dump the flour, baking powder, sugar, and salt in one bowl, crack in the eggs, and stir—no fancy steps, no fuss.
- That Golden Taste: The sugar caramelizes just enough to give a subtle sweetness that makes every bite feel like a weekend treat.
- Blank Canvas: Honestly, I use this base for sweet stacks with syrup or savory twists with herbs—it’s my little culinary cheat code.
Step-by-Step Instructions for Plain Pancakes
Here’s the straightforward method for achieving perfectly light and airy pancakes every time.
Step 1: Combine Dry Ingredients for Consistent Rise
In a large bowl, whisk together the 2 cups All-Purpose Flour, 2 tsp Baking Powder, 2 tbsp Granulated Sugar, and 0.5 tsp Salt until no lumps remain. I sift the flour first for an even lighter texture, but whisking vigorously works just as well in a pinch.
This step ensures the baking powder is evenly distributed, so every pancake rises uniformly. You’ll notice the mixture takes on a slightly pale, almost silky appearance when properly aerated.
Step 2: Whisk Wet Ingredients Until Smooth
In a separate bowl, combine the 2 whole Large Eggs, 1.5 cups Whole Milk, 3 tbsp Unsalted Butter (melted and slightly cooled), and 1 tsp Vanilla Extract. Whisk until the mixture is smooth and slightly frothy on top.
I always use room-temperature eggs and milk—this helps create a more stable emulsion and prevents the melted butter from solidifying into clumps. The goal is a velvety liquid with no visible streaks of fat.
Step 3: Gently Fold Wet and Dry Mixtures Together
Pour the wet ingredients into the dry ingredients and fold gently with a spatula just until the flour is mostly incorporated. You’ll see a few lumps—that’s fine. Overmixing develops gluten, which makes pancakes tough instead of tender.
The batter should be thick but pourable, like heavy cream. If it seems too stiff, resist the urge to thin it with extra milk; the pancakes will still cook up light. Let the batter rest for 5 minutes while you heat the pan.
Step 4: Cook on Medium Heat for Even Browning
Heat a nonstick skillet or griddle over medium heat and add 1 tbsp Vegetable Oil, brushing it evenly across the surface. Pour ¼ cup of batter per pancake onto the hot surface—you’ll see bubbles form immediately around the edges.
Cook for 2-3 minutes until the edges look set and the surface is dotted with bubbles that don’t pop. Flip once and cook for another 1-2 minutes until golden brown on both sides. The pancakes should spring back lightly when pressed.
Step 5: Serve Warm with Your Favorite Toppings
Transfer the pancakes to a warm plate and cover loosely with a clean towel to keep them soft. Repeat with the remaining batter, adding a little more oil to the pan as needed.
These pancakes are best served immediately, while still warm and at their fluffiest. A pat of butter melting on top and a drizzle of syrup is all you need to highlight their light, airy texture. This recipe makes about 12 pancakes, perfect for serving 4.
Pro Tips For Making Plain Pancakes Recipe Simple
- Let Batter Rest: After mixing, give the batter 5-10 minutes to sit—this lets the flour fully hydrate and the baking powder activate for fluffier pancakes.
- Medium-Low Heat Only: I learned this the hard way: too-high heat burns the outside while leaving the inside raw, so keep it at medium-low for even cooking.
- Don’t Overmix: Lumps are fine—stir just until the dry ingredients disappear to avoid tough pancakes.
- Use Room-Temp Eggs: Sounds small, but cold eggs can shock the batter; pull them out 10 minutes early for a smoother, more consistent texture.
Essential Equipment for This Dish
Nonstick Skillet
A good 10-12 inch nonstick skillet is my top recommendation for pancakes. I use Calphalon Classic—it distributes heat evenly and has a durable surface that lasts for years. The nonstick coating makes flipping effortless. 💛
Electric Griddle
For making multiple pancakes at once, an electric griddle like the Cuisinart GR-4N gives you 200 square inches of cooking space. Set it to 375°F for perfect browning. The large surface lets you cook an entire batch in minutes.
Mixing Bowls
I prefer stainless steel mixing bowls with a wide base—Winco’s 3-quart is perfect for this recipe. They’re lightweight, easy to clean, and won’t react with acidic ingredients. A good whisk is essential for smooth batter.
Measuring Tools
Accurate measurements matter for consistent results. I use OXO Good Grips measuring cups and spoons for precision. A ¼ cup measure is ideal for portioning batter onto the griddle. These tools are dishwasher-safe too.
Spatula Selection
A thin, flexible silicone spatula helps you flip pancakes without tearing them. I recommend Di Oro’s Chef Series—it’s heat-resistant up to 600°F and won’t scratch your cookware. The thin edge slides easily under delicate pancakes.
Batter Dispenser
For perfectly even pancakes, a batter dispenser like the Norpro 4-Cup is a game-changer. It gives you consistent ¼ cup portions every time. I also use it for waffle batter—it’s versatile and easy to clean. ✨
Nutrition Facts
Frequently Asked Questions
Can I use a different type of flour?
Yes, but adjust carefully. Cake flour makes them lighter, while whole wheat adds density. For whole wheat, use 1 cup and mix with 1 cup all-purpose for best texture.
Why are my pancakes tough?
Overmixing is the usual culprit. Stir just until the flour disappears—small lumps are fine. Resting the batter for 5 minutes also helps relax the gluten.
Can I make the batter ahead?
Mix dry and wet ingredients separately, then combine just before cooking. The batter keeps in the fridge for 12-24 hours. Stir before using.
How do I know when to flip?
Look for bubbles forming on the surface that don’t pop. The edges should appear set and slightly dry. Flip once for even golden brown color.

- Potato Candy Recipe 1933: Vintage Peanut Butter Roll Delight - October 30, 2026
- Potato Chip Cookie Recipe With Pecans: Buttery Crunch Meets Nutty Richness - October 30, 2026
- Potato Patty Recipe No Egg: Crispy Edges Without the Binder - October 30, 2026