
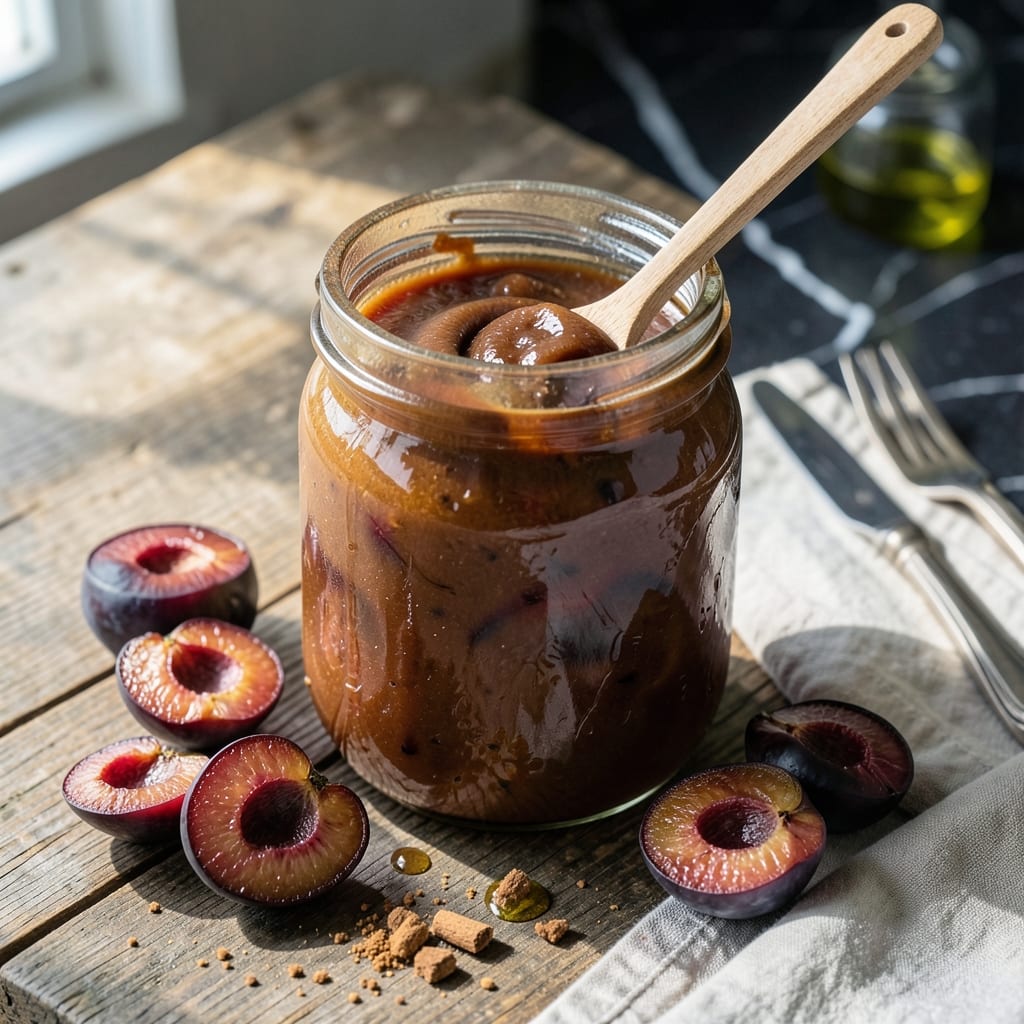
Preserving summer’s sweetest plums in a smooth, spreadable butter is one of the most rewarding canning projects I’ve mastered. This small-batch method captures peak flavor without artificial preservatives, using only fruit, sugar, and time.
Slow cooking concentrates the plums’ natural sweetness while developing a deep, caramelized richness. The texture becomes velvety, perfect for spreading on toast or swirling into yogurt. It’s a foolproof way to extend the season.
Canning ensures this creation stays fresh and safe for months, ready to brighten winter mornings. The process is straightforward but requires attention to detail for the best results.
David always requests extra jars—this version passes his strict taste-test standards.
Ingredients for Plum Butter Recipe for Canning
Nine simple ingredients transform summer plums into velvety, spreadable perfection for canning.
| Ingredient | Amount | Notes |
|---|---|---|
| Fresh Plums 🍑 | 4 lb | Pitted, ripe but firm variety |
| Granulated Cane Sugar 🍚 | 2 cups | Organic preferred for purity |
| Light Brown Sugar 🟤 | 1 cup | Packed, for caramel depth |
| Fresh Lemon Juice 🍋 | ¼ cup | For acidity and brightness |
| Ground Cinnamon 🌿 | 1 tsp | Ceylon for subtle sweetness |
| Ground Cloves 🌶️ | ¼ tsp | Freshly ground preferred |
| Ground Nutmeg 🌰 | ¼ tsp | Freshly grated for intensity |
| Vanilla Extract 🌿 | 1 tsp | Pure, not imitation |
| Water 💧 | ½ cup | To prevent sticking |
The plums are paramount—select ripe but firm varieties like Stanley or Damson for optimal pectin content. Local farmers markets often carry these in late summer. Organic cane sugar (available at Whole Foods or Natural Grocers) ensures a cleaner flavor profile, while light brown sugar adds that essential caramelized depth. Avoid overripe fruit that might introduce excess moisture.
No Damson plums? Pluots or Italian prune plums work beautifully. Brown sugar substitutes include coconut sugar at one-to-one ratio, though flavor will differ slightly. Spice adjustments are flexible—allspice or cardamom can replace cloves if preferred. The lemon juice is non-negotiable for safety and balance, but bottled works in a pinch.
Processed butter keeps in sealed jars for 12-18 months in a cool, dark pantry. Once opened, refrigerate and use within 3 weeks. The flavor deepens over time, making winter enjoyment even more rewarding. Always use sterile jars and lids for canning safety.
Why You’ll Love This Recipe
- One Pot Wonder: I toss everything in a single pot and let it simmer—no fancy equipment, just plums, sugars, and that warm cinnamon doing their magic.
- Sweet-Tart Heaven: The mix of brown and cane sugar with fresh lemon juice gives it this deep, caramelized flavor that’s bright but not cloying.
- Gift in a Jar: I can these in pretty jars for neighbors or stash them in the pantry for toast, yogurt, or even glaze for pork chops.
- Pantry Hero: A bushel of plums turns into shelf-stable gold, so nothing goes to waste and I’m set for months.
Step-by-Step Instructions for Plum Butter
This method ensures a smooth, spreadable preserve with balanced sweetness and spice for canning.
Step 1: Prepare and Cook the Fresh Plums
Pit all 4 lb Fresh Plums and chop them into rough chunks. Place them in a large, heavy-bottomed pot with the 0.5 cup Water. Cook over medium heat for 10-12 minutes, stirring frequently, until the fruit softens and releases its juices.
The mixture should resemble a thick, chunky sauce. Use a potato masher to gently break down any remaining whole pieces, ensuring an even texture. This step is crucial for achieving the smooth consistency that defines plum butter.
Step 2: Incorporate Sugars and Spices
Add the 2 cups Granulated Cane Sugar, 1 cup Light Brown Sugar, 1 tsp Ground Cinnamon, 0.25 tsp Ground Cloves, and 0.25 tsp Ground Nutmeg to the pot. Stir well to combine, then bring the mixture to a gentle boil over medium-high heat.
Once boiling, reduce the heat to medium-low and let it simmer for 20-25 minutes, stirring occasionally. The sugars will begin to caramelize, deepening the color and flavor of the butter. Watch for the mixture to thicken slightly, coating the back of a spoon.
Step 3: Add Acidity and Finish Cooking
Stir in the 0.25 cup Fresh Lemon Juice and 1 tsp Vanilla Extract. The lemon juice brightens the flavor and balances the sweetness, while the vanilla adds a warm, aromatic depth. Continue cooking over low heat for another 15-20 minutes.
The plum butter is ready when it reaches a thick, spreadable consistency and the liquid has reduced significantly. To test, drag a spoon through the mixture—it should leave a clear path that doesn’t immediately fill with liquid.
Step 4: Finalize for Canning
Remove the pot from heat and let the plum butter cool slightly. Skim off any foam that may have formed on the surface during cooking. Ladle the warm butter into sterilized jars, leaving ½-inch headspace.
Process the jars in a water bath for 10 minutes to ensure shelf stability. The finished plum butter should have a deep, rich color and a glossy texture, with the spices and citrus notes harmoniously balanced. Allow it to cool completely before storing.
Pro Tips For Making Plum Butter Recipe For Canning
- Simmer Low and Slow: Keep the heat at a gentle simmer—too high and the sugars will scorch before the plums break down. I learned this the hard way after my first batch tasted like burnt caramel.
- Pit and Chop Evenly: Cut plums into uniform pieces, about 1-inch chunks, so they cook down at the same rate. Sounds tedious, but it prevents half the batch from turning to mush while the rest stays firm.
- Skip the Sugar Rush: Resist the urge to add all the sugar upfront. Start with half, taste as it reduces, then adjust—plum sweetness varies wildly by variety.
- Add Lemon Last: Stir in the fresh lemon juice during the final 10 minutes of cooking. Adding it earlier can make the butter too thin, as the acid slows the thickening process.
Creative Variations of This Recipe
Spiced Apple Addition
Add 2 cups peeled, diced apples along with the plums for a brighter, more complex fruit butter. The apples’ natural pectin helps thicken the mixture naturally. I often use Granny Smith for a tart contrast to the sweet plums. 🍏
Citrus Twist
Replace ¼ cup Fresh Lemon Juice with ¼ cup orange juice and add 1 tbsp orange zest for a vibrant citrus variation. This works particularly well with blood plums for a stunning color combination.
Tropical Infusion
For an exotic twist, stir in ½ cup crushed pineapple (well-drained) during the final cooking stage. The tropical note pairs beautifully with the warm spices. David’s favorite version for summer canning.
Spice Swap
Replace the cinnamon, cloves, and nutmeg with 1 tbsp chai spice blend for a cozy, aromatic variation. This works especially well when using red plums for a deeper color. I source my chai blend from Austin’s Kuma Coffee. 🌿
Reduced Sugar
Cut the total sugar by half and add 1 tsp pomona pectin to maintain the right consistency. The result is a tangier spread that still keeps well. Perfect for those watching their sugar intake.
Savory Option
Omit all sugar and spices, adding 1 tbsp balsamic vinegar and 1 tsp rosemary instead. This savory version works wonderfully with cheese boards or as a glaze for meats.
Nutrition Facts
Frequently Asked Questions
How long does canned plum butter last?
Properly processed and sealed jars keep for 12-18 months in a cool, dark pantry. Once opened, refrigerate and use within 3 weeks for best quality.
Can I use other fruits with plums?
Try adding 2 cups diced apples or ½ cup crushed pineapple for extra depth. Just maintain the sugar-to-fruit ratio for safe canning.
Why add lemon juice?
The ¼ cup lemon juice ensures safety by balancing pH and adds brightness. Never skip it—it’s essential for both flavor and preservation.
How do I test doneness?
Drag a spoon through the mixture. If it leaves a clear path that doesn’t fill with liquid, it’s ready. It should coat the back of a spoon thickly.

- Potato Candy Recipe 1933: Vintage Peanut Butter Roll Delight - October 30, 2026
- Potato Chip Cookie Recipe With Pecans: Buttery Crunch Meets Nutty Richness - October 30, 2026
- Potato Patty Recipe No Egg: Crispy Edges Without the Binder - October 30, 2026