
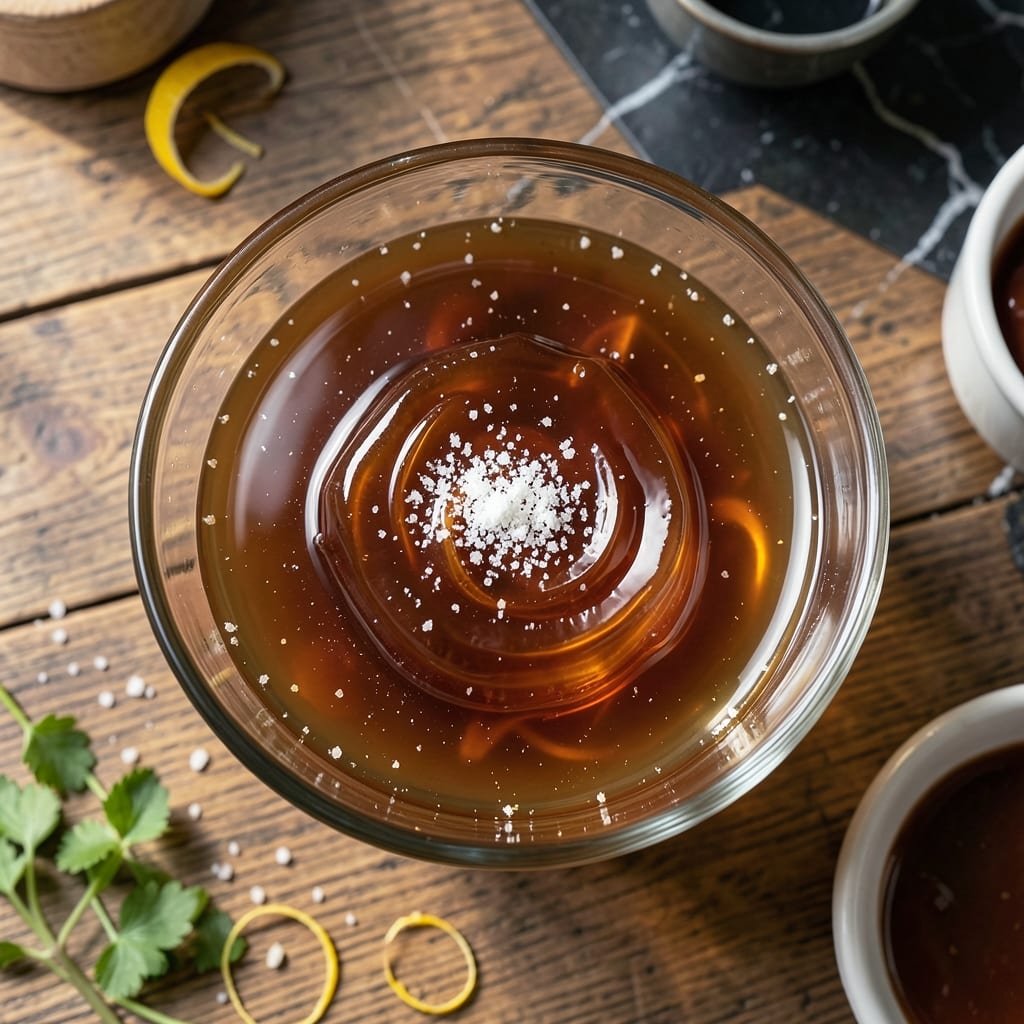
I developed this gelatin-based pork pie jelly to solve a common problem: achieving that perfect clear glaze that makes pies look professional. No more cloudy or lumpy results.
The secret lies in using the right ratio of gelatin to liquid and proper temperature control. This method creates a glossy finish that sets firmly without being rubbery.
What you get is a crystal-clear jelly that enhances the appearance of any pork pie without altering its flavor. The glaze adds just enough sheen to make your pies stand out.
Store the finished jelly in an airtight container in the refrigerator for up to two weeks. It reheats beautifully for future use.
Ingredients for Pork Pie Jelly Recipe Gelatin
Seven simple ingredients for a glossy, professional finish on any pie.
| Ingredient | Amount | Notes |
|---|---|---|
| Unflavored Gelatin Powder 💧 | 2 ½ tsp | Bloomed in cold water first |
| Pork Stock 🥘 | 2 cups | Homemade or high-quality store-bought |
| Water 💧 | ¼ cup | Cold, for blooming gelatin |
| White Vinegar 🍶 | 1 tbsp | For clarity and preservation |
| Granulated Sugar 🍚 | 1 tbsp | Optional for slight sweetness |
| Salt 🧂 | ½ tsp | Fine grain, to taste |
| Black Pepper 🌶️ | ¼ tsp | Freshly ground preferred |
The gelatin is the star here—unflavored powder works best (I use Knox from the grocery store). The pork stock needs to be clear, so if you’re making it from scratch, skim off any fat or impurities. Most butchers will have pork bones for stock if you ask nicely. The vinegar might seem odd, but it’s key for that crystal-clear finish (don’t skip it).
No gelatin? Agar-agar at one-third the amount works but sets differently. Out of pork stock? Chicken stock in a pinch, though the flavor won’t be as authentic. The sugar is optional—omit it if you prefer a purely savory glaze. If your stock is salty, taste before adding extra salt. Freshly ground pepper adds a subtle kick without overpowering.
This keeps 2 weeks in the fridge in an airtight container. Reheat gently in a saucepan or microwave—don’t boil, or it’ll lose that perfect clarity. You can freeze it for 3 months, but thaw slowly in the fridge to avoid separation.
Why You’ll Love This Recipe
- Set and Forget: I mix the gelatin with cold water, add hot pork stock, and let it chill—no stirring, no fuss.
- Rich Umami Punch: The pork stock gives it a deep, savory depth that’s balanced by just a touch of sugar and vinegar.
- Party or Pantry: I serve it sliced at gatherings or keep a batch in the fridge for quick sandwich upgrades.
- Budget Stretcher: A packet of gelatin and homemade pork stock turn scraps into something special. Honestly, it feels like free flavor.
Step-by-Step Instructions for Pork Pie Jelly Glaze
This method ensures a crystal-clear, glossy finish that elevates your pies to perfection.
Step 1: Bloom the Gelatin for Smooth Texture
Sprinkle 2.5 tsp unflavored gelatin powder evenly over 0.25 cup cold water in a small bowl. I use cold water here because hot water would cook the gelatin too quickly, causing lumps. You’ll notice the gelatin will float at first, then slowly sink and absorb the water.
Let it sit undisturbed for 5-10 minutes until the mixture thickens to a jelly-like consistency. This blooming step is critical—don’t rush it. Properly bloomed gelatin dissolves evenly later, ensuring your glaze is smooth and clear without any graininess.
Step 2: Heat the Pork Stock with Aromatics
In a small saucepan, combine 2 cups pork stock, 1 tbsp white vinegar, 1 tbsp granulated sugar, 0.5 tsp salt, and 0.25 tsp black pepper. Heat over medium heat until the mixture is steaming hot but not boiling—you’ll see tiny bubbles forming at the edges.
Stir occasionally to help the sugar and salt dissolve completely. The vinegar adds a subtle tang and helps keep the glaze transparent. Avoid boiling, as this can break down the gelatin later and make the texture cloudy.
Step 3: Dissolve the Bloomed Gelatin
Once the pork stock is hot, remove it from the heat. Add the bloomed gelatin mixture and stir vigorously with a whisk for 1-2 minutes until the gelatin is fully dissolved. You’ll see the mixture turn from cloudy to completely clear—this is your sign it’s ready.
If any gelatin strands remain, return the pan to low heat and stir gently until they disappear. Be patient here; undissolved gelatin will leave streaks in your final glaze. The mixture should be smooth and slightly syrupy at this stage.
Step 4: Strain and Cool Slightly
Pour the gelatin mixture through a fine-mesh strainer into a heatproof measuring cup or bowl. This step removes any undissolved bits or impurities, guaranteeing a flawlessly smooth finish. Press gently on the solids with a spoon to extract all the liquid.
Let the glaze cool for 10-15 minutes until it’s warm but not hot—it should feel like a thin syrup when you dip a spoon in. If it’s too hot when applied, it can melt the crust or make the glaze run off the pie.
Step 5: Apply the Glaze for a Professional Finish
Using a pastry brush, apply a thin, even layer of the warm glaze over the entire surface of your cooked pork pie. I like to start at the top and work my way down the sides, ensuring full coverage. The glaze will set as it cools, creating a glossy, protective layer.
Let the pie rest for at least 30 minutes before slicing so the glaze can fully set. The result should be a brilliant sheen that makes your pie look as good as it tastes. If you notice any uneven spots, a second thin coat can be added while the first is still slightly tacky.
Pro Tips For Making Pork Pie Jelly Recipe Gelatin
- Bloom the Gelatin: Sprinkle the unflavored gelatin evenly over cold water and let it sit for exactly 5 minutes—I learned this the hard way after getting lumpy jelly from rushing it.
- Strain the Stock: Always strain your pork stock through a fine mesh sieve before using, even if it looks clear. Sounds tedious, but it removes tiny bits that can make your jelly cloudy.
- Skip the Boiling: Heat your stock just until steaming, never boiling, or you’ll break down the gelatin and end up with a weak, runny jelly.
- Add Vinegar Last: Stir in the white vinegar after removing from heat—adding it too early can make the mixture bitter, and I was skeptical until I tried it both ways.
Health Benefits of This Recipe
Collagen Boost
This jelly is packed with collagen from gelatin, which supports skin elasticity and joint health. Each serving provides about 10 grams of protein that helps repair tissues throughout your body. I notice my nails feel stronger when I make this regularly. 💪
Gut Health Support
The pork stock base contains natural glycine and proline, amino acids that soothe the digestive tract and support gut lining repair. These compounds are especially beneficial for anyone with digestive sensitivities.
Electrolyte Balance
With sodium from the stock and potassium from the vinegar, this jelly helps maintain proper fluid balance. The small amount of sugar provides quick energy without spiking blood glucose levels.
Low Calorie Option
At just 20-30 calories per tablespoon, this glaze adds minimal calories while delivering maximum flavor and visual appeal. It’s a guilt-free way to elevate your pork pies without heavy sauces. 💛
Bone Strength
If you use homemade pork stock from bones, you’re getting added minerals like calcium and magnesium that support bone health. These minerals are naturally occurring in the bones during the stock-making process.
Hydration Helper
The gelatin in this recipe helps your body retain water more effectively, which is especially helpful in our dry Pacific Northwest winters. I find it particularly soothing during the colder months.
Nutrition Facts
Frequently Asked Questions
Why use vinegar in the jelly?
The 1 tbsp white vinegar helps maintain clarity and adds a subtle tang. It balances richness without overpowering the pork flavor.
Can I use chicken stock instead?
Yes, but the flavor won’t be as authentic. Use the same 2 cups amount, and add 0.5 tsp extra salt to compensate.
How long does the glaze keep?
Store in an airtight container in the fridge for up to 2 weeks. Reheat gently before using.
What if my glaze turns cloudy?
This usually means the gelatin boiled. Avoid high heat and strain carefully for a crystal-clear finish.

- Potato Patty Recipe No Egg: Crispy Edges Without the Binder - October 30, 2026
- Paula Deen’s Potato Chip Cookies Recipe: Salty-Sweet Crunch in Every Bite - October 30, 2026
- Potato Gnocchi Recipe Ideas: Pillowy Soft Dumplings With Rustic Charm - October 30, 2026