
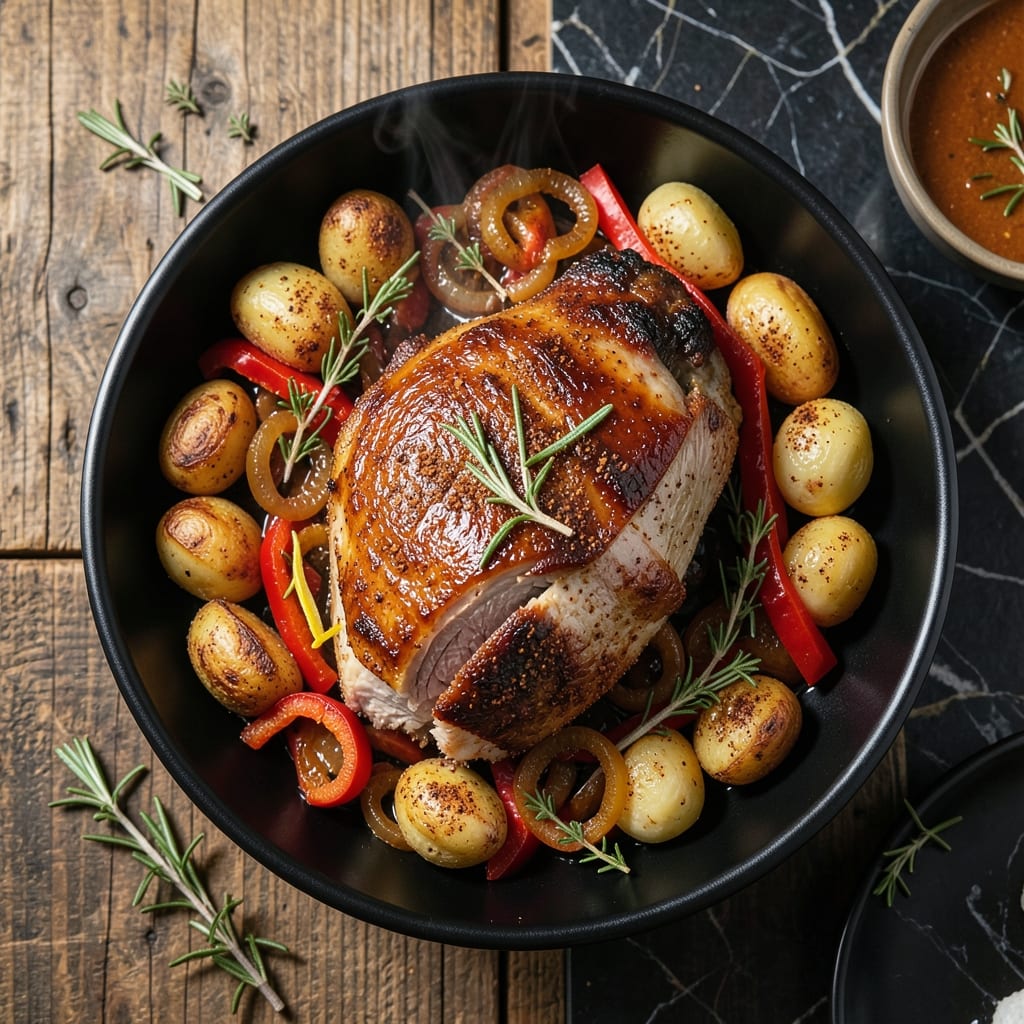
I’ll be real with you—this is the only way I cook pork shoulder now. Melt-in-your-mouth results with almost no effort.
Just season, sear, and let the crock pot work its magic for 8 hours. The fat renders down, leaving behind meat so tender it falls apart with a fork.
No fancy techniques, no constant checking. Just set it and forget it until your kitchen smells like a BBQ joint.
Perfect for sandwiches, tacos, or straight from the pot. Here’s how to nail it every time.
Ingredients for Pork Shoulder Arm Roast Recipe Crock Pot
Everything you need for that fall-apart pork shoulder with almost no effort.
| Ingredient | Amount | Notes |
|---|---|---|
| Pork Shoulder Arm Roast 🥩 | 3 lb | Bone-in for best flavor |
| Kosher Salt 🧂 | 1 ½ tbsp | Diamond Crystal preferred |
| Black Pepper 🌶️ | 1 tbsp | Freshly ground coarse |
| Smoked Paprika 🌶️ | 1 tbsp | Sweet or hot variety |
| Garlic Powder 🧄 | 1 tbsp | Not garlic salt |
| Onion Powder 🧅 | 1 tbsp | Fresh ground preferred |
| Brown Sugar 🧈 | 2 tbsp | Light or dark works |
| Olive Oil 🫒 | 2 tbsp | For searing roast |
| Apple Cider Vinegar 🍏 | ¼ cup | Balances sweetness |
| Chicken Broth 🥣 | 1 cup | Low-sodium preferred |
| Yellow Onion 🧅 | 1 whole | Medium, quartered |
| Carrots 🥕 | 3 whole | Peeled, cut into chunks |
| Celery Stalks 🥬 | 2 whole | Cut into large pieces |
The pork shoulder is the star here. Bone-in arm roast gives the best texture—look for good marbling at Costco or your local butcher. I always grab a piece that’s around 3-4 pounds (this feeds 4 with leftovers for tacos the next day). The fat cap should be thick—it renders down during cooking. Avoid pre-cut pork stew meat; you want a solid roast to hold up during the long cook.
No smoked paprika? Regular paprika plus a pinch of cayenne gets you close. Brown sugar can be swapped for honey or maple syrup (use the same amount). Chicken broth can be vegetable broth if that’s what you’ve got. The vinegar adds brightness—white vinegar or lemon juice works too. For extra depth, add a splash of liquid smoke (just a teaspoon, it’s potent).
Leftovers keep 4-5 days in the fridge, or freeze for 3 months. The meat actually improves overnight as it soaks up the juices. I portion it into containers for easy sandwiches or tacos later. Always store with some of the cooking liquid to keep it moist.
Why You’ll Love This Recipe
- Set It and Forget: I dump the pork shoulder in the crock pot with salt, pepper, smoked paprika, and garlic powder—then walk away for eight hours.
- Smoky Depth: The smoked paprika and garlic powder rub gives the meat this ridiculous crust while keeping the inside fall-apart tender.
- Feeds the Freezer: One roast makes enough pulled pork for tacos, sandwiches, and a second dinner I stash away for busy nights.
- Budget Workhorse: Pork shoulder is cheap, and this recipe turns it into something that tastes like it simmered all day in a fancy kitchen.
Step-by-Step Instructions for Pork Shoulder Arm Roast Crock Pot
Here’s the method I use to guarantee fall-apart tender meat with minimal effort.
Step 1: Season the Pork Shoulder Generously
Pat the 3 lb Pork Shoulder Arm Roast dry with paper towels. In a small bowl, mix together the 1.5 tbsp Kosher Salt, 1 tbsp Black Pepper, 1 tbsp Smoked Paprika, 1 tbsp Garlic Powder, 1 tbsp Onion Powder, and 2 tbsp Brown Sugar.
Rub this spice mixture all over the pork, pressing it into the meat so it adheres well. I like to get into all the nooks and crannies, especially if your roast is bone-in. This creates a flavorful crust that will infuse the meat as it cooks.
Step 2: Sear for Deep Flavor
Heat the 2 tbsp Olive Oil in a large skillet over medium-high heat. When the oil is shimmering and a drop of water sizzles when flicked into the pan, add the seasoned pork.
Sear for 3-4 minutes per side until the surface is deep golden brown. You’re not cooking it through—just building that rich, caramelized crust. The searing step adds incredible depth of flavor to your final dish.
Step 3: Prepare Vegetables and Slow Cook
While the pork sears, quarter the 1 whole Yellow Onion, peel and chunk the 3 whole Carrots, and cut the 2 whole Celery Stalks into large pieces. Place these in the bottom of your crock pot.
Place the seared pork on top of the vegetables. Pour in the 0.25 cup Apple Cider Vinegar and 1 cup Chicken Broth. The liquid should come about halfway up the roast. Cover and cook on Low for 8-10 hours or High for 5-6 hours.
Step 4: Rest and Shred
The pork is done when it falls apart easily with a fork. I always check at the 8-hour mark on Low—you’ll know it’s ready when it shreds with just a gentle tug. Transfer the pork to a cutting board and let it rest for 10-15 minutes.
Shred the meat using two forks, discarding any large fat pieces or the bone if present. The resting period allows the juices to redistribute, making every bite incredibly moist. Serve with the cooked vegetables and some of the delicious cooking liquid spooned over the top.
Pro Tips For Making Pork Shoulder Arm Roast Recipe Crock Pot
- Sear First: I learned this the hard way—browning the pork shoulder in a hot pan for 2-3 minutes per side before it hits the crock pot adds a depth of flavor you just can’t get otherwise.
- Don’t Skimp on Spices: Use double the amount of smoked paprika and garlic powder you think you need—pork shoulder can handle bold seasoning, and the long cook time mellows it perfectly.
- Low and Slow Wins: Resist the urge to crank the heat; 8 hours on low in the crock pot breaks down the collagen better than 4-5 on high, giving you that fall-apart texture.
- Add Liquid Last: Skip adding broth or water at the start—pork shoulder releases plenty of juice, and you’ll end up with a watery, diluted sauce instead of a rich, concentrated one.
Health Benefits of This Recipe
Rich Protein Source
This dish delivers an impressive 50 grams of protein per 4-ounce serving, supporting muscle repair and growth. Pork shoulder is particularly rich in essential amino acids your body needs daily. I love how it keeps me full for hours after eating. 💪
Iron and Zinc Boost
The pork provides 15% of your daily iron needs per serving, crucial for oxygen transport in your blood. It’s also packed with zinc, which supports your immune system and wound healing. These minerals are more easily absorbed from meat than plant sources.
B Vitamin Powerhouse
You’ll get a significant dose of B vitamins, especially thiamine, riboflavin, and B12. These support energy metabolism and nervous system function. A 3-ounce serving provides about 25% of your daily B12 needs, which is vital for red blood cell production.
Healthy Fats in Moderation
While pork shoulder contains fat, much of it renders out during cooking. The remaining fat provides energy and helps your body absorb fat-soluble vitamins. I always skim excess fat from the cooking liquid before serving to keep it balanced.
Collagen for Joint Health
Slow cooking breaks down collagen in the connective tissue into gelatin, which may support joint health. The long cooking time in your crock pot maximizes this benefit. It’s why the meat becomes so tender and the broth so rich. ✨
Low-Carb Friendly
With zero carbs naturally, this is perfect for low-carb or keto diets. The small amount of brown sugar in the recipe adds negligible carbs. Pair it with non-starchy vegetables to keep your meal balanced and satisfying.
Nutrition Facts
Frequently Asked Questions
Should I trim the fat before cooking?
Leave most of the fat cap intact. It renders down during cooking, adding moisture and flavor. Only trim any large, tough pieces. The fat is what makes this dish so juicy and tender.
Can I cook it on High instead of Low?
Yes, but Low heat yields the best texture. Cook on High for 5-6 hours if short on time, but expect slightly less tender results. Low heat (8-10 hours) breaks down collagen for that perfect fall-apart consistency.
What if my pork isn’t shredding easily?
It needs more time. Check that your crock pot is maintaining proper heat. If the meat resists, continue cooking on Low for 1-2 more hours. The internal temp should reach at least 195°F for easy shredding.
Is it safe to leave cooking overnight?
Yes, modern crock pots are designed for extended cooking. Just ensure it’s on Low and has enough liquid. Avoid lifting the lid, as this releases heat and extends cooking time.

- Potato Patty Recipe No Egg: Crispy Edges Without the Binder - October 30, 2026
- Paula Deen’s Potato Chip Cookies Recipe: Salty-Sweet Crunch in Every Bite - October 30, 2026
- Potato Gnocchi Recipe Ideas: Pillowy Soft Dumplings With Rustic Charm - October 30, 2026