
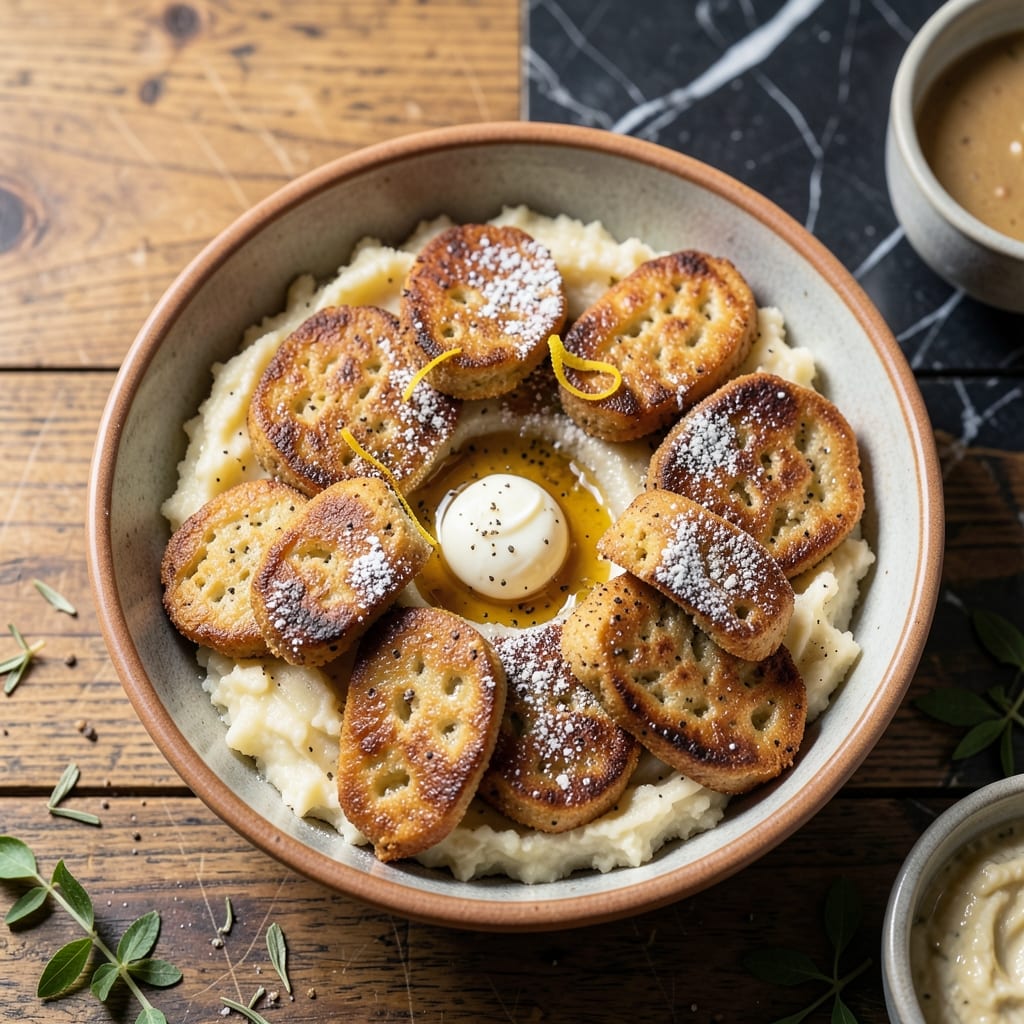
Transform last night’s mashed potatoes into golden, crispy Irish farls with this traditional technique. This method turns simple leftovers into a side dish worth making extra mash for.
The secret lies in proper shaping and even heating. Form the mashed potatoes into flat circles, then pan-fry in hot oil until both sides develop a deep golden crust. The result is a crispy exterior with a creamy center.
These farls pair perfectly with breakfast or dinner, offering a satisfying texture contrast. The process takes less than 20 minutes from start to finish, making it an efficient way to repurpose leftovers.
Serve warm for the best experience, as the contrast between the hot, crispy outside and soft inside is most pronounced fresh from the pan.
Ingredients for Potato Farls Recipe with Leftover Mash
Repurpose cold mashed potatoes into crispy Irish farls with these simple ingredients.
| Ingredient | Amount | Notes |
|---|---|---|
| Leftover Mashed Potatoes 🥔 | 4 cups | Cold, thick consistency preferred |
| All-Purpose Flour 🌾 | ½ cup | Plus extra for dusting surface |
| Unsalted Butter 🧈 | 2 tbsp | Melted for binding mixture |
| Large Egg 🥚 | 1 whole | Lightly beaten for cohesion |
| Kosher Salt 🧂 | ½ tsp | Diamond Crystal preferred for texture |
| Freshly Ground Black Pepper 🌶️ | ¼ tsp | Coarse grind for best flavor |
| Vegetable Oil 🫒 | ¼ cup | High smoke point for frying |
| Green Onions 🧅 | 2 whole | Thinly sliced for garnish |
| Fresh Chives 🌿 | 1 tbsp | Finely chopped optional garnish |
| Sour Cream 🥛 | ½ cup | Full-fat for serving |
The mashed potatoes are the foundation—use cold, thick leftovers (not fresh, not runny). Russet or Yukon Gold varieties work best for that perfect creamy interior. If your mash is bland, add a pinch more salt before forming. The flour is just for structure, so don’t overthink it—all-purpose is ideal. Most grocery stores carry Diamond Crystal kosher salt, which is the professional choice for consistent seasoning.
No leftover mash? Make a fresh batch with butter and warm milk—let it cool completely before using. Out of green onions? Fresh parsley or chives add a similar freshness. The egg can be omitted for a vegan version, but expect slightly less cohesion. For frying, avocado or canola oil work as high-smoke alternatives to vegetable oil. The sour cream? Full-fat only (trust me on this).
Farls are best served immediately, but leftovers keep 2 days in the fridge. Reheat in a dry skillet to restore crispness. The dough can be shaped and refrigerated for up to 4 hours before cooking—ideal for prep ahead. Never freeze the dough, as it disrupts the texture.
Why You’ll Love This Recipe
- I’ll be real: turning last night’s mash into today’s star feels like a small victory.
- No Fuss Mixing: I just stir the leftover mash with flour, egg, and a pinch of salt—no fancy techniques, no stress.
- Buttery Crisp Edges: Honestly, the way the butter makes the outside golden while keeping the center soft? I make extra just for that.
- Breakfast to Dinner: Between us, these work with eggs at dawn or alongside steak at night.
Step-by-Step Instructions for Potato Farls With Leftover Mash
Here’s the method. Straightforward, tested, works every time.
Step 1: Combine and Form the Dough
In a large mixing bowl, combine the 4 cups Leftover Mashed Potatoes with the 0.5 cup All-Purpose Flour, 2 tbsp Unsalted Butter, 1 whole Large Egg, 0.5 tsp Kosher Salt, and 0.25 tsp Freshly Ground Black Pepper.
Mix with a wooden spoon or your hands until a cohesive dough forms. The potatoes should be cold and thick for the best texture—this prevents the farls from falling apart during cooking. If the mixture feels too sticky, add a bit more flour, but avoid overworking it.
Step 2: Shape and Divide the Dough
Turn the dough out onto a lightly floured surface and divide it into 4 equal portions. Shape each portion into a round, flat disc about ½ inch thick. Dust the surface and your hands with additional flour as needed to prevent sticking.
For even cooking, ensure all farls are uniform in thickness. This step guarantees they’ll cook at the same rate, achieving a crisp exterior while remaining tender inside.
Step 3: Pan-Fry to Crisp Perfection
Heat the 0.25 cup Vegetable Oil in a large skillet over medium heat. Once the oil shimmers, carefully place the farls in the pan, leaving space between them to avoid crowding. Cook for 4-5 minutes per side or until deep golden brown and crisp.
Resist the urge to flip too soon—you’ll know they’re ready when the edges appear set and a crust has formed. Drain on paper towels to remove excess oil.
Step 4: Garnish and Serve Warm
Slice the 2 whole Green Onions thinly and chop the 1 tbsp Fresh Chives. Sprinkle these over the farls for a fresh, vibrant finish. Serve immediately with a dollop of 0.5 cup Sour Cream on the side for dipping or topping.
The farls should be crisp on the outside, soft and fluffy inside. Serving them warm ensures the best texture and flavor.
Pro Tips For Making Potato Farls Recipe With Leftover Mash
- Chill the Dough: Let the dough rest in the fridge for 20-30 minutes before shaping—I learned this the hard way after my first few farls fell apart in the pan.
- Use Cold Leftover Mash: Work with fully chilled mashed potatoes, about 4°C or colder, so the mixture holds together when you roll it out.
- Skip Over-Flouring: Dust just enough flour to prevent sticking, but resist the urge to add extra—too much makes the farls dense and dry.
- Test Heat First: Drop a tiny piece of dough in the pan first; if it sizzles immediately, the heat’s right—my grandmother swore by this, and she was right.
Pro Cooking Tips for This Recipe
Dough Consistency Check
If your mixture feels too wet, add 1-2 tbsp more flour gradually. Cold mashed potatoes should hold together without being sticky. I find that Yukon Gold leftovers work best for this texture.
Even Thickness Matters
Use a ruler or your eye to ensure all farls are exactly ½ inch thick. This uniformity guarantees even cooking and prevents burning. Press gently—don’t compact the dough too tightly.
Oil Temperature Test
Test your oil by dropping in a pinch of flour. If it sizzles immediately, it’s ready. Medium heat is key—too hot and they’ll burn outside before cooking through. I use a cast iron skillet for best heat distribution. 🔥
No Crowding the Pan
Leave 2 inches between farls in the pan. Overcrowding steams them instead of frying, resulting in soggy rather than crispy edges. Cook in batches if needed.
The Flip Timing
Wait until you see a golden crust forming at the edges before flipping. This usually takes 4-5 minutes. Peek underneath with a spatula to check doneness.
Rest Before Serving
Let farls rest on paper towels for 2 minutes after frying. This helps set the crust while draining excess oil. Serve immediately while hot and crispy.
Nutrition Facts
Frequently Asked Questions
Can I use warm mashed potatoes?
Always use cold mashed potatoes for farls. Warm mash makes the dough sticky and difficult to handle. Chill leftovers for at least 2 hours before starting.
What if my dough is too sticky?
Add 1-2 tbsp more flour gradually until the dough holds together. Avoid overmixing, as this can make farls tough. Lightly dust your hands and surface.
How do I store leftovers?
Keep cooked farls in an airtight container in the fridge for up to 2 days. Reheat in a dry skillet over medium heat to restore crispness.
Can I make them ahead of time?
Shape the dough and refrigerate for up to 4 hours before cooking. Don’t freeze the dough, as it affects texture. Cook just before serving.

- Pressure Cooker Ketchup Recipe With Canned Tomatoes: Homemade Tangy Richness in Half the Time - October 30, 2026
- Pottukadalai Sweet Recipe in Tamil: Festive Roasted Gram Delight - October 30, 2026
- Potato Salad Recipe With Egg and Sour Cream: Creamy Tang With Classic Crunch - October 30, 2026