
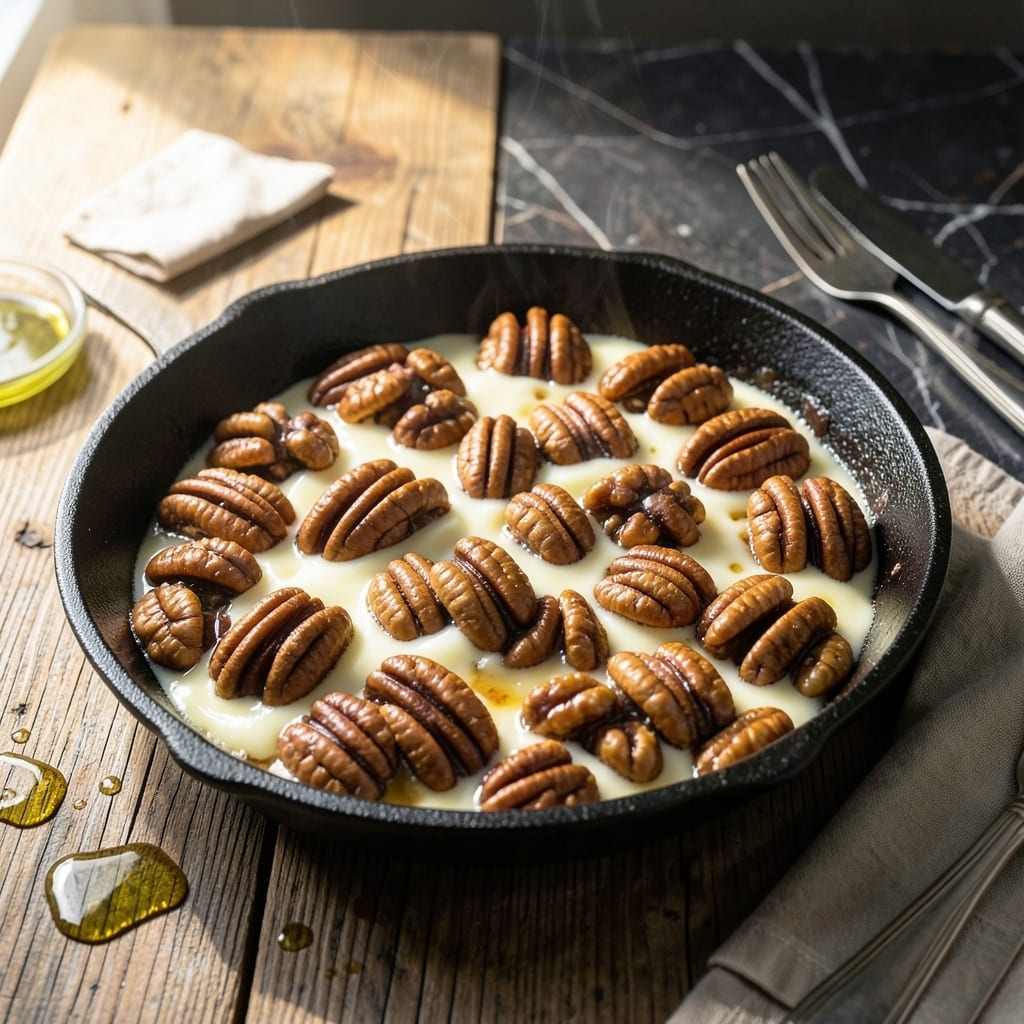
This Southern praline recipe delivers the creamy texture and rich caramel flavor that makes this candy a beloved tradition.
Evaporated milk creates the signature smooth consistency that sets these apart from other versions. The process requires patience and precise temperature control to achieve that perfect melt-in-your-mouth quality.
You’ll end up with clusters of pecans suspended in a velvety caramel that’s both sweet and slightly buttery. Each bite captures the essence of old-fashioned candy making.
The result is a treat that’s as satisfying to make as it is to eat, with results that rival any candy shop.
Ingredients for Praline Recipe with Evaporated Milk
Classic Southern pantry staples plus evaporated milk for that signature creamy depth.
| Ingredient | Amount | Notes |
|---|---|---|
| Granulated Sugar 🍚 | 2 cups | White sugar for caramel base |
| Light Brown Sugar 🟤 | 1 cup | Packed, adds molasses depth |
| Evaporated Milk 🥛 | 1 can | 12 oz, full-fat for creaminess |
| Unsalted Butter 🧈 | ½ cup | Cubed, room temperature |
| Pecan Halves 🌰 | 2 cups | Fresh, high-quality preferred |
| Vanilla Extract 🌿 | 1 tsp | Pure extract for best flavor |
| Salt 🧂 | ¼ tsp | Fine grain for balance |
| Baking Soda 🧪 | 0.125 tsp | Optional, for smoother texture |
The evaporated milk is non-negotiable here—Carnation or Pet are reliable brands with consistent thickness. Pecans should be fresh (last year’s crop if you’re lucky) with a rich, buttery smell. Pecans.com if you’re ordering online, but most Walmart or Publix stores carry decent options. Don’t skip the light brown sugar; the molasses note is key to balancing the sweetness.
No pecans? Walnuts work in a pinch but the texture’s different. For a deeper caramel, swap half the white sugar for dark brown. Evaporated milk can’t be replaced with regular milk—too thin, won’t set right. If you’re out of vanilla, a pinch of cinnamon adds warmth (not the same, but pleasant). The baking soda is optional but helps prevent graininess.
Pralines keep 2 weeks in an airtight container at room temperature. If they get sticky, a quick reheat in the microwave (10 seconds) firms them up. Freeze for up to 3 months—thaw slowly to avoid condensation.
Why You’ll Love This Recipe
- 5-Minute Setup: I just dump sugars, evaporated milk, and butter in a pan—no fancy prep.
- Buttery Pecan Magic: The brown sugar and evaporated milk create this rich, caramelized depth that coats every pecan half perfectly.
- Holiday Gift Staple: I make batches of these for teacher gifts and cookie swaps—everyone remembers the homemade pralines.
- Stores for Weeks: Honestly, they taste even better after a few days, and I can keep them in an airtight container for ages.
Step-by-Step Instructions for Pralines With Evaporated Milk
Here’s the method I swear by for achieving that signature creamy texture in every batch.
Step 1: Combine Sugars, Evaporated Milk, and Butter
In a heavy-bottomed saucepan, combine the 2 cups Granulated Sugar, 1 cup Light Brown Sugar, 1 can Evaporated Milk, and 0.5 cup Unsalted Butter. The heavy base prevents scorching, which is critical for smooth candy.
Cook over medium heat, stirring constantly with a wooden spoon, until the mixture comes to a full rolling boil. You’ll see large bubbles that can’t be stirred down—that’s your signal. This usually takes 8-10 minutes, but watch closely as it can boil over quickly.
Step 2: Monitor Temperature to Soft Ball Stage
Once boiling, stop stirring and let it cook undisturbed until it reaches 235-240°F on a candy thermometer. This is the soft ball stage, where the syrup will form a pliable ball when dropped in cold water but still flatten when removed.
I keep a small bowl of ice water nearby to test the consistency periodically. If you don’t have a thermometer, the visual test works too: the syrup should look slightly thicker and the bubbles will appear smaller and more uniform. This stage usually takes 10-15 minutes after boiling begins.
Step 3: Add Pecans and Finish Cooking
When the mixture reaches temperature, immediately remove from heat and stir in the 2 cups Pecan Halves, 1 tsp Vanilla Extract, 0.25 tsp Salt, and 0.125 tsp Baking Soda. The baking soda creates tiny air pockets for a lighter texture.
The mixture will bubble vigorously when you add the vanilla and baking soda—that’s normal. Stir just until the pecans are fully coated, about 30 seconds. The pecans will plump slightly as they absorb some of the hot syrup.
Step 4: Beat and Cool to Thick, Creamy Consistency
Let the mixture cool undisturbed for 5 minutes, then beat it vigorously with a wooden spoon until it thickens and loses its glossy sheen. This step is crucial for achieving that creamy, fudge-like texture the evaporated milk provides.
You’ll notice the color lighten slightly as you beat, and the mixture will become harder to stir. This usually takes 3-5 minutes of beating. If it seems too runny, let it cool another minute before beating more—patience prevents grainy pralines.
Step 5: Drop and Set the Pralines
Working quickly while the mixture is still pliable, drop heaping tablespoonfuls onto parchment paper. I use two spoons—one to scoop and one to push the candy off. Space them about 1 inch apart as they’ll spread slightly.
Let them cool completely at room temperature for 30-45 minutes. The pralines are done when they’re firm to the touch but still slightly yielding when pressed. Store in an airtight container with parchment between layers to prevent sticking. The evaporated milk ensures they stay creamy for days.
Pro Tips For Making Praline Recipe With Evaporated Milk
- Use a Candy Thermometer: I learned this the hard way—without one, it’s easy to undercook or burn the sugar mixture. Aim for 235-240°F for that perfect soft-ball stage with evaporated milk.
- Toast the Pecans First: Spread pecan halves on a baking sheet at 350°F for 8-10 minutes before adding them. Sounds weird, but it works: it deepens their flavor and keeps them crisp in the pralines.
- Resist Stirring Too Soon: After the mixture reaches a boil, don’t stir it until it hits 230°F—stirring early can cause sugar crystals to form on the sides of the pan.
- Chill the Bowl: Place your mixing bowl in the freezer for 10 minutes before pouring in the hot praline mixture. This makes a real difference in helping the pralines set faster and stay glossy.
Troubleshooting praline recipe with evaporated milk
Grainy Pralines
If your pralines turn out grainy, the sugar likely crystallized. To prevent this, avoid stirring after the mixture boils and ensure no sugar crystals cling to the pan sides. Brush the sides with a wet pastry brush if needed. 💡
Too Hard or Too Soft
Hard pralines mean you cooked past 240°F. Next time, use a calibrated candy thermometer and pull it at 235-238°F. Soft pralines need more beating or cooling time—keep beating until the mixture loses its gloss.
Pralines Won’t Set
This usually happens if beaten too soon or not enough. Let the mixture cool for 5-7 minutes before beating. If they still won’t set, cook the mixture to 240°F and try again, as the evaporated milk needs proper reduction.
Separated Mixture
If the fats separate, you likely heated too quickly. Lower the heat to medium and stir constantly. If separation occurs, remove from heat and whisk vigorously to re-emulsify the butter and evaporated milk.
Burnt Bottom
Use a heavy-bottomed saucepan and maintain medium heat. If you see dark spots, immediately transfer to a new pan. Stir frequently to distribute heat evenly through the thick evaporated milk mixture.
Sticky Pralines
Humidity is the culprit. Store in an airtight container with parchment between layers. If they soften, a quick 10-second microwave burst can restore firmness before serving. ✨
Nutrition Facts
Frequently Asked Questions
Can I substitute regular milk for evaporated milk?
No, regular milk is too thin and won’t set properly. Evaporated milk’s reduced water content is key for the creamy texture. Stick with the canned version for best results.
Why do my pralines turn out grainy?
Graininess usually means sugar crystallized. Avoid stirring after boiling and brush pan sides with a wet brush to prevent crystals from forming. Patience is key!
How do I know when they’re done cooking?
Use a candy thermometer and stop at 235-240°F. Without one, test by dropping syrup in cold water—it should form a soft ball that flattens when removed.
How long do homemade pralines last?
Store in an airtight container at room temperature for up to 2 weeks. For longer storage, freeze for up to 3 months and thaw slowly.

- Pudding Recipe With Egg Yolks: Silky Smooth Custard in Minutes - November 3, 2026
- Pudding Pops Recipe Cook and Serve: Silky Frozen Treats Without the Machine - November 3, 2026
- Protein Ice Cream Recipe Blender Xanthan Gum: Ultra Creamy Texture Without the Guilt - November 3, 2026