
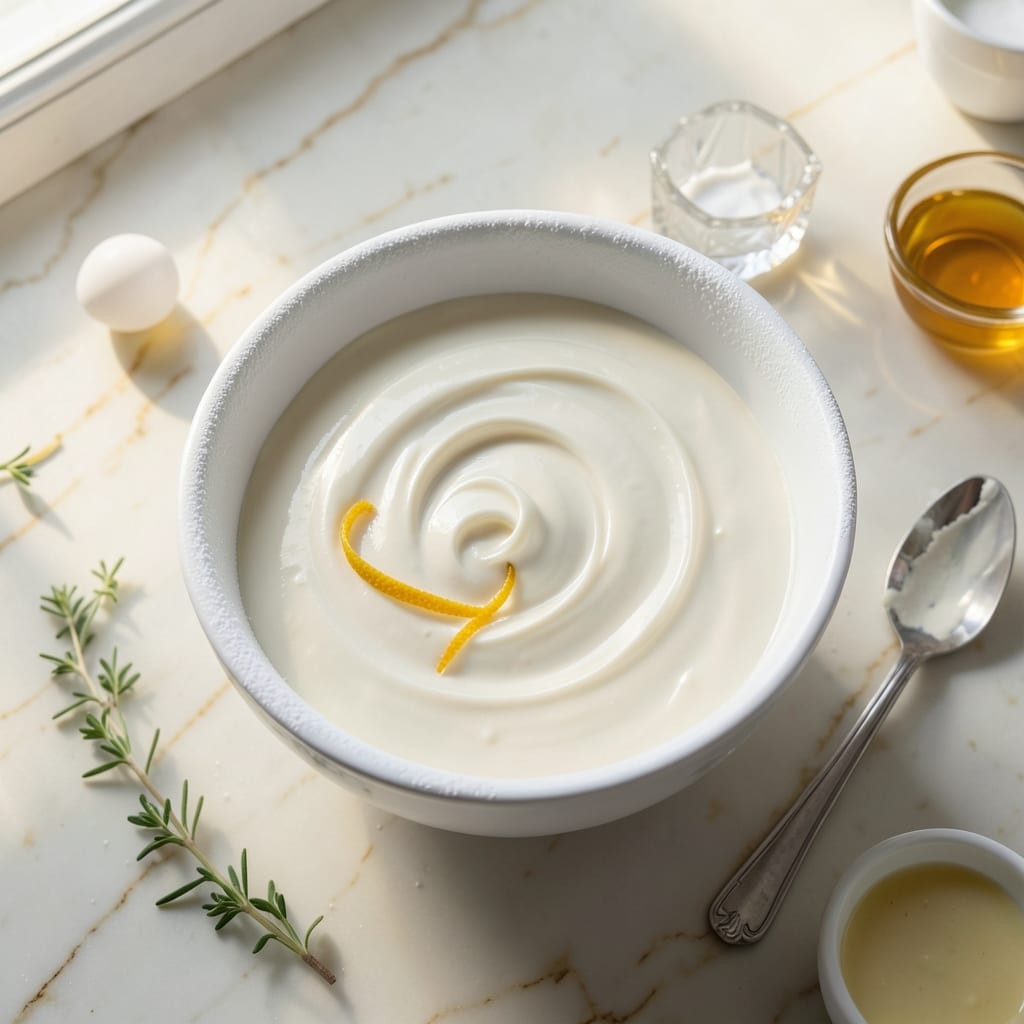
Achieving smooth and glossy royal icing requires precision, not luck. This proven method delivers professional results every time, with the perfect consistency for piping intricate cookie designs without spreading or wilting.
The secret lies in the ratio of powdered sugar to liquid and the mixing technique. Whipping egg whites with powdered sugar creates a stable base, while careful addition of water achieves the ideal texture. The result is icing that holds its shape yet pipes effortlessly.
What sets this version apart is its reliability. Whether you’re outlining cookies or flooding large areas, the icing maintains a pipeable consistency that dries hard and glossy. No more sagging edges or dull finishes.
Perfect for decorative cookie work, this icing forms a durable shell that preserves your designs. The professional technique ensures consistent results, batch after batch.
Ingredients for Professional Royal Icing Recipe for Cookies
Precision matters here. These ingredients create professional-grade icing every time.
| Ingredient | Amount | Notes |
|---|---|---|
| Powdered Sugar 🍚 | 4 cups | Sifted for smooth texture |
| Egg Whites 🥚 | 3 whole | Room temperature, large |
| Water 💧 | ¼ cup | Adjust for consistency |
| Cream of Tartar 🧂 | ½ tsp | Stabilizes egg whites |
| Vanilla Extract 🌿 | 1 tsp | Pure, not imitation |
| Lemon Juice 🍋 | 1 tbsp | Freshly squeezed preferred |
| Salt 🧂 | 0.125 tsp | Fine grain for even distribution |
Powdered sugar quality is non-negotiable for professional results. Domino or C&H brands provide consistent fineness for smooth icing. Use superfine sugar if you can find it—no need to sift. Egg whites must be at room temperature to whip properly; pasteurized egg whites work if raw egg safety is a concern. Cream of tartar acts as the stabilizer, so don’t omit it.
Need an egg-free version? Aquafaba (chickpea brine) at a 1:1 ratio replaces egg whites beautifully. No cream of tartar? White vinegar or lemon juice at half the amount will work. For flavoring, almond or coconut extract can replace vanilla. The water amount is flexible—add gradually until you reach the desired pipeable consistency.
Royal icing dries out fast. Store in an airtight container with plastic wrap pressed directly on the surface. Keeps at room temperature for 2 days, in the fridge for 1 week. Freeze portions in ice cube trays for up to 3 months—thaw and rewhip before using.
Why You’ll Love This Recipe
- Five Ingredients Only: I just dump powdered sugar, egg whites, water, cream of tartar, and vanilla in a bowl—no fancy stuff.
- Velvety Sweetness: The vanilla extract gives it this smooth, not-too-sweet finish that even my picky niece loves.
- Decorates Everything: I’ve used it on sugar cookies, gingerbread, even store-bought shortbread when I’m in a pinch.
- Stays Fresh: Honestly, I’ll make a double batch because it keeps in the fridge for up to a week without separating.
Step-by-Step Instructions for Professional Royal Icing
Master the technique for achieving a flawless, pipeable consistency every time.
Step 1: Combine and Whisk the Dry Ingredients
In a clean, grease-free mixing bowl, combine the 4 cups Powdered Sugar and 0.5 tsp Cream of Tartar. I always sift my powdered sugar first to eliminate lumps and ensure a silky-smooth finish. The cream of tartar acts as a stabilizer, giving the icing structure and preventing it from collapsing.
Whisk the dry ingredients together until fully incorporated. This step ensures even distribution of the stabilizer throughout the sugar, which is critical for consistent texture and performance.
Step 2: Incorporate the Wet Components Gradually
Add the 3 whole Egg Whites, 0.25 cup Water, 1 tsp Vanilla Extract, 1 tbsp Lemon Juice, and 0.125 tsp Salt to the dry mixture. I recommend using room-temperature egg whites, as they whisk up to a greater volume and create a more stable meringue base.
Begin mixing on low speed until the ingredients are just combined, then gradually increase to medium-high. The lemon juice adds a subtle brightness to the flavor, while the salt balances the sweetness without being noticeable.
Step 3: Beat to Stiff Peaks for Optimal Structure
Continue beating the mixture on medium-high speed for 5-7 minutes until it reaches stiff peaks. You’ll know it’s ready when the beaters leave distinct, sharp peaks in the icing that hold their shape without slumping. This stage is non-negotiable for achieving the proper piping consistency.
Watch for the icing to turn glossy and white, with a thick, marshmallow-like texture. If it appears too thin, add a small amount of additional powdered sugar, 1 tablespoon at a time, until the desired stiffness is achieved.
Step 4: Adjust Consistency for Piping or Flooding
For piping outlines, the icing should hold a peak that slowly relaxes but retains its shape. Test by lifting the beaters—the icing should form a peak that slowly settles but doesn’t melt back completely. If it’s too thick, add water 1 teaspoon at a time, mixing thoroughly between additions.
For flooding or filling in designs, thin the icing slightly by adding water ½ teaspoon at a time until it reaches a ribbon-like consistency. When drizzled back into the bowl, it should hold its shape for 5-10 seconds before blending into the surface.
Step 5: Use Immediately for Best Results
Transfer the icing to a piping bag fitted with your desired tip. I prefer a round tip for outlines and a slightly larger tip for flooding. Royal icing begins to set quickly once exposed to air, so work efficiently to prevent crusting in the bag.
Cover any unused icing with a damp cloth or plastic wrap pressed directly onto the surface to prevent drying. This icing will keep at room temperature in an airtight container for up to 24 hours, though it’s best used fresh for optimal texture and sheen.
Pro Tips For Making Professional Royal Icing Recipe For Cookies
- Sift the Sugar: I learned this the hard way—lumps in powdered sugar ruin smooth icing, so always sift it first, even if the bag says “pre-sifted.”
- Use Room Temp Eggs: Cold egg whites won’t whip up properly; let them sit out for 20-30 minutes before starting.
- Skip the Overmixing: Once the icing reaches stiff peaks, stop mixing—overbeating makes it grainy and hard to pipe.
- Add Cream of Tartar: It stabilizes the egg whites so your icing holds its shape; about ½ teaspoon per 2 egg whites is the sweet spot.
Creative Variations of This Recipe
Chocolate Lover’s Version
Add ¼ cup unsweetened cocoa powder to the dry ingredients for a rich chocolate flavor. I recommend Hershey’s Special Dark for depth. The cocoa slightly thickens the icing, so you may need 1-2 tsp additional water to reach the perfect piping consistency. 🔥
Citrus Zing Twist
Replace the vanilla extract with 1 tsp orange or lime zest plus ½ tsp almond extract for a bright, citrusy flavor. The zest adds a pop of color too. This pairs beautifully with gingerbread or lemon cookies.
Coffee Infusion
Dissolve 1 tsp instant espresso powder in the water before adding it to the mixture. The coffee flavor is subtle but adds sophistication. I use Medaglia d’Oro—it blends seamlessly without graininess.
Rainbow Colors
Divide the finished icing into separate bowls and tint with gel food coloring (not liquid). I prefer AmeriColor brands. For vibrant colors, let the icing sit for 10-15 minutes after coloring to deepen the hue.
Metallic Shimmer
Add ½ tsp luster dust (edible gold, silver, or pearl) mixed with 1 tsp clear alcohol or extract. Brush onto dried icing for a stunning metallic finish. Works best on white or light-colored icing. ✨
Dairy-Free Adaptation
Replace egg whites with ½ cup aquafaba (chickpea brine) for a vegan version. Use ¼ tsp cream of tartar as the stabilizer. The texture is nearly identical, though it may take 1-2 minutes longer to reach stiff peaks.
Nutrition Facts
Frequently Asked Questions
Can I use meringue powder instead of egg whites?
Yes! Replace 3 egg whites with 5 tbsp meringue powder mixed with 6 tbsp water. It’s shelf-stable and just as effective for stiff, glossy icing.
How long does it take to dry completely?
At room temperature, piped outlines dry in 1-2 hours, while flooded areas need 4-6 hours. Speed it up with a fan on low or a food dehydrator at 90°F.
Why did my icing turn yellow?
This happens if egg whites aren’t fully whipped or if grease is in the bowl. Use a clean, grease-free bowl and beat to stiff peaks for bright white icing.
Can I color it before piping?
Tint with gel food coloring (not liquid) to avoid thinning. Add gradually—colors deepen as icing sits for 10-15 minutes.

- Pudding Recipe With Egg Yolks: Silky Smooth Custard in Minutes - November 3, 2026
- Pudding Pops Recipe Cook and Serve: Silky Frozen Treats Without the Machine - November 3, 2026
- Protein Ice Cream Recipe Blender Xanthan Gum: Ultra Creamy Texture Without the Guilt - November 3, 2026