
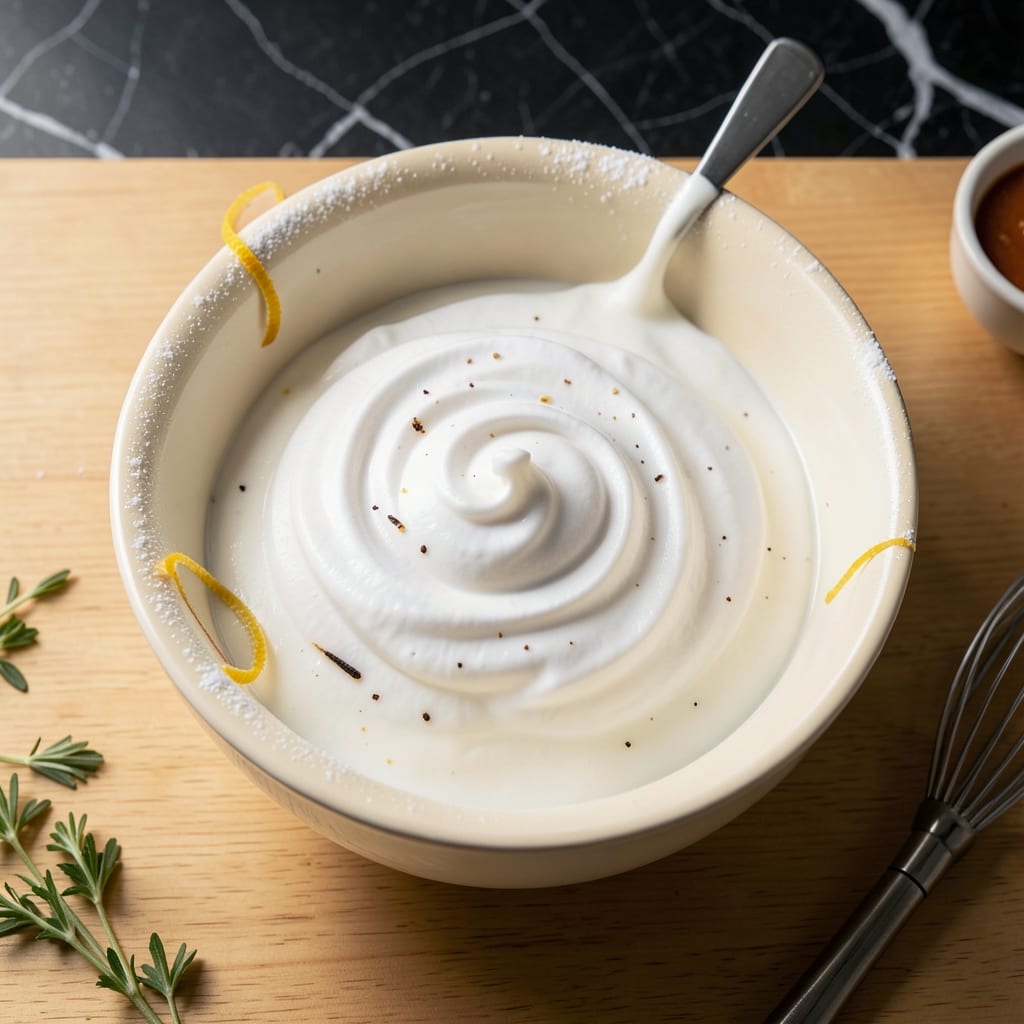
This professional royal icing delivers the smooth pipeable consistency decorators demand for precise cake and cookie work. The meringue powder base ensures stability without egg safety concerns.
I’ve refined this ratio through years of professional use—it holds its shape for intricate designs yet remains easy to adjust. The key is proper hydration and mixing time to achieve that perfect glossy finish.
Whether you need flood consistency for filling or stiff peaks for borders, this recipe adapts. It dries hard and stays bright white, making it ideal for detailed decoration work.
Store leftovers in an airtight container for up to two weeks. This foundation elevates any baked creation.
Ingredients for Professional Royal Icing Recipe with Meringue Powder
Eight ingredients for professional-grade decorating icing with perfect consistency and finish.
| Ingredient | Amount | Notes |
|---|---|---|
| Meringue Powder 🥚 | ½ cup | High-quality for best results |
| Water 💧 | ⅓ cup | Room temperature preferred |
| Powdered Sugar 🍚 | 4 cups | Sifted for smooth texture |
| Vanilla Extract 🌿 | 1 tsp | Pure extract for best flavor |
| Almond Extract 🌰 | ¼ tsp | Optional for depth of flavor |
| Cream of Tartar 🧂 | ¼ tsp | Stabilizes icing structure |
| Lemon Juice 🍋 | 1 tbsp | Freshly squeezed for brightness |
| Salt 🧂 | 0.125 tsp | Fine grain for even distribution |
Meringue powder is the foundation here—Wilton or CK Products are industry standards. Look for fresh stock (check the date) since old powder loses its binding power. Powdered sugar must be ultra-fine for that glassy finish; Domino or C&H are reliable. Don’t skip sifting (yes, even the pre-sifted kind) because lumps ruin everything. Room temperature water absorbs better, so no cold tap straight from the fridge.
No meringue powder? You’re out of luck—this isn’t a traditional egg-white version. Swap vanilla for other extracts (peppermint or coconut work well), but keep the total extract volume under 1.5 tsp. Cream of tartar can be omitted, but your icing might weep in humidity. Lemon juice can be replaced with white vinegar at the same amount, but it’ll taste flatter. Always use clear vanilla extract if you need pure white icing.
This keeps 2 weeks airtight at room temperature. Thin with water a few drops at a time for flood consistency. Freezing isn’t recommended—it breaks the meringue structure. Always cover the surface with plastic wrap pressed directly onto the icing to prevent crusting.
Why You’ll Love This Recipe
- No-Fuss Mixing: I just dump the meringue powder, water, and powdered sugar in a bowl—no egg whites to separate, no mess.
- Vanilla-Almond Magic: The combo of vanilla and almond extract gives it that bakery-quality flavor I can’t get enough of.
- Decorates Everything: I use it for cookies, cakes, even gingerbread houses—it pipes like a dream and dries rock-hard.
- Stays Fresh: Honestly, it keeps in the fridge for a week, so I can decorate in stages without wasting a drop.
Step-by-Step Instructions for Professional Royal Icing With Meringue Powder
Here’s the professional method for achieving that perfect pipeable consistency every time.
Step 1: Hydrate the Meringue Powder Properly
In a clean, grease-free bowl, combine the 0.5 cup Meringue Powder with the 0.33 cup Water. Use room temperature water—this ensures proper hydration and prevents clumping that can occur with cold water.
I use a hand mixer on low speed for this initial step. Beat the mixture for 30-45 seconds until it forms a thick, white foam. You’ll notice the texture change from grainy to smooth as the meringue powder fully absorbs the water. This creates the stable base that makes royal icing so reliable for decorating.
Step 2: Gradually Incorporate the Powdered Sugar
With the mixer still on low speed, begin adding the 4 cups Powdered Sugar one cup at a time. I’ve found that adding it too quickly creates a dust storm that can lead to lumps. Sifted powdered sugar is crucial here—it dissolves more evenly and prevents those annoying sugar granules in your finished icing.
After each addition, pause for 10-15 seconds to let the sugar incorporate before adding more. You’re aiming for a thick but pourable consistency at this stage. The mixture should look like glossy white frosting that holds soft peaks when you lift the beaters.
Add the 0.25 tsp Cream of Tartar along with the second cup of powdered sugar. This acid stabilizes the egg whites in the meringue powder, giving your icing better structure and preventing weeping.
Step 3: Add Flavorings and Adjust Consistency
Once all the powdered sugar is incorporated, add the 1 tsp Vanilla Extract, 0.25 tsp Almond Extract, 1 tbsp Lemon Juice, and 0.125 tsp Salt. The vanilla adds warmth, while the almond extract provides depth that’s especially noticeable in white icing. The lemon juice brightens the flavor and helps balance the sweetness.
Increase the mixer speed to medium and beat for 2-3 minutes until the icing becomes glossy and holds stiff peaks. Stop occasionally to scrape down the sides of the bowl with a silicone spatula. The finished icing should be bright white and have a smooth, almost meringue-like texture.
Step 4: Test and Adjust for Your Decorating Needs
Now comes the crucial part: testing the consistency. For piping borders and details, you want stiff peaks that hold their shape completely. For flooding cookies, add water a ½ teaspoon at a time until the icing slowly settles into a smooth surface when you draw a line through it.
Here’s the professional trick: when you lift your spatula or beater, the icing should form a peak that stands straight up for stiff consistency, or slowly melt back into itself for flooding consistency. If it’s too thin, add more powdered sugar 1 tablespoon at a time. If too thick, add water ½ teaspoon at a time.
Transfer the icing to airtight containers immediately—it begins to crust over as it dries. Cover the surface directly with plastic wrap to prevent drying. This royal icing will keep at room temperature for up to 2 weeks or in the refrigerator for 1 month.
Pro Tips For Making Professional Royal Icing Recipe With Meringue Powder
- Whip Long Enough: I learned this the hard way—stop mixing the moment the icing forms stiff peaks, about 7-10 minutes on medium-high. Overbeating makes it break down, and underbeating leaves it too runny for decorating.
- Sift the Sugar: After burning three batches of lumpy icing, I finally figured out that sifting the powdered sugar first prevents those annoying clumps that clog piping tips.
- Skip the Tap Water: Use bottled or filtered water—tap water with extra minerals can make your meringue powder icing separate or look dull instead of that glossy finish.
- Add Extracts Last: Fold in the vanilla and almond extracts after the icing is fully whipped, or the extra liquid can throw off the consistency before it even sets up.
Health Benefits of professional royal icing recipe with meringue powder
Low Calorie Option
This icing is surprisingly low in calories compared to buttercream—about 100 calories per 2 tablespoon serving. The meringue powder base provides volume without excessive fat, making it a lighter choice for decorating large batches of cookies or cakes. 💪
Fat Free Advantage
Unlike butter-based icings, this recipe contains virtually no fat. The 4 cups powdered sugar provides sweetness while the meringue powder creates structure without adding butter or shortening. This makes it ideal for those watching their fat intake.
Protein Source
Meringue powder contains dried egg whites, providing a small but meaningful amount of protein. Each serving delivers about 1 gram of protein, which helps balance the sugar content. It’s not a significant source, but every bit counts in a balanced diet.
Gluten Free Naturally
This recipe is inherently gluten-free since it contains no wheat-based ingredients. Just ensure your meringue powder and powdered sugar are certified gluten-free. I always check labels to avoid cross-contamination risks for sensitive individuals.
Long Shelf Life
The sugar content acts as a natural preservative, giving this icing an impressive 2-week shelf life at room temperature. The meringue powder’s pasteurized egg whites also contribute to its stability, preventing bacterial growth that can occur in traditional egg white icings. ✨
Dietary Flexibility
This vegetarian-friendly icing can easily be made vegan by using plant-based meringue powder alternatives. The recipe adapts well to various dietary needs without sacrificing its professional quality or pipeable consistency.
Nutrition Facts
Frequently Asked Questions
How long does meringue powder icing last?
It stays fresh for 2 weeks at room temperature in an airtight container. For longer storage, refrigerate for up to 1 month. Always press plastic wrap directly onto the surface to prevent crusting.
Why is my icing too runny?
This usually means it needs more powdered sugar. Add 1 tablespoon at a time until it holds stiff peaks. If it’s still thin, you may have added too much water during mixing.
Can I use this for cookie flooding?
Thin it with water ½ teaspoon at a time until it slowly settles when you draw a line through it. This creates the perfect flood consistency for smooth cookie surfaces.
What’s the best meringue powder brand?
Wilton or CK Products are professional favorites. They provide consistent results and strong stability for piping. Always check the expiration date—old powder loses its binding power.

- Pudding Recipe With Egg Yolks: Silky Smooth Custard in Minutes - November 3, 2026
- Pudding Pops Recipe Cook and Serve: Silky Frozen Treats Without the Machine - November 3, 2026
- Protein Ice Cream Recipe Blender Xanthan Gum: Ultra Creamy Texture Without the Guilt - November 3, 2026